As an Amazon Associate I earn from qualifying purchases.
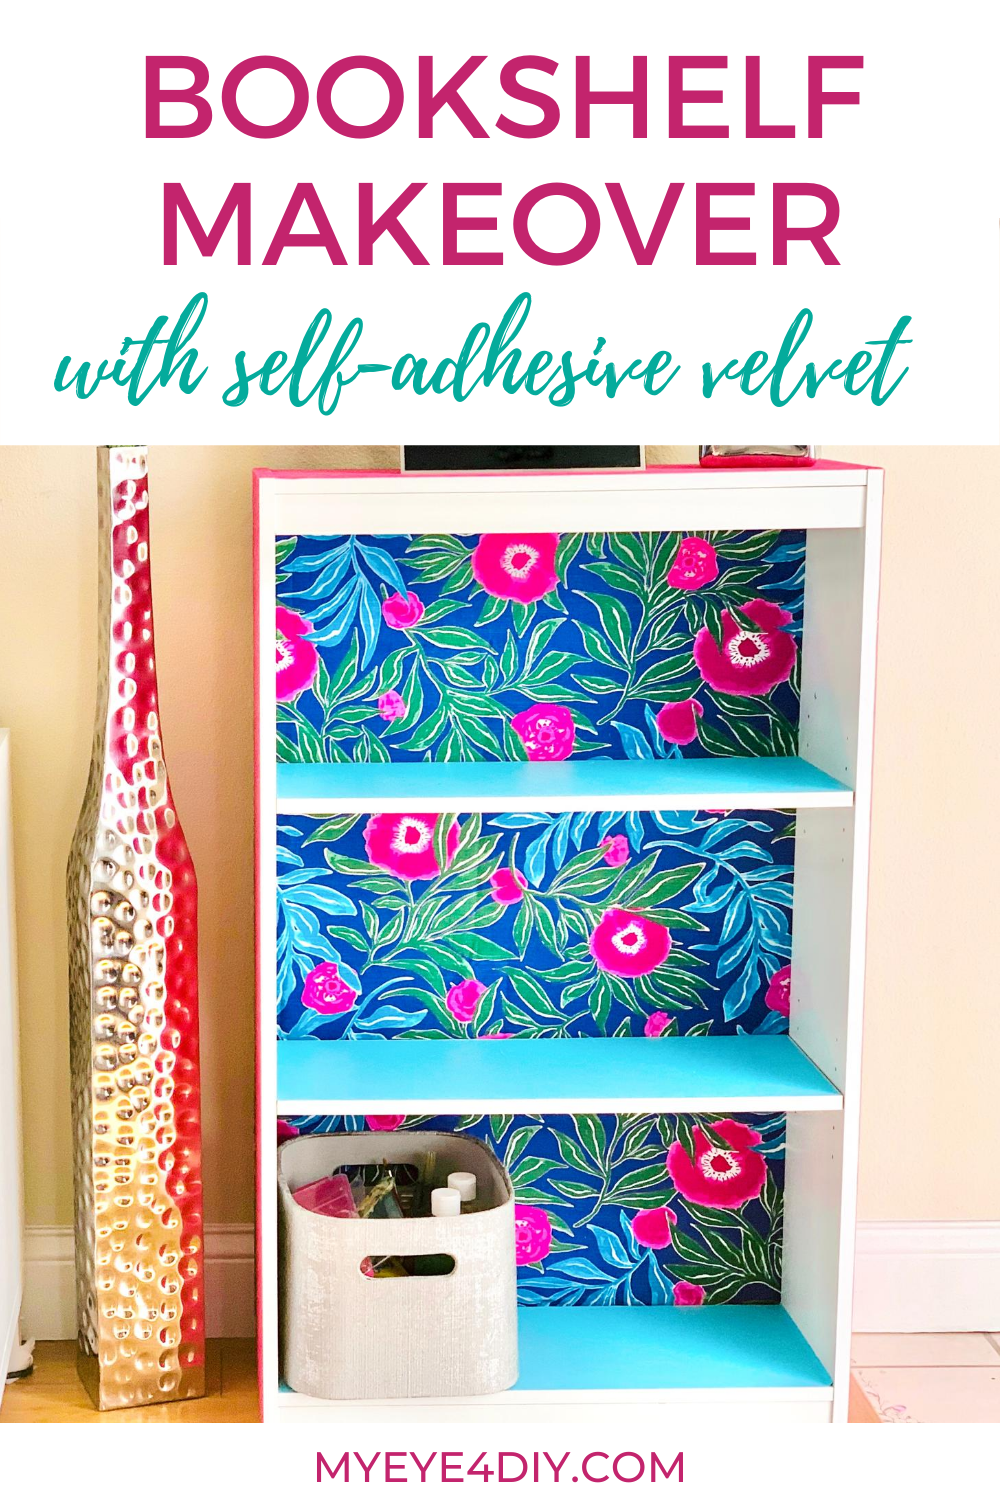
If you have an old bookcase and it looks like it needs rehab, you can easily give it a new look adding some fun textures and style using self adhesive velvet.
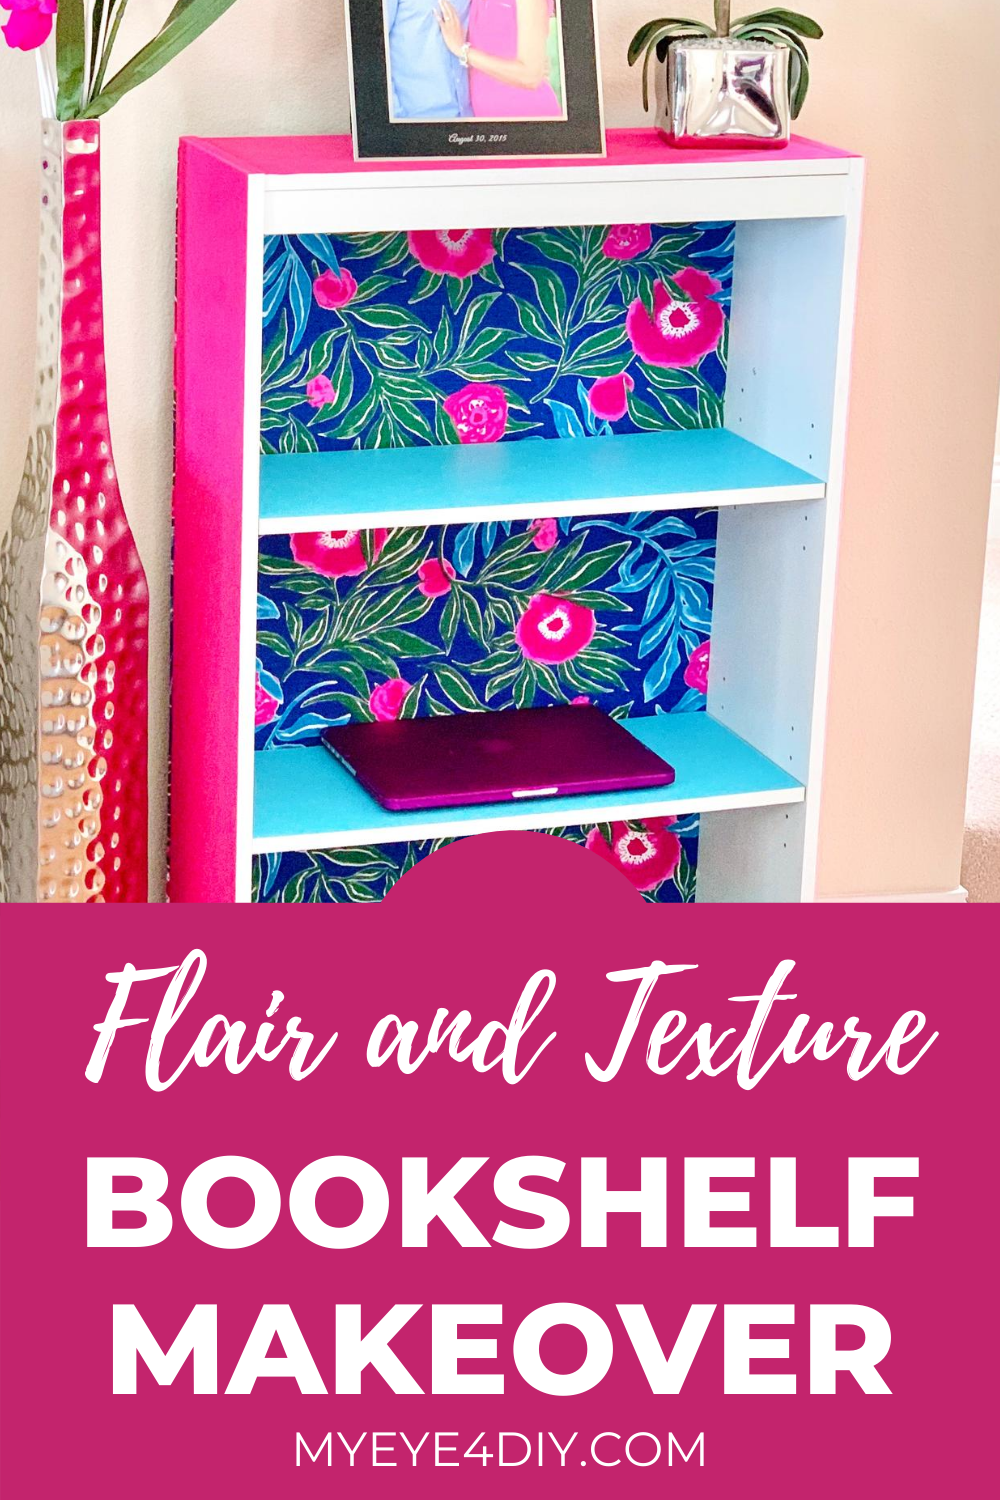
Bookcase Styling: Using Texture & Style to upgrade a plain bookcase
After moving recently, we ended up with an extra bookcase that hadn’t found a new resting place. It was originally in our daughters room, but didn’t quite fit their new space. I decided to give it a fresh new look and relocate it to our living room. To my surprise, we can actually use it indoors or on our outdoor patio based on the new tropical vibe!
MATERIALS:
- Tape Measure
- Self Adhesive Velvet Lining – Flock Drawer Shelf Liner
- Teal Con-Tact Covering
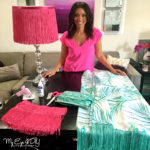
- Opalhouse Floral Tablecloth
- Spray Glue Adhesive
Let me show you how I gave an old bookcase a tropical flair with one of my favorite crafting supplies; contact paper! I love me some contact paper!!! The best part, it’s self adhesive VELVET contact paper ya’ll!!
Lets get to it and play with some fun textures to style your bookcase following these simple steps!
To create this look, we are going to line the back of the bookcase with a tropical print, wrap the outside of the bookcase with the self adhesive velvet contact paper and line the shelves with a teal contact paper.
Sidebar: Yes, this “Velvet Contact Paper” is the self adhesive velvet fabric you can use as a jewelry box liner. However, in the world of DIY, supplies have many purposes and this is one of them. So in this tutorial I will be referring to it as “Contact Paper”
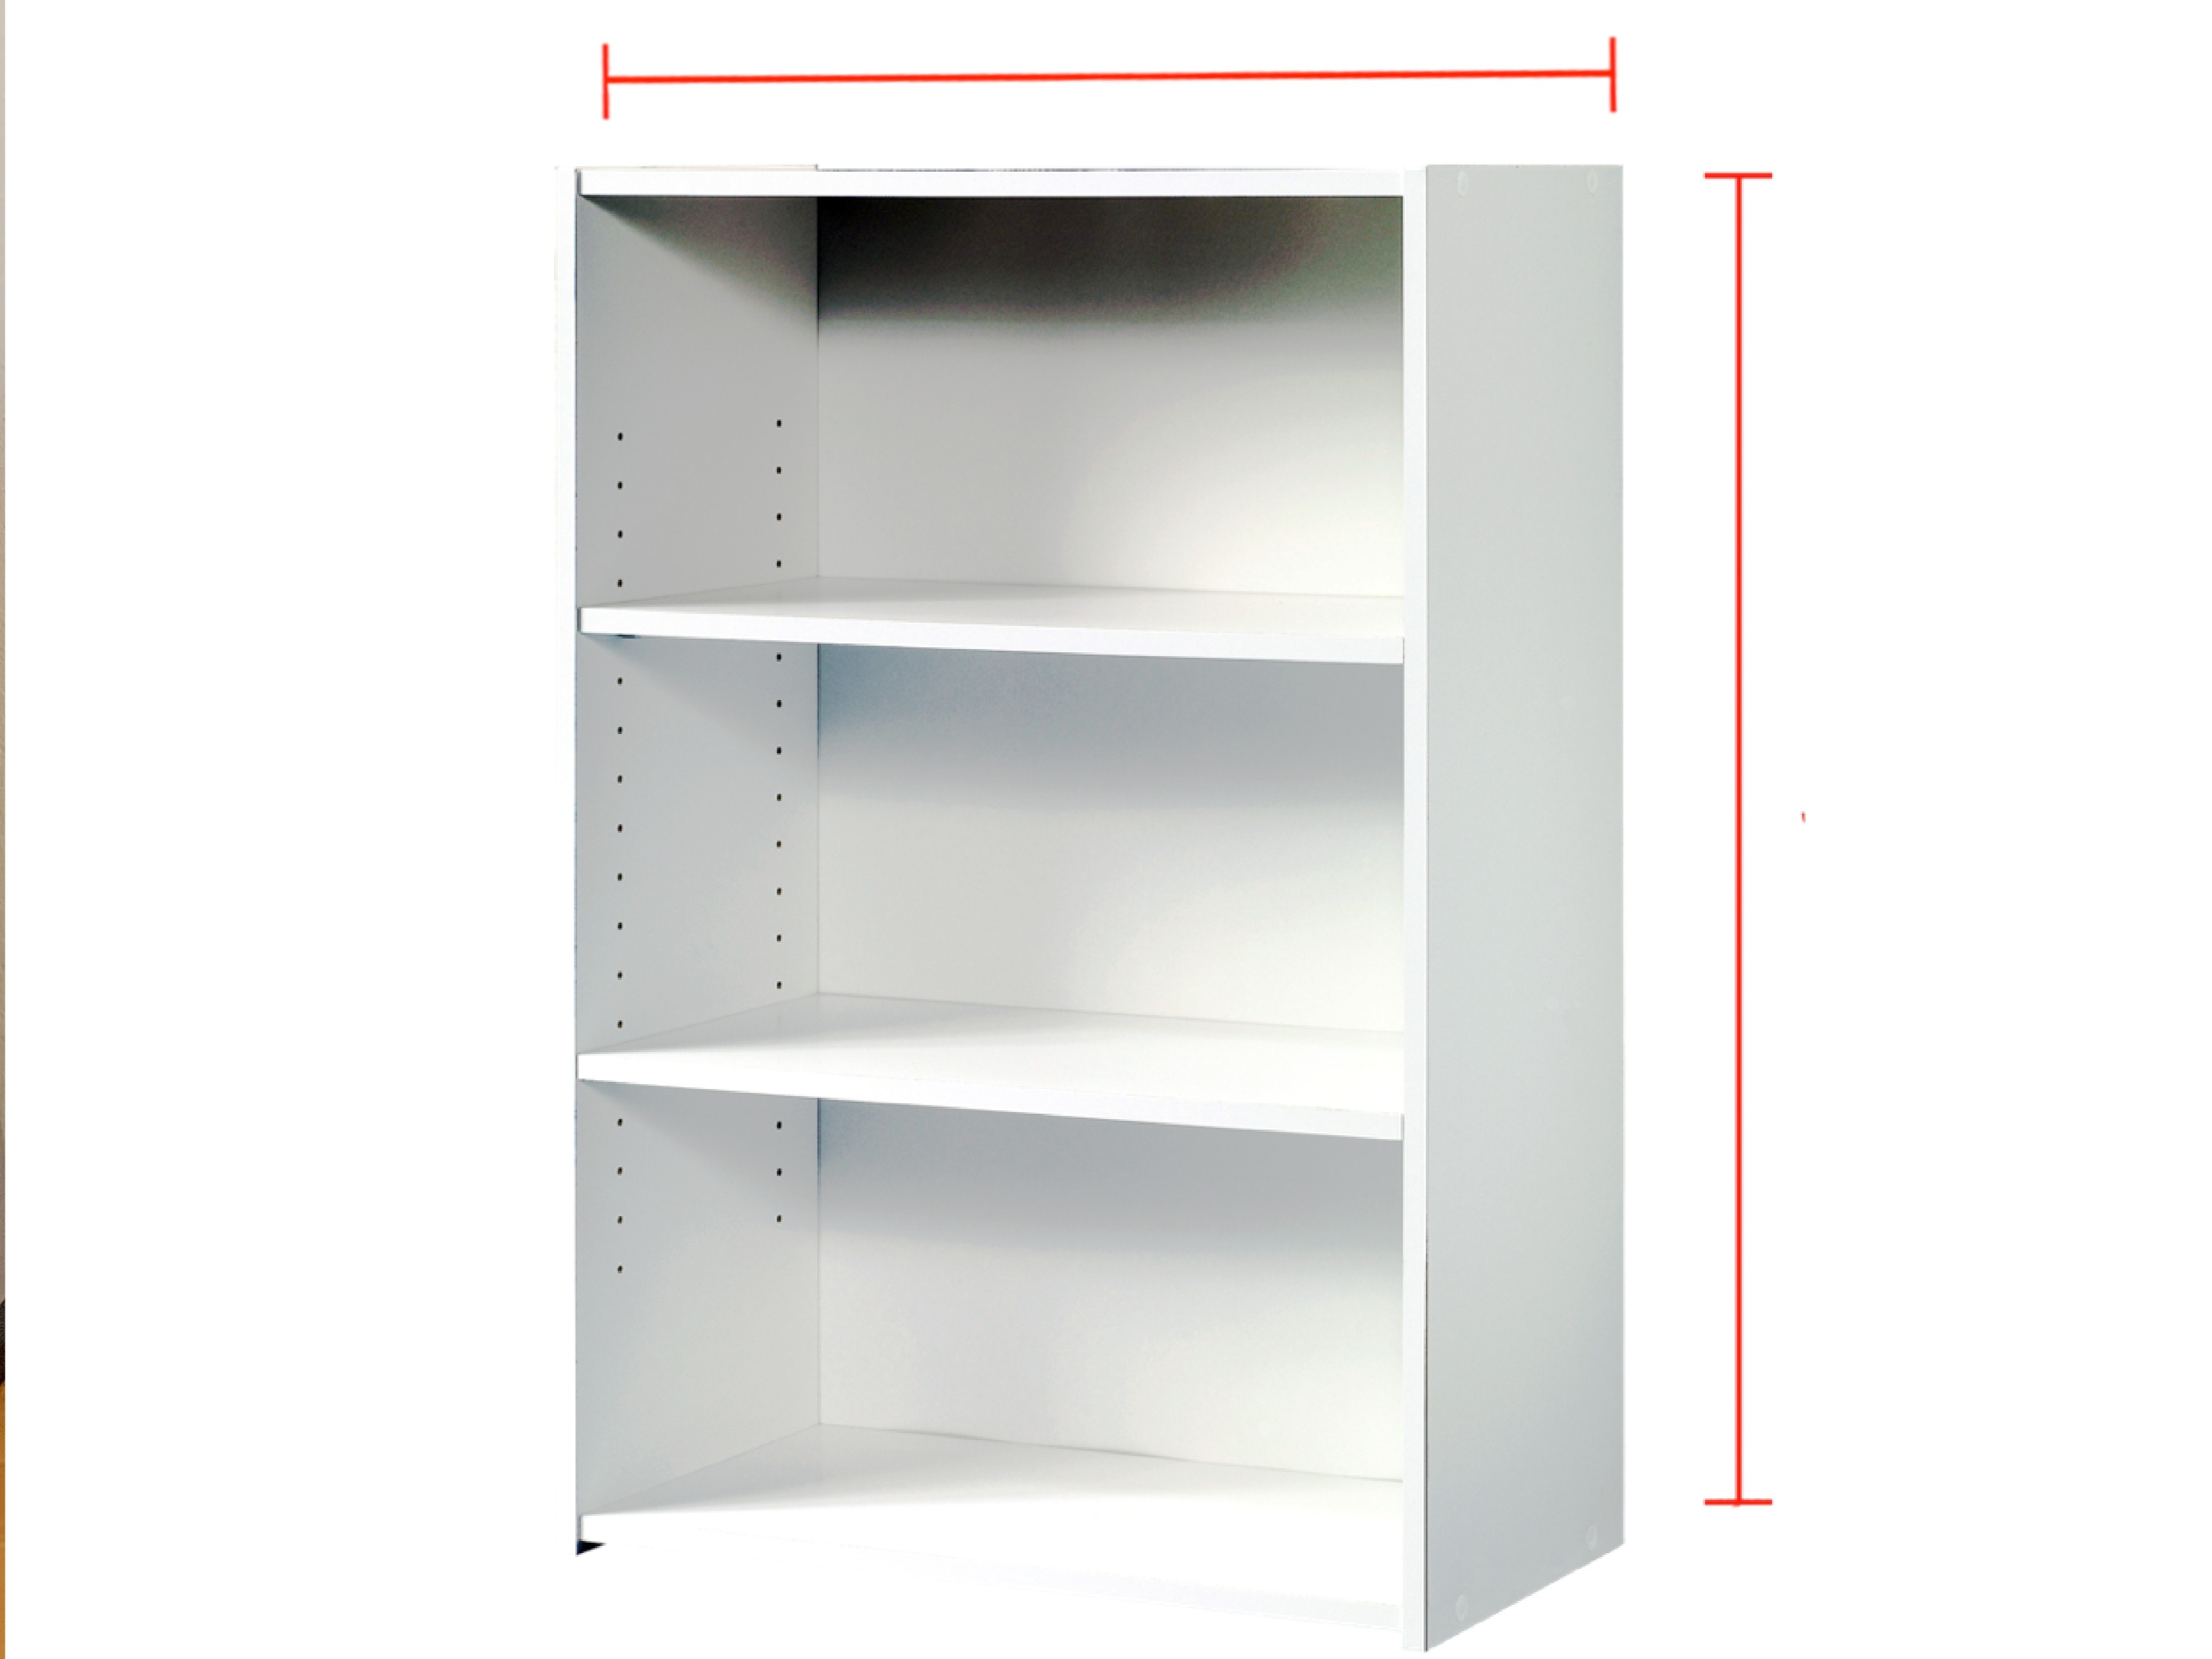
STEP 1: Measure Your Bookcase
Measure the top and sides of the bookcase, this will give you the length and width for the velvet contact paper. My bookcase is 9” wide and 40.5 in on each side and 23 in across the top. That’s a total of 105 in in length by 9 in.
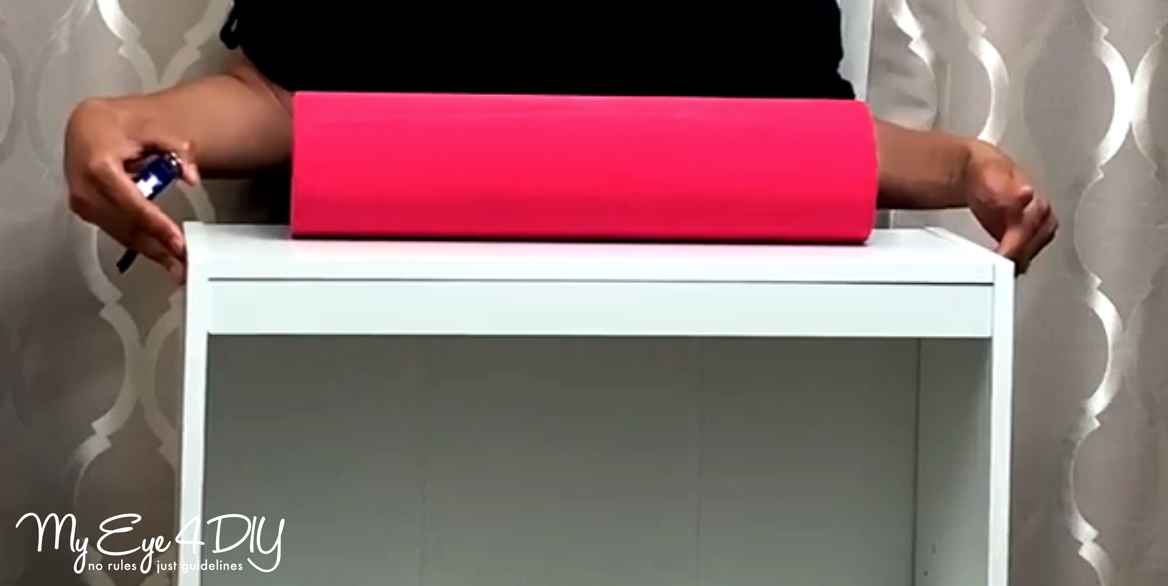
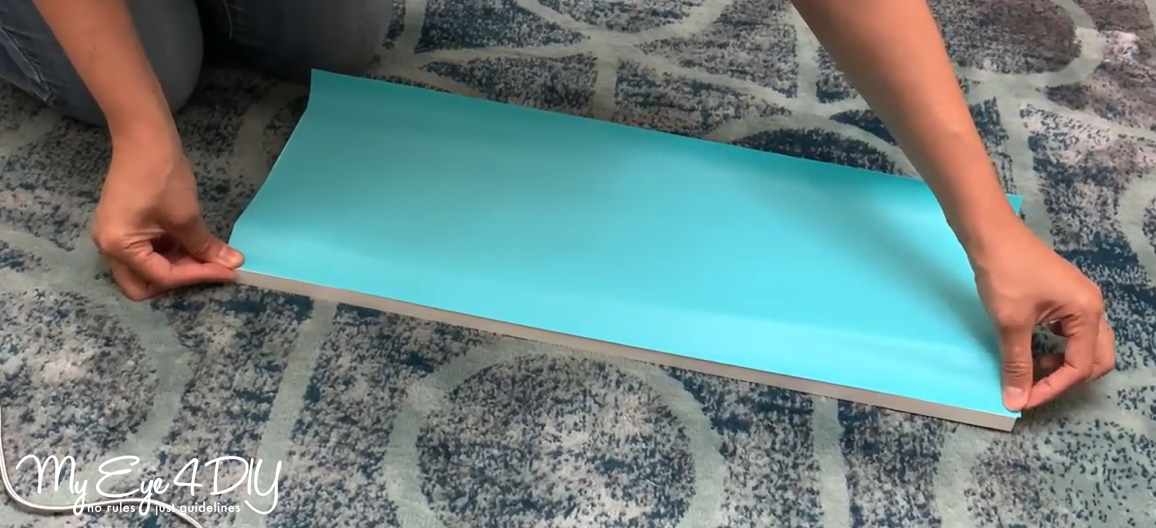
STEP 2: Cut the Velvet Contact Paper
The Velvet contact paper comes rolled up as one piece. Roll it out and use a ruler to trace the length and width onto the back of the contact paper based on your measurements taken in the first step. Once it’s cut out, you should have what looks like a long rectangular strip that you will now apply to the bookcase.

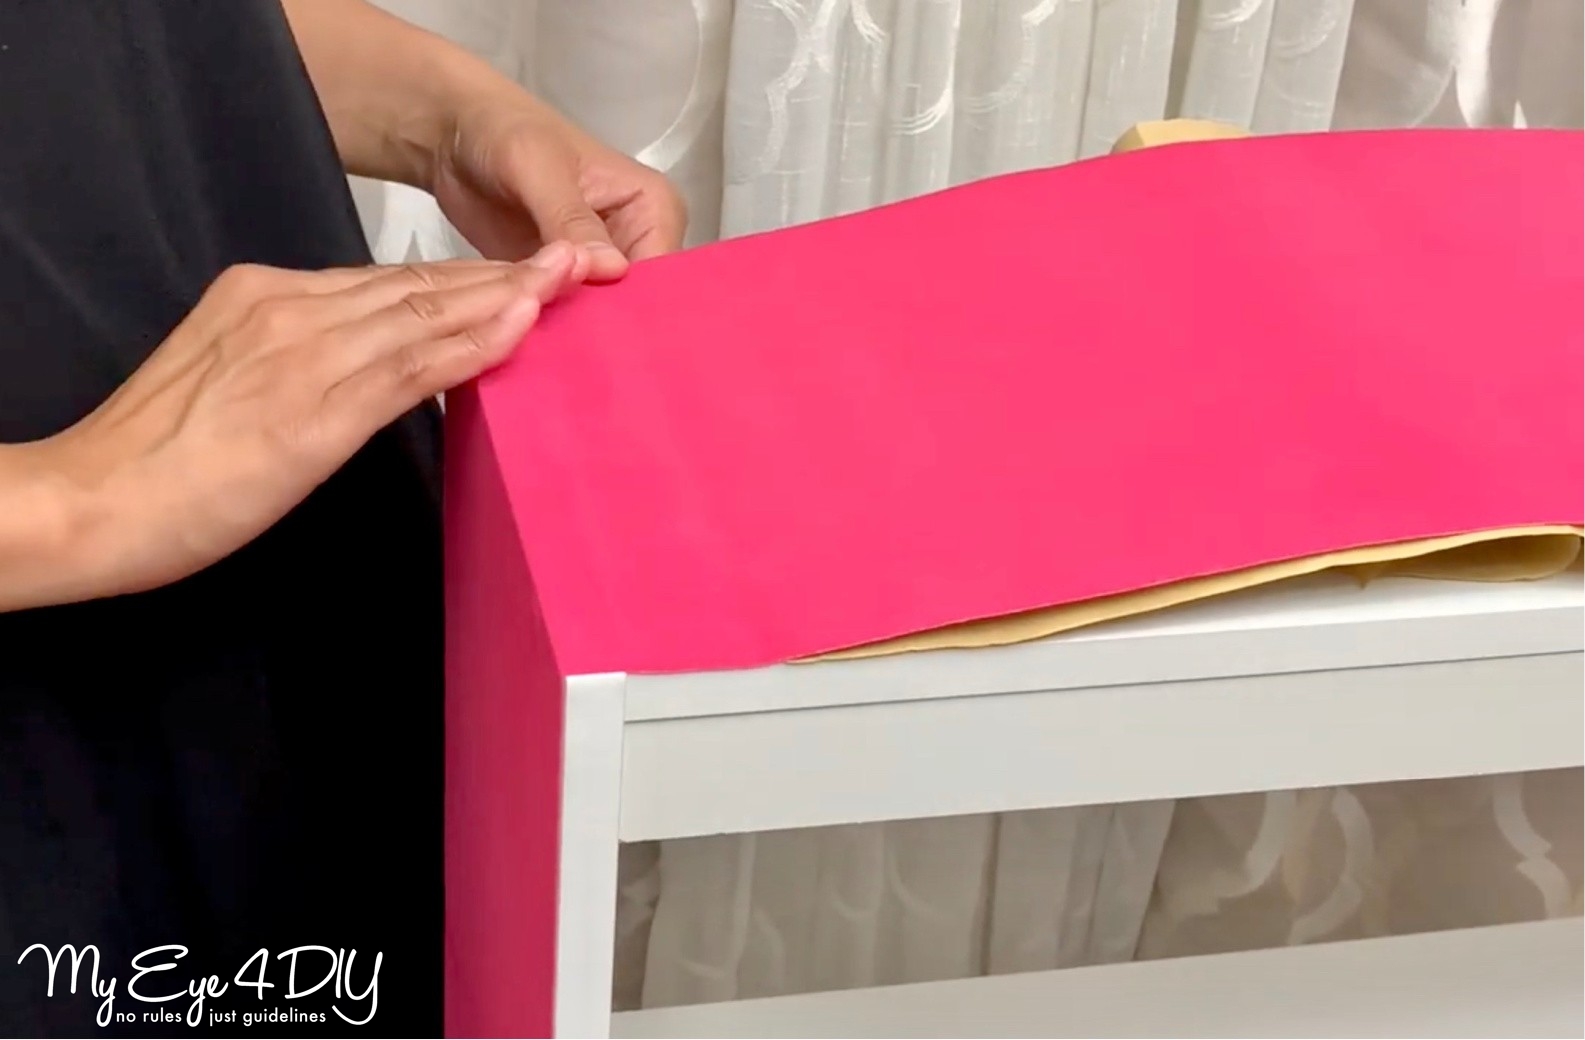
Step 3: Apply Velvet Contact Paper to Outside of Bookcase
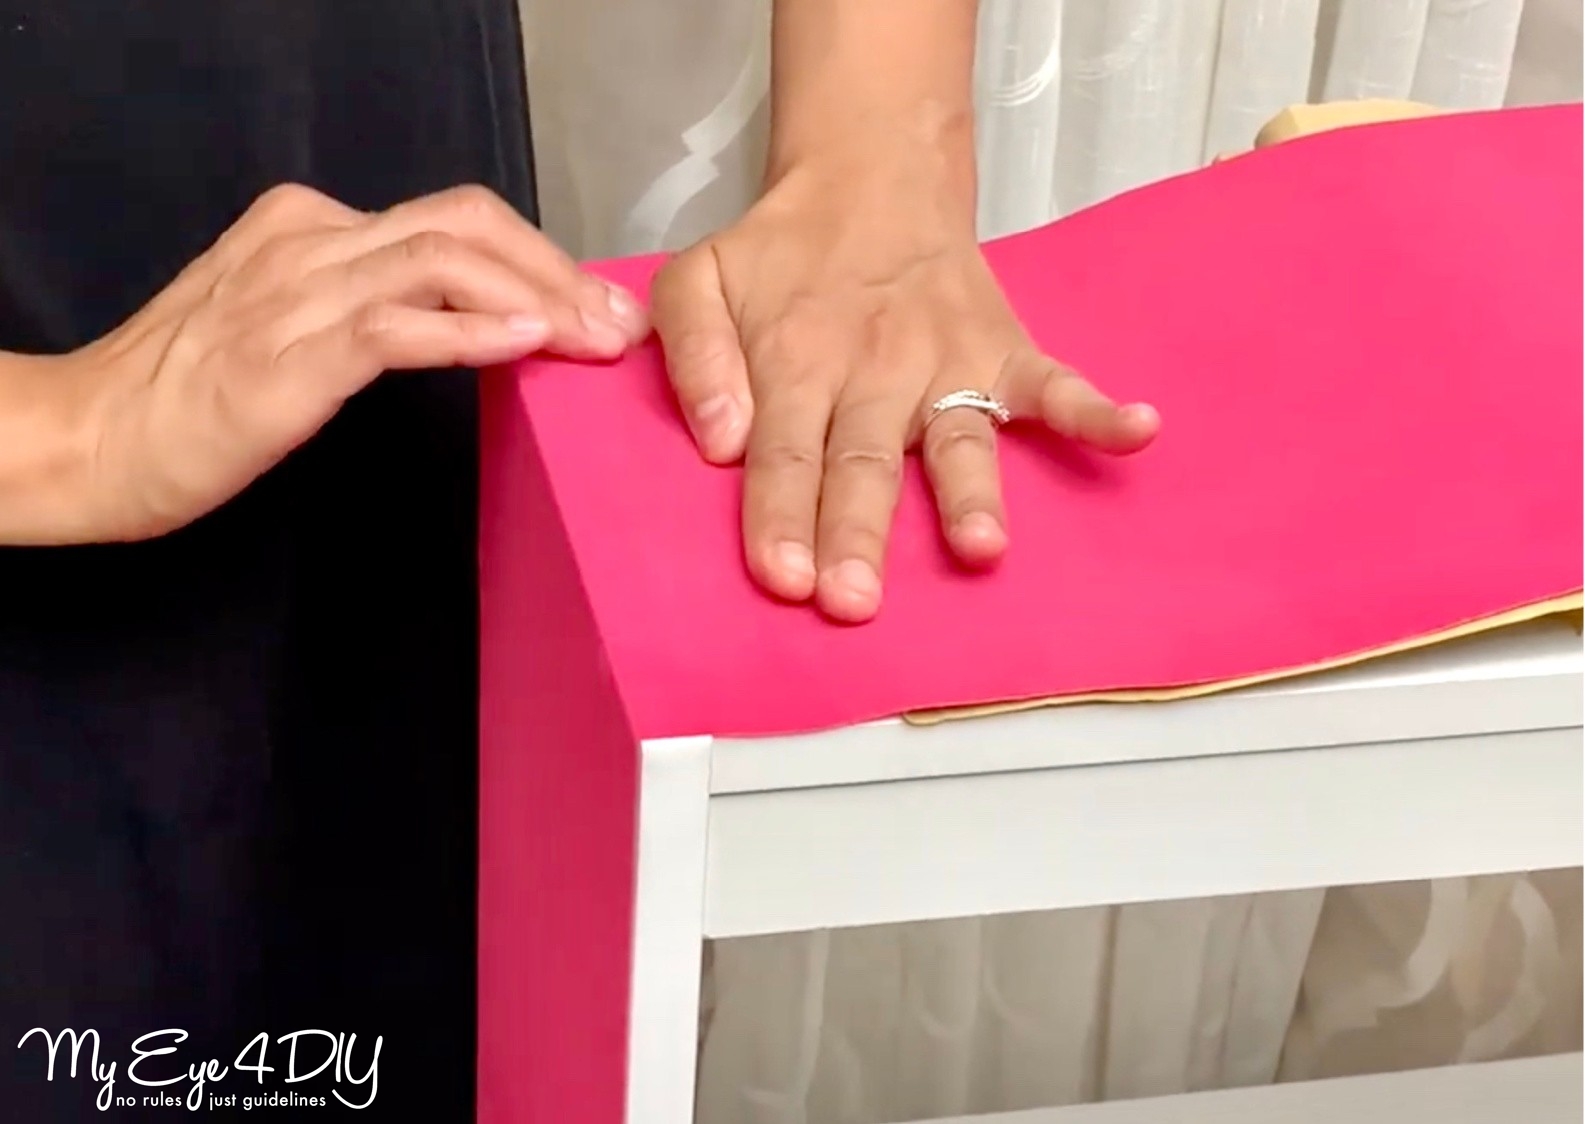
In this step, we will apply the velvet contact paper to the outside of the bookcase. Starting at the bottom of your paper, peel away the backing and make sure the paper is positioned flush against the edge of bookcase. Once you are sure it is straight, begin pressing firmly to adhere velvet contact paper to bookcase. As you continue to pull the backing upward, use your hand to firmly press velvet liner onto your bookcase, making sure no air bubbles form. You can use a credit card rather than your hand to smooth any air pockets as well. Continue to pull up a little bit at a time until you reach the top.
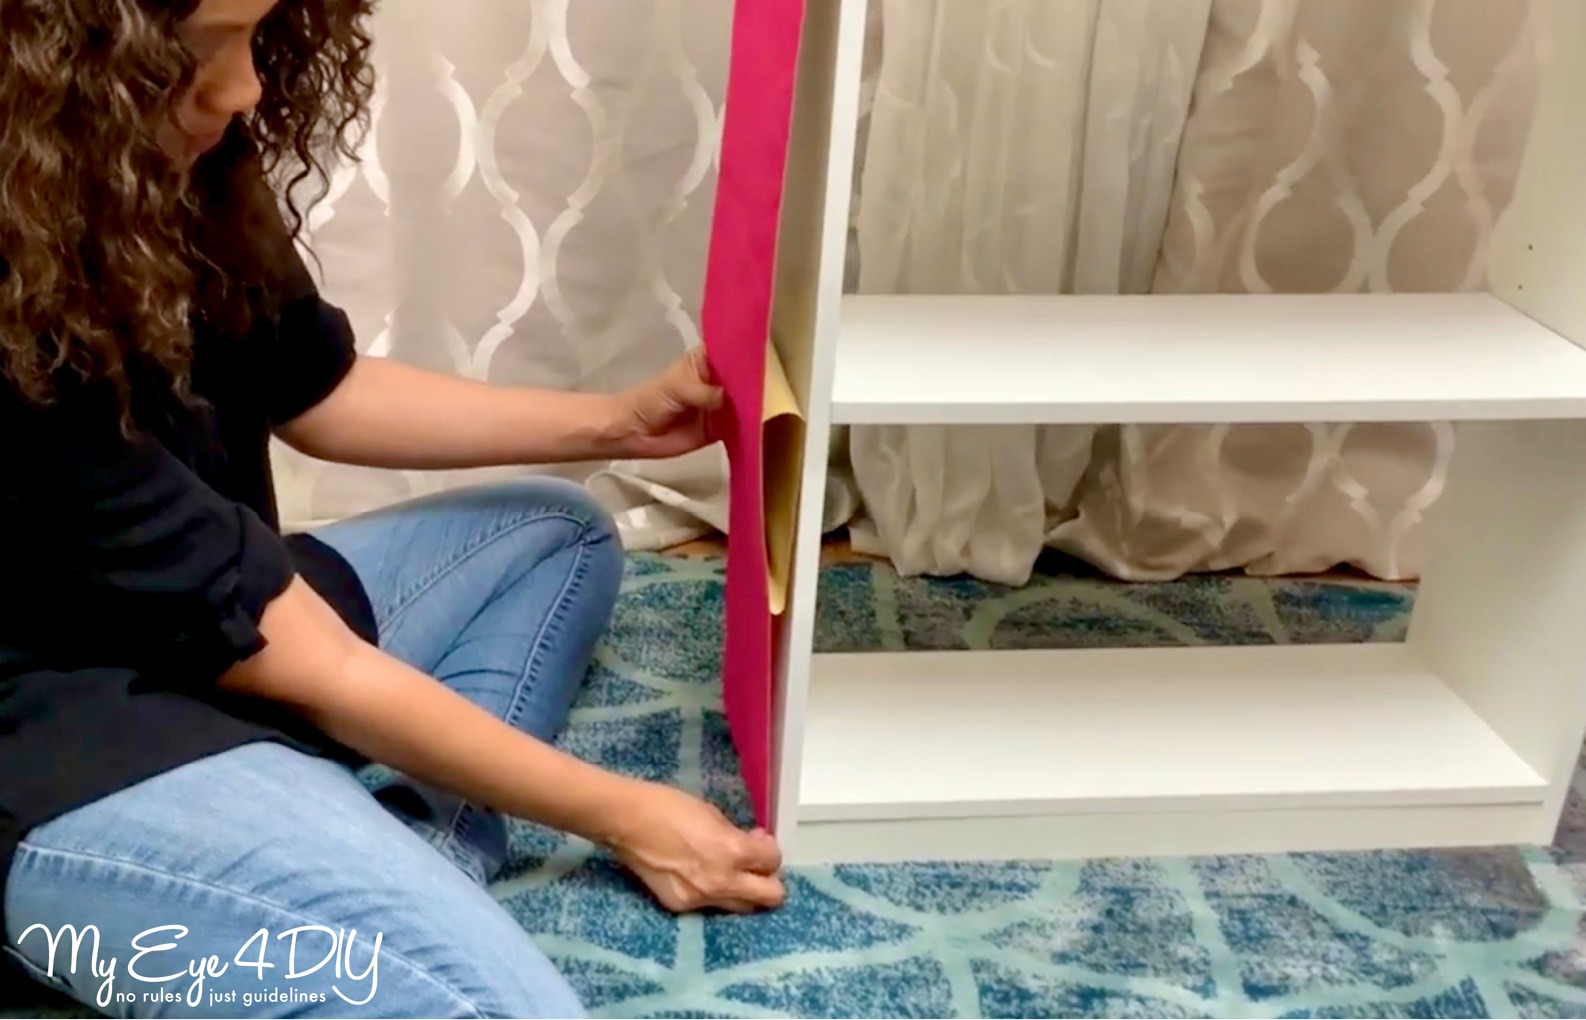

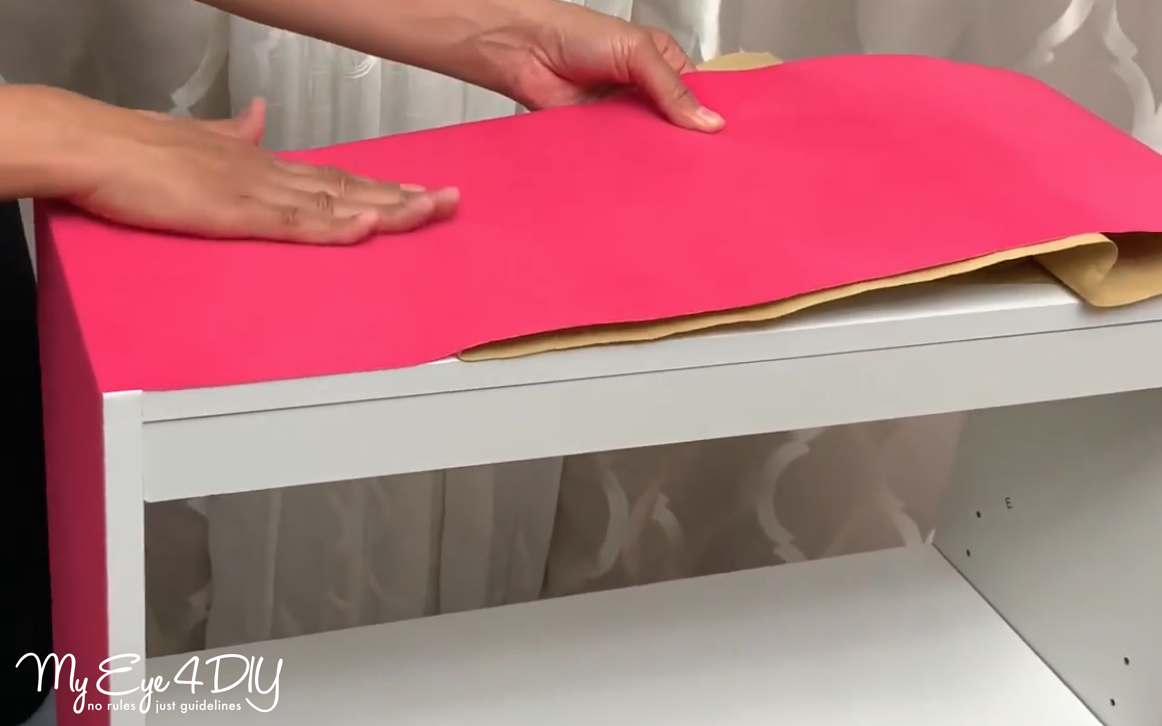
Once at the top of the first side, fold the paper over, pulling tightly so there is no slack and continue to adhere to the top of the bookcase using this same technique. If the alignment is off once you reach the second side of the bookcase, just make a cut and repeat the beginning of the process on the second side. once you reach the other side fo the bookcase.
Note: If you apply the self adhesive velvet strip as one continuous piece, it is important that you apply the contact paper completely straight when you start, if it’s cricket initially, the whole thing will start to go cricket, and you don’t want that. The good thing about contact paper is if you notice your application is slightly off, you can always pull it up and readjust as you go.
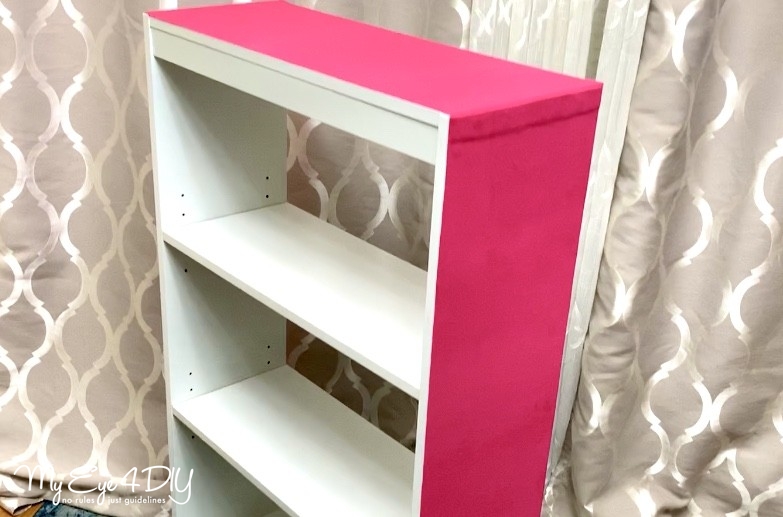
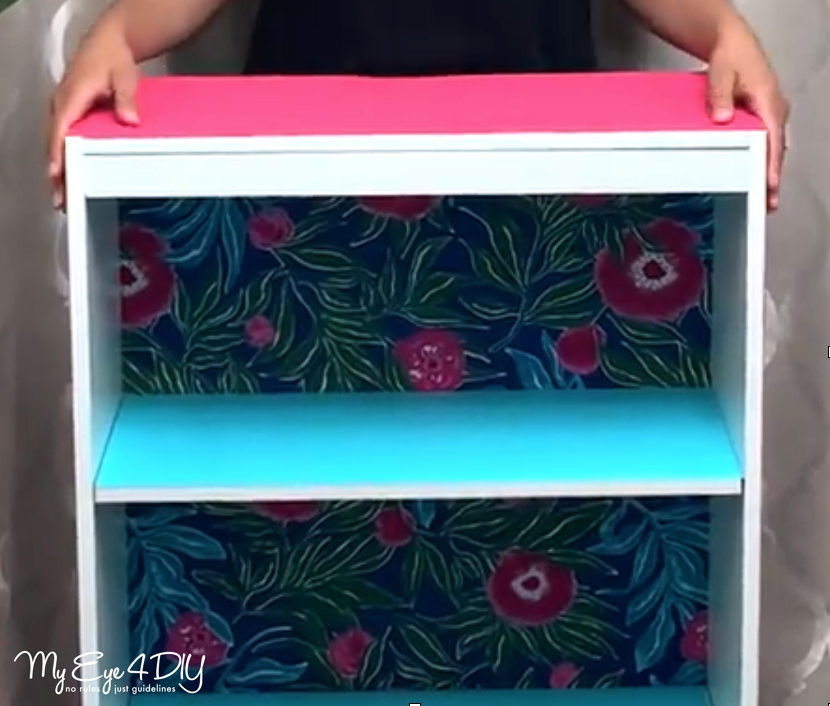
Okay, the outside of the bookshelf is now covered. The pink self adhesive velvet contact paper looks so good, feels so nice, and the next step is to cover the bookshelves with other contact paper.
STEP 4: How to Apply Contact Paper – Covering Shelves
This step is super easy. Place your shelf on the back of the teal contact paper, trace and cut it out. You can also take the measurements of the shelf, marked them on the back of contact paper and cut along the lines.
Remove the backing from the contact paper all across the front. Then align the ends to the shelf and begin to peel away the backing while pressing the paper against the shelf to adhere it, removing any bubble as you go. Insert the shelves back into bookcase.
STEP 5: Apply Tropical flair
Last step is to add a little style to your bookcase! I found the tablecloth with a print that I love & used it to cover my the backing of my bookcase. You can use a spray adhesive or glue dots to apply whatever material you decide to use. It’s all a matter of personal preference and sometime it comes down to what supplies you have on hand at the time!
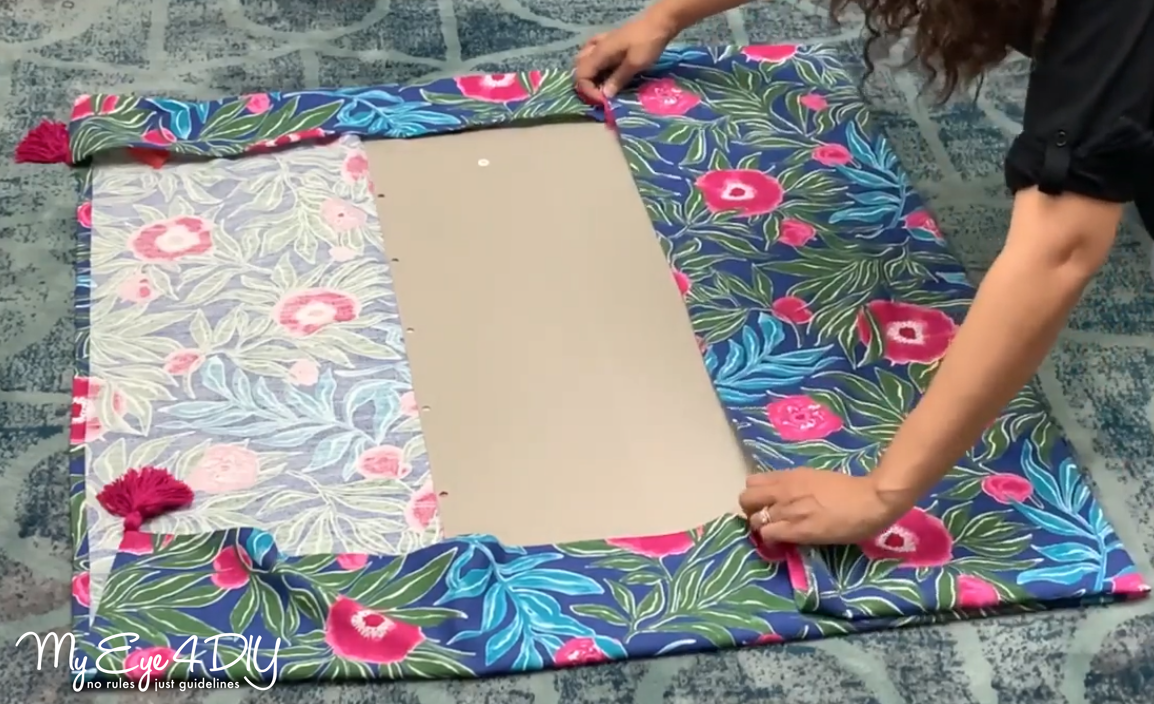
Start off by laying your fabric on the floor face down. Then apply either the spray adhesive or glue dots to the bookcase backing and lay it directly in the center in the center of the fabric. I used glue dots and firmly pressed down across the entire area so that the fabric would stick. Now, fold the sides over, add a couple of glue dots on the back, pull the material tight and press down. Or you can simply cut off the excess material on all four sides.
This piece is going to be nailed to the back of your bookcase, so you don’t have to worry about the fabric sliding down, it’s a great short cut to applying material to the back of a bookcase!

Now your backing is beautifully covered, reapply it to the bookcase! Nine times out of time you will use a few nails to hammer them back in.
NOTE: You can use a spray adhesive as well, I would just cut all the excess edges off after applying the fabric to the backing rather than fold it over.
That’s it; our tropical-inspired bookcase is now complete. To see the full video tutorial, visit Hometalk on Facebook.
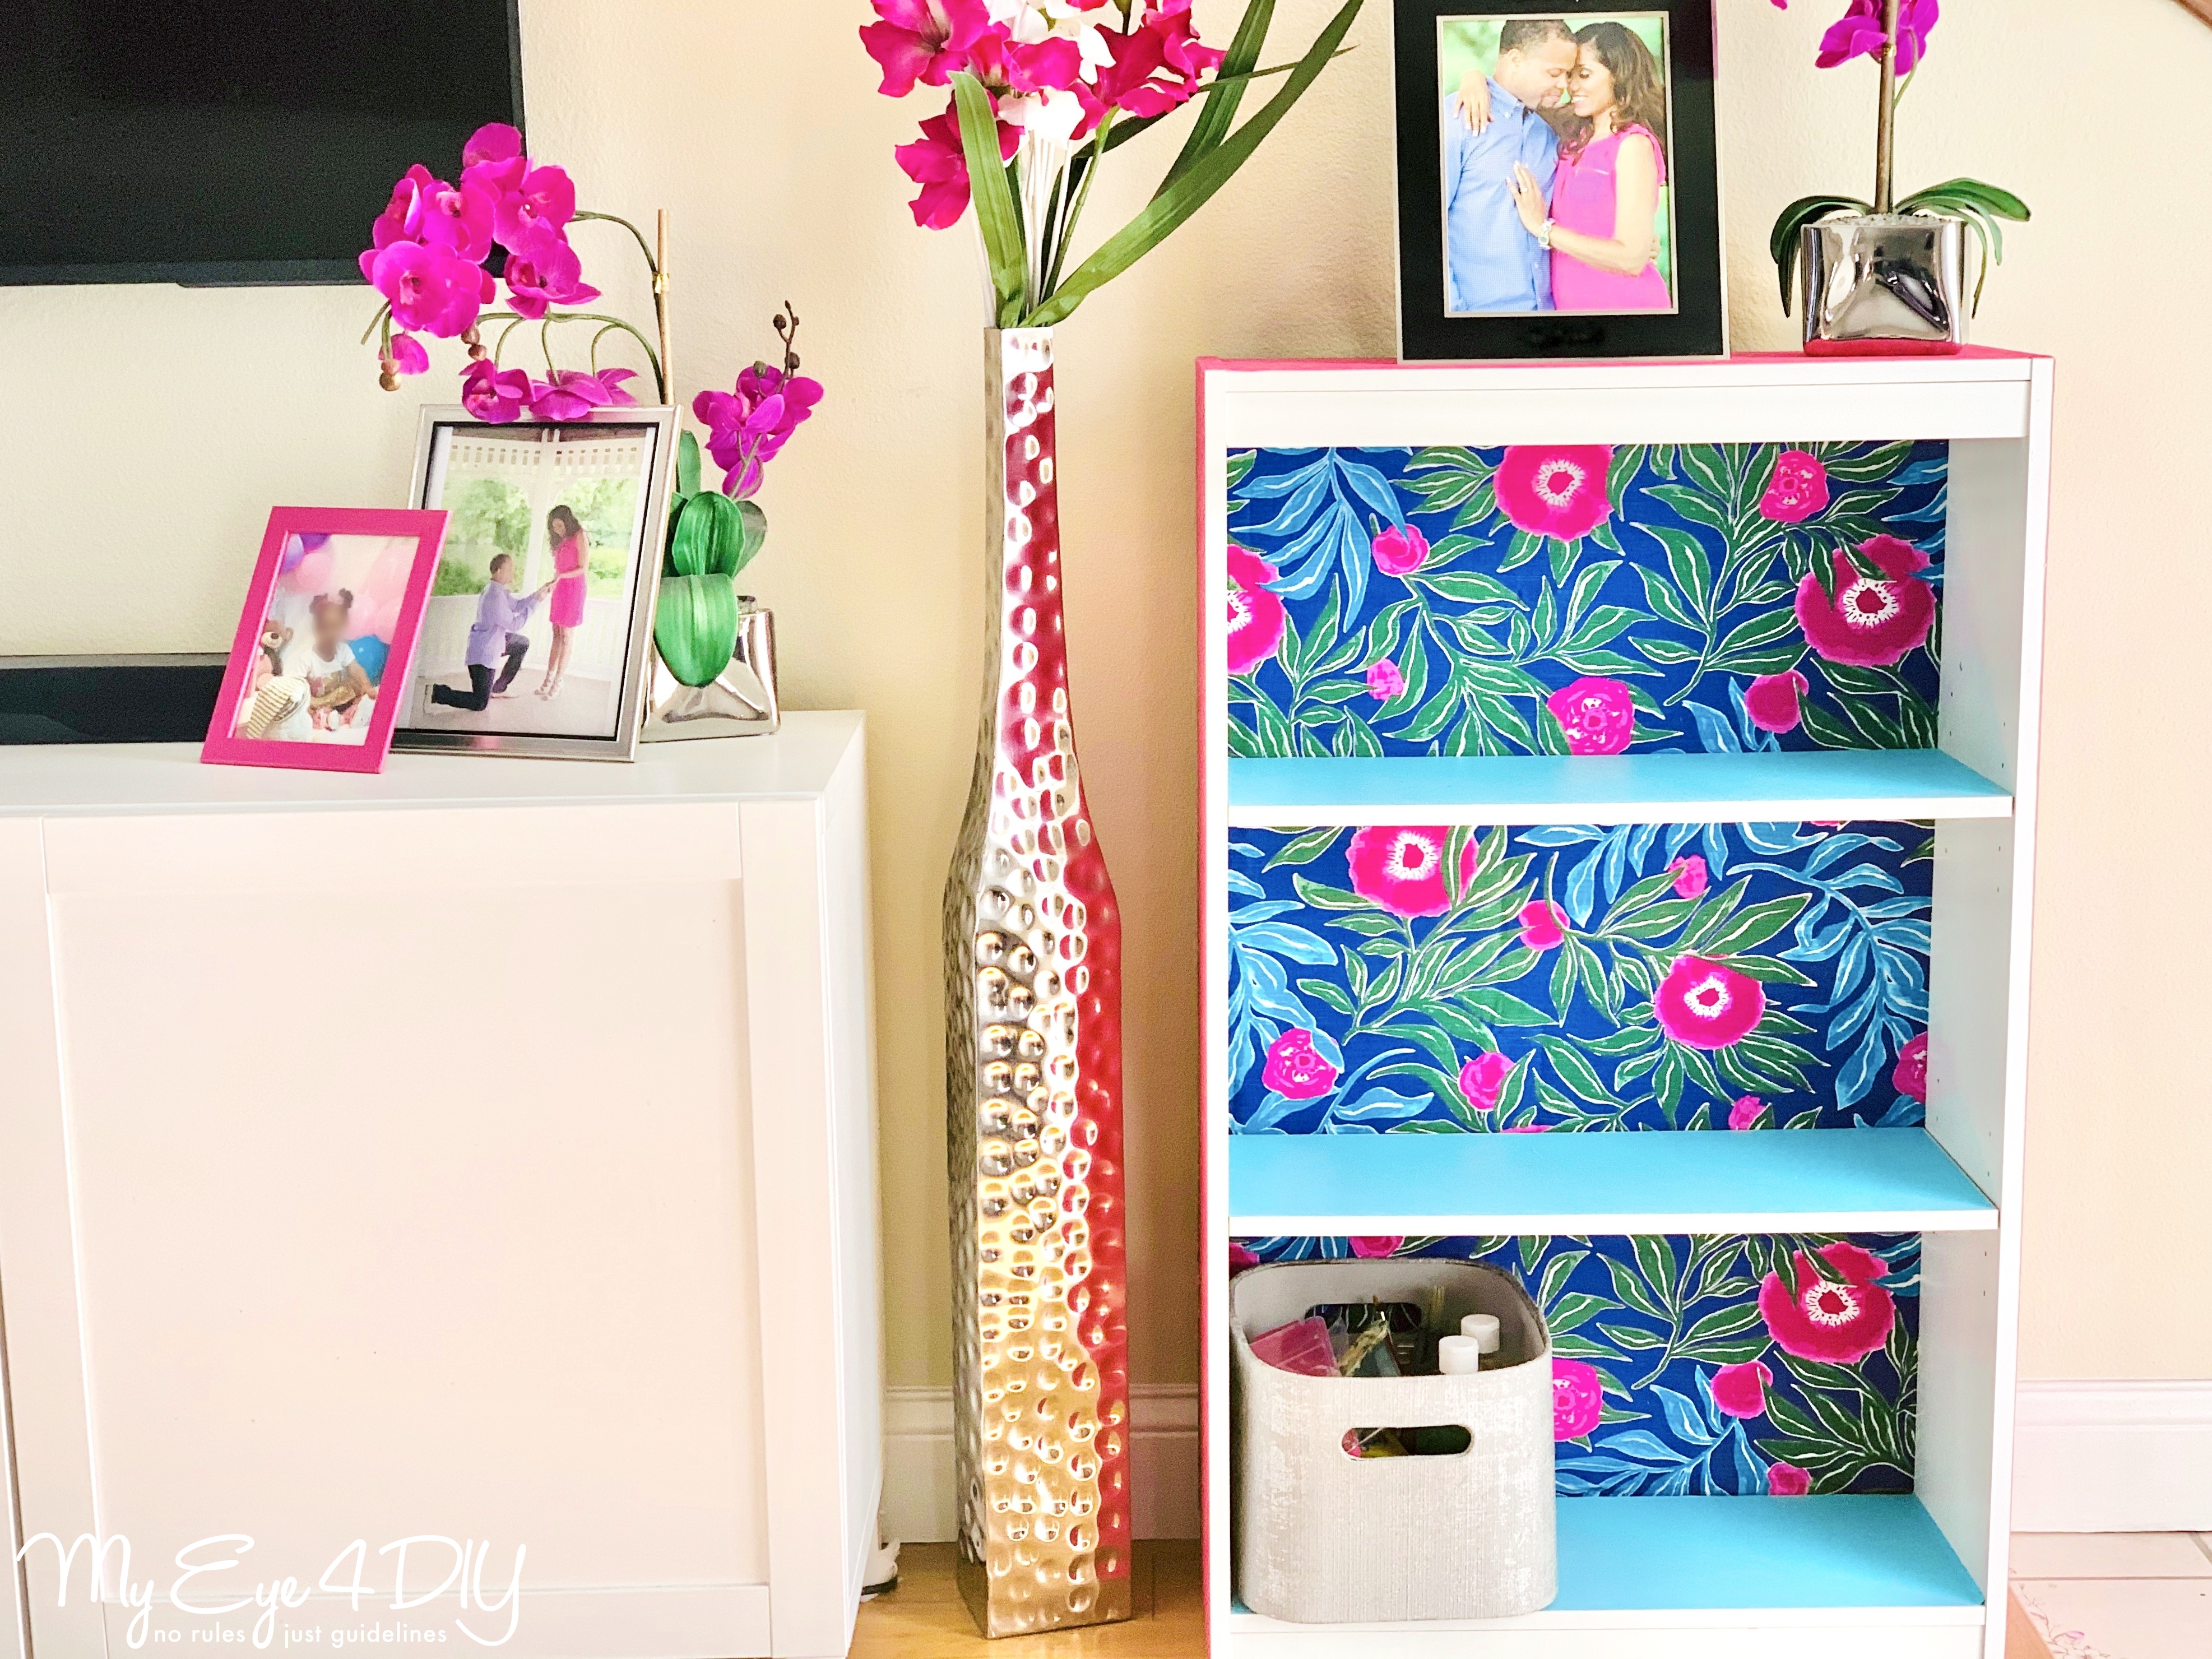

I think it would be really nice to use as extra shelving for your deck during the warm weather months or maybe a fun craft supply space, there are lots of possibilities.
What’s your style?! Have an extra bookcase in need of rehab? Let me know what materials you would use in the comments below.
See you on the next project – and in the meantime, check out more decor ideas:
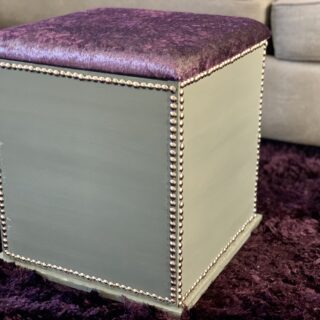
Make a DIY Upholstered Storage Ottoman

Amazon and the Amazon logo are trademarks of Amazon.com, Inc, or its affiliates.
![Make a DIY Upholstered Storage Ottoman [Watch]](http://myeye4diy.com/wp-content/uploads/2020/05/IMG_1060-2-150x150.jpg)


Leave a Reply