As an Amazon Associate I earn from qualifying purchases.
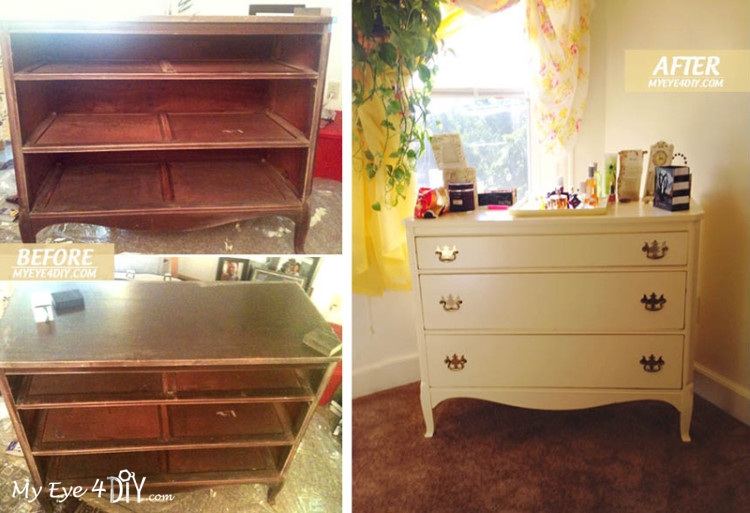
THE STORY…Okay, so you’ll hear me talk about my Mom a lot because we’re one in the same. I get my love of DIY from her. Each time I go home to visit she has project lined up for me to work on. During my last trip, it went something like this:
MOM: I’m so happy you’re here! I want you to make my bedroom dresser over to match my bedroom.
ME: Okkaaayyyy, ummm…I haven’t done that before….
MOM: Oh it will be easy, you’ll figure it out.
ME: Right…okay…well what color do you want to paint it?
MOM: DAH, the same color as everything else in my room, Butter Yellow.
And so the mission began…
SUPPLIES
- 1 Gallon of Butter Yellow Paint (Home Depot) $18
- Sander $3
- Painter Kit (1 Brush/2 Roller) $10
- Plastic to cover floor $.99
No Rules, just Guidelines!
After a Google search on dresser makeovers I found the best way to treat solid wood is as follows:
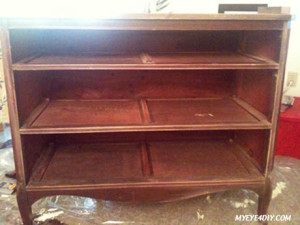
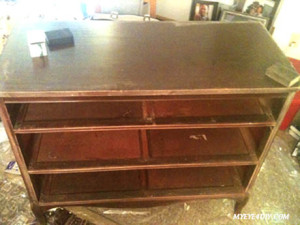 STEP 1: REMOVE DRESSER DRAWERS and unscrew the hardware handles.
STEP 2: WIPE DOWN DRESSER
– Get an old rag and wipe down dresser and drawers to remove any loose residue.
– Take a piece of sandpaper and go over entire dresser, paying close attention to any pieces of wood that look to be lifting. (As sandpaper wears down disgard and get another piece.
– Wipe down dresser again with rag to get rid of all dust residue from sanding.
STEP 3: PRIME DRESSER
– Priming will help cover any imperfections in the wood and prevent the color from bleeding through our top layer of Butter Yellow paint. One coat should do the trick.
STEP 4: PAINT DRESSER
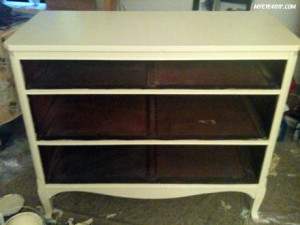
Once primer dry’s, take roller brush and begin painting dresser. Fill in the hard to reach spots with small paint brush. No need to paint the inside of dresser, no one will see once you replace the drawers. (Paint a minimum of two coats.)
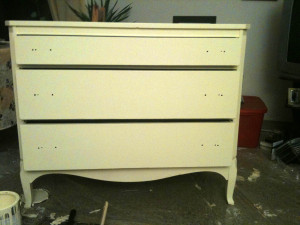
STEP 5: PAINT DRAWERS Again, only paint the front and side of the drawers.
– Painting the entire drawer would create friction when trying to pull the solid wood drawers in and out everyday. (Two coats)
STEP 6: REPLACE HARDWARE HADLES Once dresser is completely dry, screw the handles back on and replace the drawers back in the dresser.
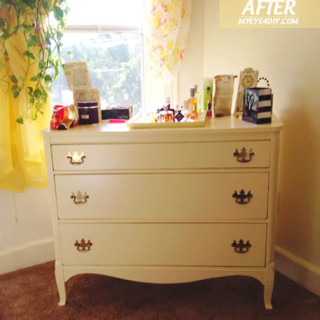
– The original handles of this dresser were a brass/gold color. I thought about painting them black until my Mom suggested I keep them “As is” to give the dresser some “character”.
Well, Mama knows best because it looks fabulous!

Amazon and the Amazon logo are trademarks of Amazon.com, Inc, or its affiliates.



![Make a DIY Upholstered Storage Ottoman [Watch]](http://myeye4diy.com/wp-content/uploads/2020/05/IMG_1060-2-150x150.jpg)




Love it! Your mom was right on…looks amazing! 🙂
Really like your projects! Inspiring, practical, budjet friendly and beautiful. What more could I ask? Thanks so much for sharing. Like the bling aspect too!
Thanks Dee! I really appreciate that! Stay tuned, I have some fun projects coming up in 2017 and a new episode of DIY my House that will have multiple DIY projects all in one episode!