As an Amazon Associate I earn from qualifying purchases.
On the latest episode of DIY My House…
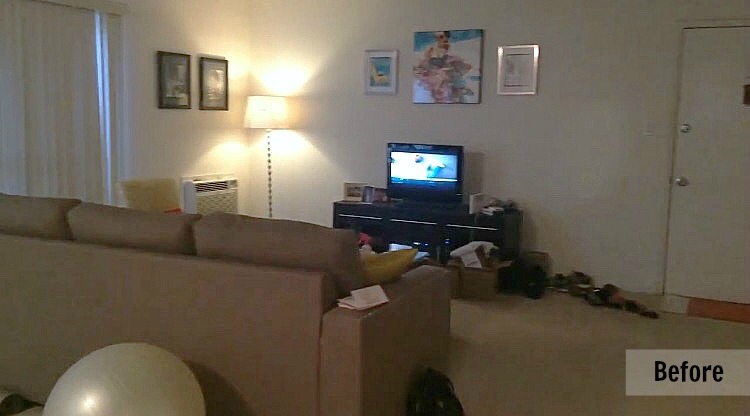
Spring is here and many of us have aspirations of decorating or refreshing our living spaces whether we’re home owners or renters. The living room is a great place to start and I have a few ideas to jumpstart the process on a modest budget!
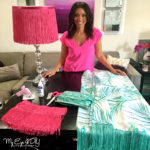
My friend Trish was the perfect candidate, she needed something “New & Fresh!”. Take a look at how I transformed her living space using a few key tips and several easy DIY projects!
 You don’t always need an interior designer to transform your space! Just answer these questions and following the easy steps below for a Fresh, New Space of your very own!
TIP ONE: ANSWER THESE QUESTIONS
1) Who lives here & how will living room be used?
2) What’s your style for the space? (Modern,Traditional, bo-ho-chic, etc.)
3) What’s your color scheme?
4) What existing pieces do you LOVE? (Keep them in order to lower budget.)
TIP TWO: FOLLOW THESE STEPS
1) Sell what you can & use profit as part of budget.
2) Measure entire room, draw rough sketch of floor plan to scale and place furniture/decor where you think it should go.
3) Create a budget & decide what items are needed to make your space functional.
4) Create a shopping list that does NOT exceed your budget.
SHOPPING TIPS:
– Start by shopping your local, budget friendly stores to see what we can find on your shopping list.
– Browse sites like Craigslist, OfferUp & Facebook Market place for discounted furniture pieces. You can often negotiate prices.
– Anything you can’t find in stores, order on-line. Don’t waste time trying to travel to every store in your area.
5) If you have DIY ideas of your own or like any of the projects in my video, begin work on them to allow time to dry & settle before you begin to install all the elements of the room makeover.
(Note: If you decide to paint any walls you should do so at this point as well.)
6) While DIY projects dry, remove all the furniture pieces and decor you will no longer be using and begin to install curtains and all your new decor/furniture pieces.
7) Once complete, move all your DIY projects into place.
8) Add all your accessory pieces.
9) Lastly, grab a refreshing Spring beverage, sit down on your couch and marvel at your new space!
TRISH’S DESIGN PLAN:
HER BUDGET: $875
THE PLAN:
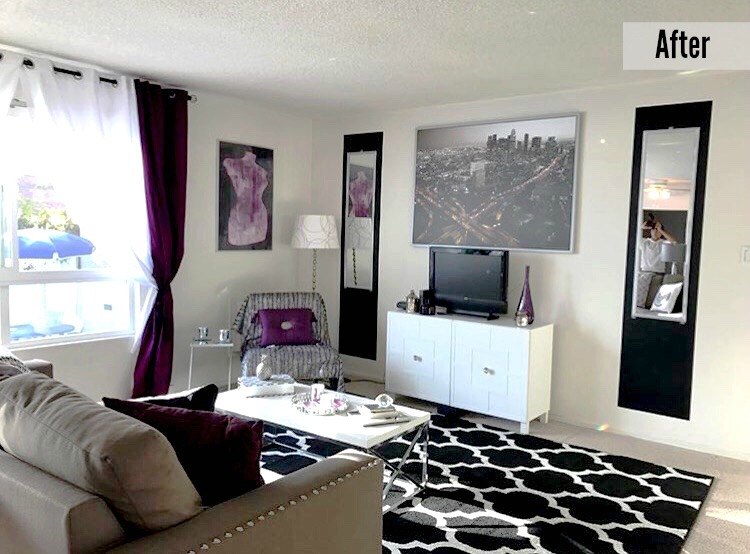
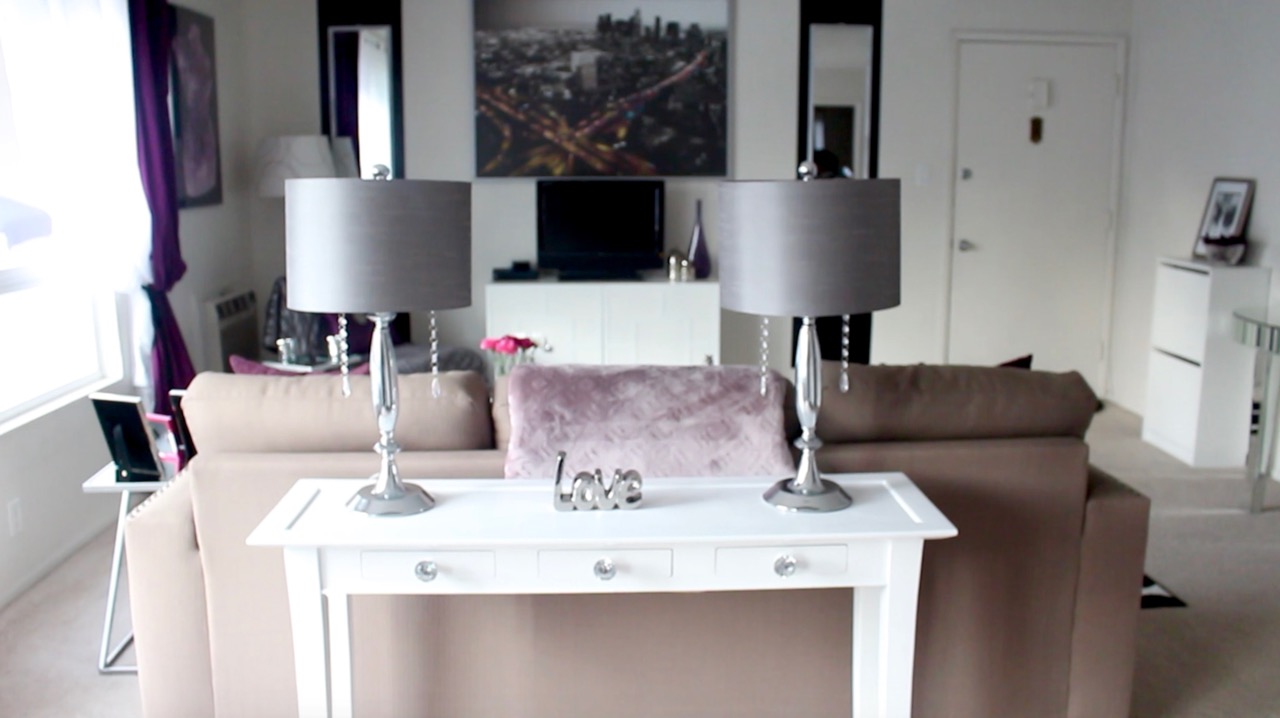
– Trish really likes the ‘Old Hollywood” feel so we decided on a black and white color scheme with pops of purple.
– We’ll take advantage of her beautiful bay window by adding a window treatment that brings in more natural day light.
– Trish only has one light source, we’ll add a couch console & table lamps to bring in more light during the evening hours.
– I’ll incorporate a reading area with her existing accent chair.
– I’ll also create an accent wall and bring in a new, modern DIY TV stand.
– Lastly I’ll swap out her old coffee table and replace it with a modern design.
SHOPPING LIST
– 8×10 Area Rug $140
– New Coffee Table – $75
– New DIY TV Stand – $235
– Window Curtains/Hardware for the windows – $60
– Couch Throw Pillows – $50
– DIY Wall Art – $27
– Large Framed Wall Art Print – $50
– Couch Console Table & DIY Supplies – $77
– (2) Table Lamps – $40
– (2) End Tables – $30
– Overlays – $75
– Accessories/DIY Supplies – Money from sale of TV stand and Coffee Table ($100)
TOTAL SHOPPING BUDGET: $854 (It does not exceed our original budget above!)
BEGIN WORK ON ALL DIY PROJECTS TO ALLOW THEM TIME TO DRY AND SETTLE BEFORE THE ROOM INSTALL.
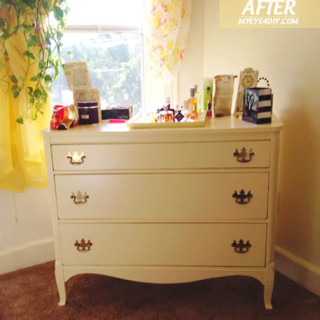
DIY PROJECT #1: CONSOLE TABLE MAKEOVER
To provide another light source, I added a console table to the back of Trish’s couch & placed two lamps on top. To save money, I found a console table at my local Salvation Army for $37 and purchased the supplies to make it over.
SUPPLIES: Paint $10, Primer $10, Console Table $37, Paint Roller $5, Top coat $10, Diamond Drawer Knobs $5 – TOTAL: $77


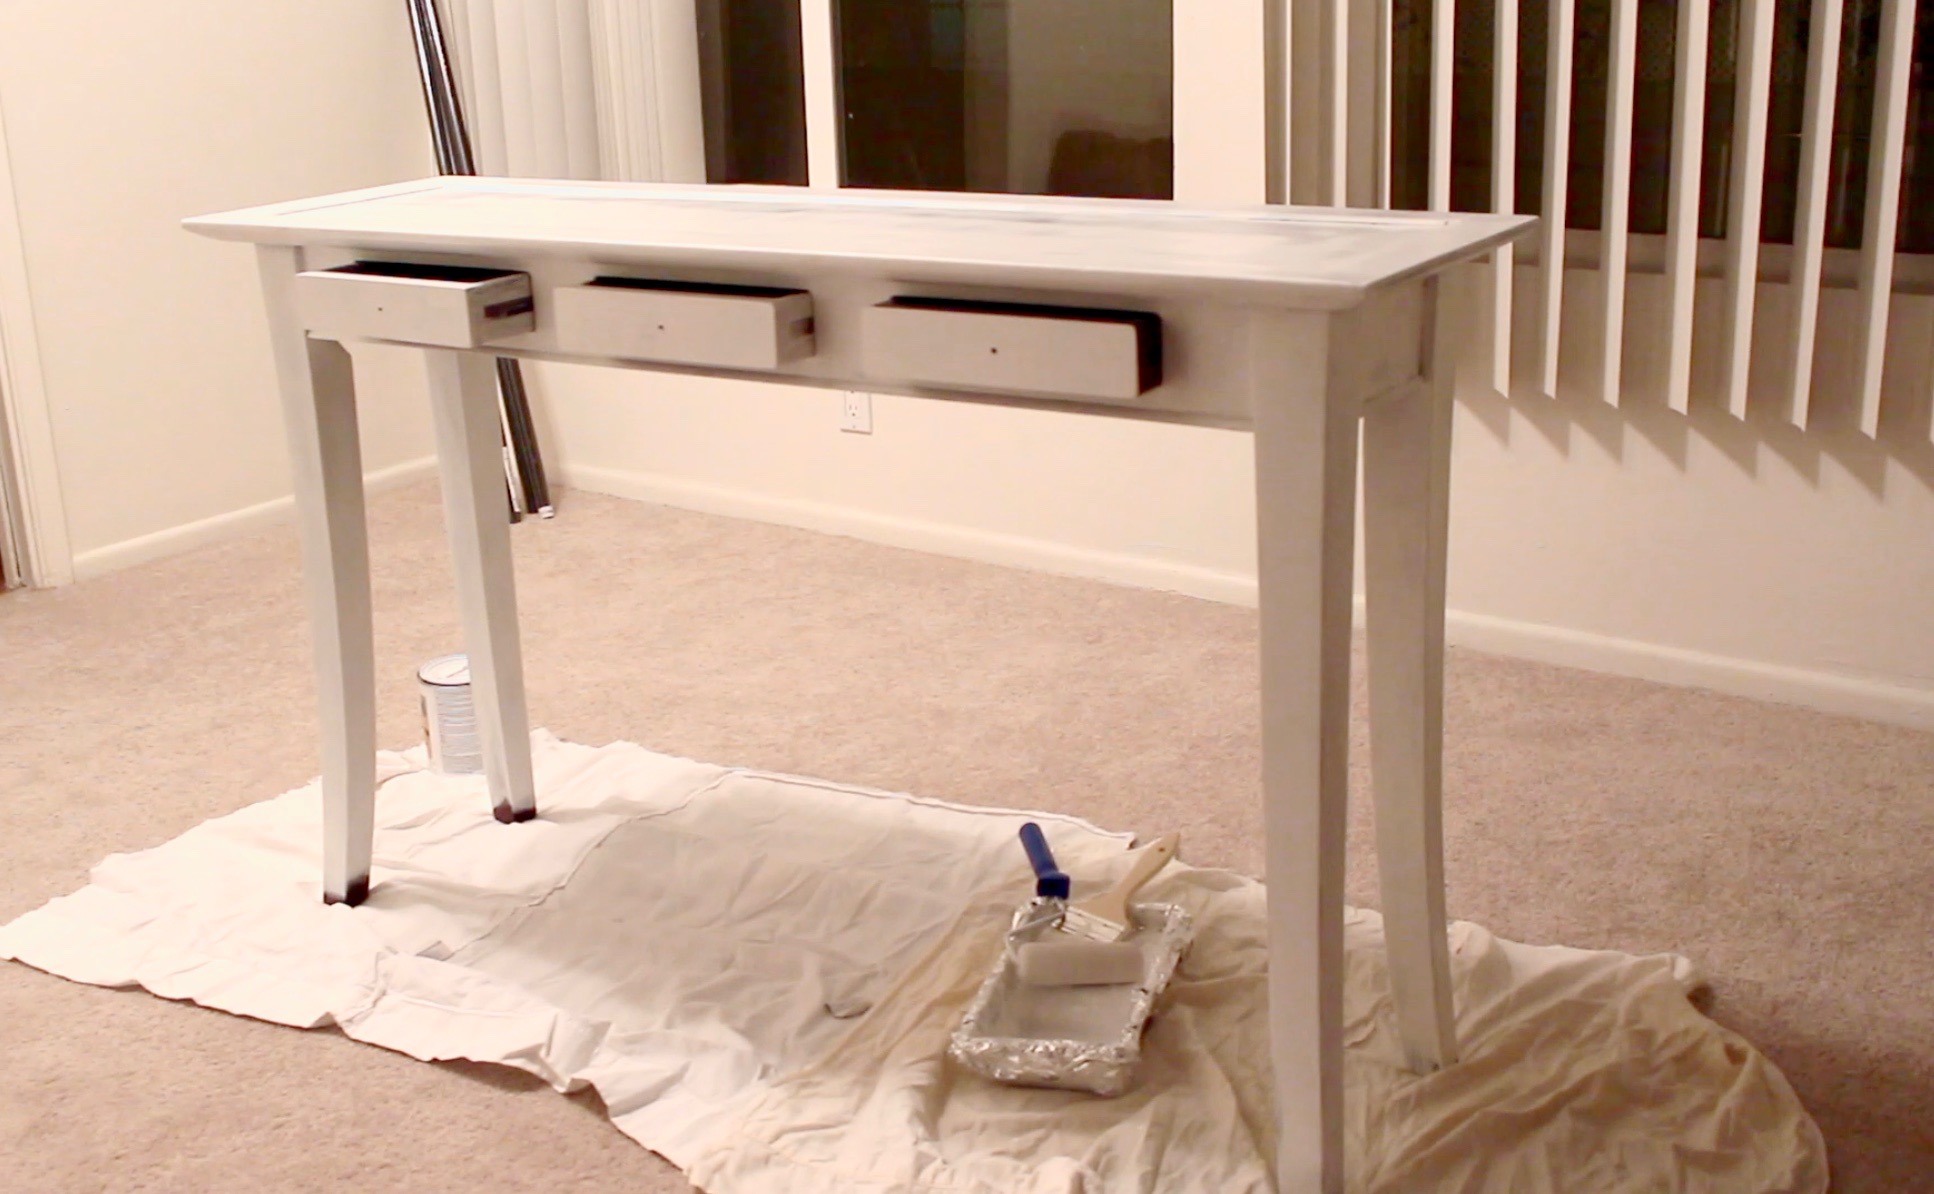
Step 1: Using a roller and paintbrush, apply two coats of primer and allow it to dry overnight.
Step 2: Apply two coats of white paint, change the drawer handles, add a top coat to prevent scratching and you are all done!
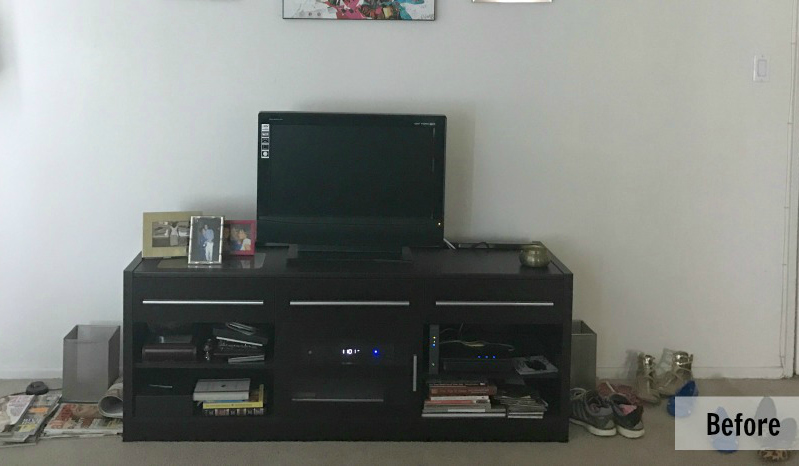
 DIY PROJECT #2: DIY TV STAND
Trish was tired of looking at her old bulky TV stand. I sold her existing stand & used the money to put towards the IKEA BESTA Storage unit with doors. I also ordered a set of overlays to apply to the doors to give it a touch of class.
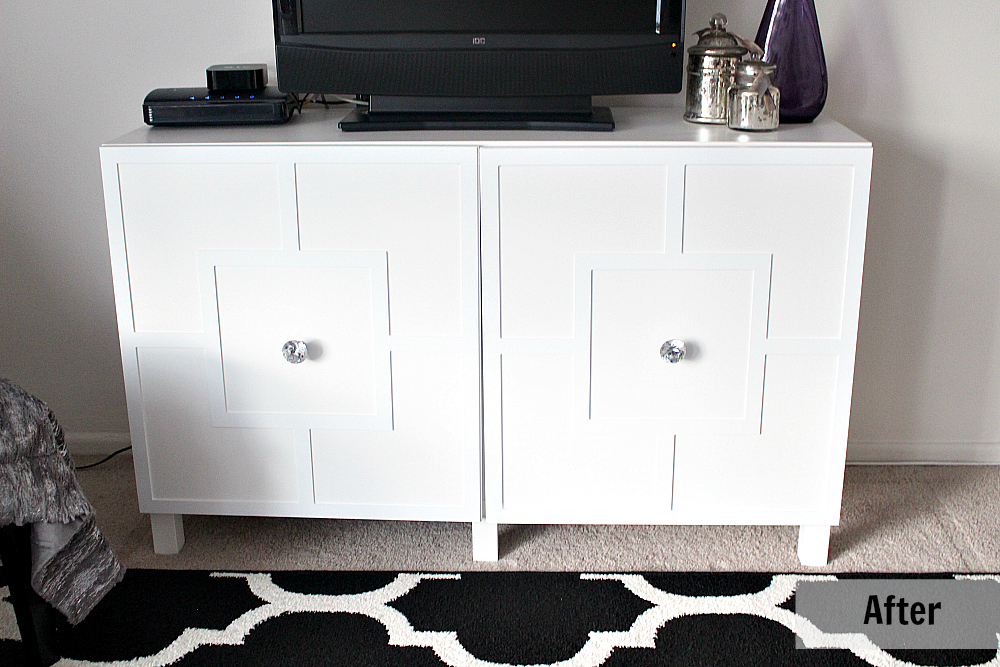
SUPPLIES: Besta TV Unit $89, (2) Besta Doors $30, (2) Besta Shelves $10, (6) Stand Legs $30, (2) Overlays $75, Door Pulls (used remaining 2 knobs from Console Table), – Total $240
Step 1: I assembled the Ikea Besta Storage Unit.

Step 2: I cleaned off the surface of the doors to remove all dust/dirt.
Step 3: One by one, I took the overlays & applied E6000 adhesive on the back to adhere them to the front of each door. To hold them in place while they dried, I used clamps.
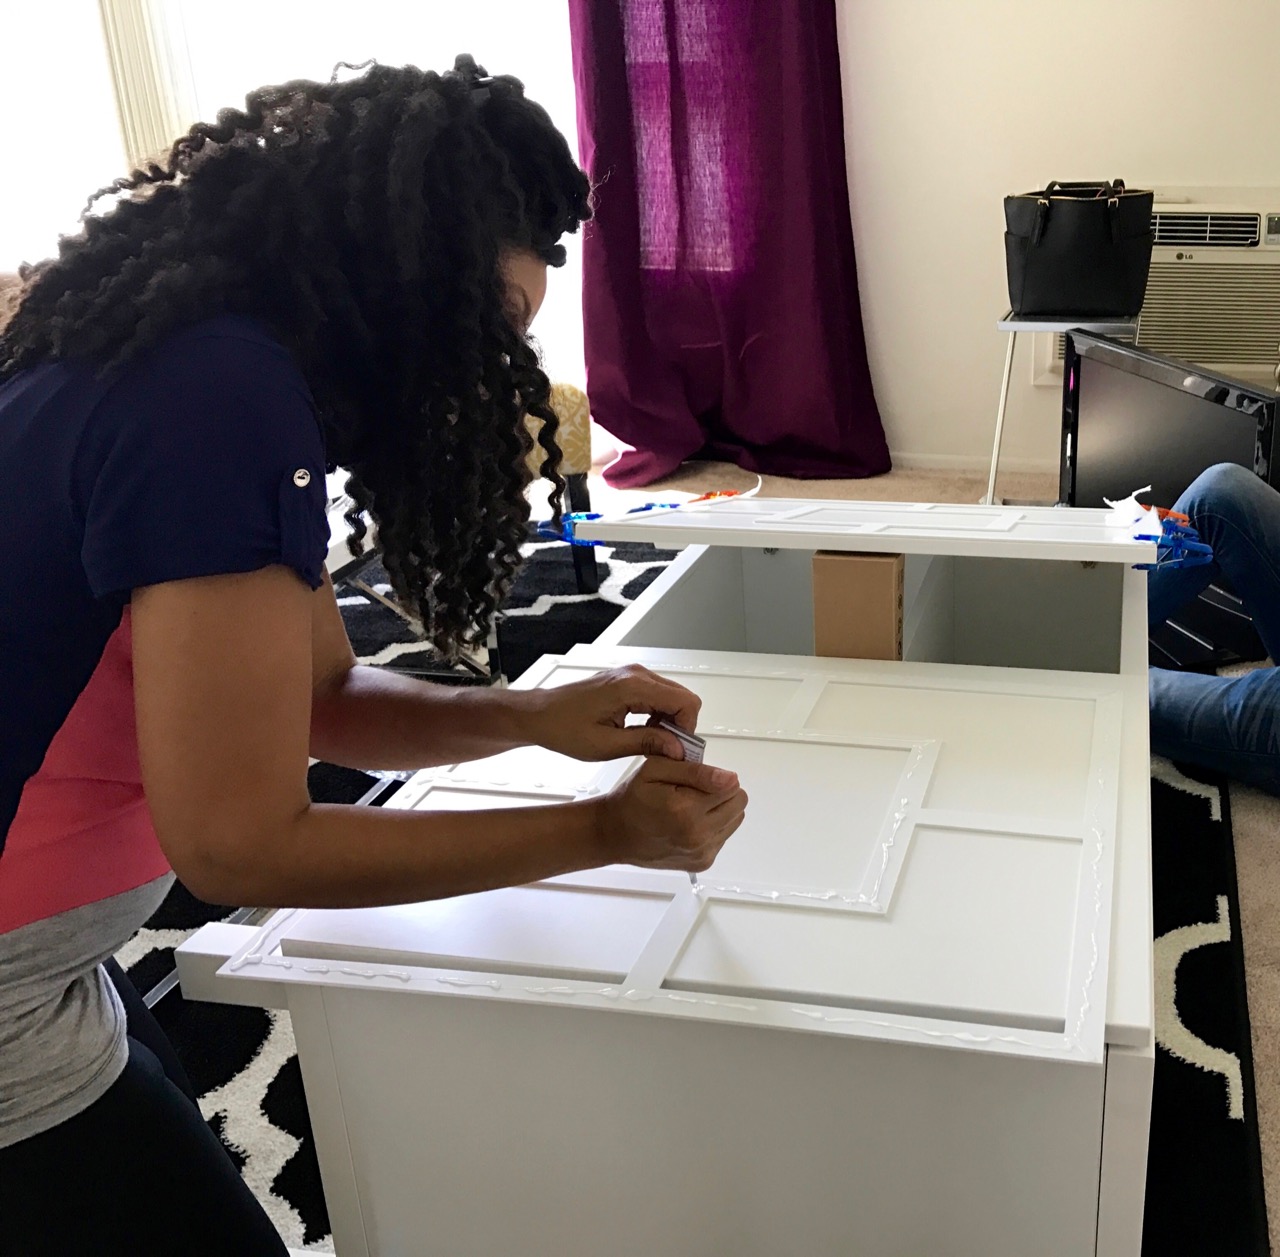
Step 4: Allow to dry for a few hours, overnight to be safe.
Step 5: Once dry, I drilled a whole through the center of each draw.
TIPS:
– You can paint the overlays before applying to furniture to achieve a different look. I was going for a modern/sleek design so I kept everything white.
– I attached diamond door handles to the center of doors to finish off the look.
Trish now has a stylized TV stand that would have cost double the price if we purchased at a retail outlet.
DIY PROJECT #3: TABLE LAMP ENHANCEMENT
To provide Trish with additional lighting I added two table lamps to her console table and enhanced them with acrylic diamond droplets for a touch a modern sophistication.
SUPPLIES: Fish-wire $3, (4) Acrylic Hanging Crystal Beads with Tear Drop $6.99 (They come in a 12 pack).
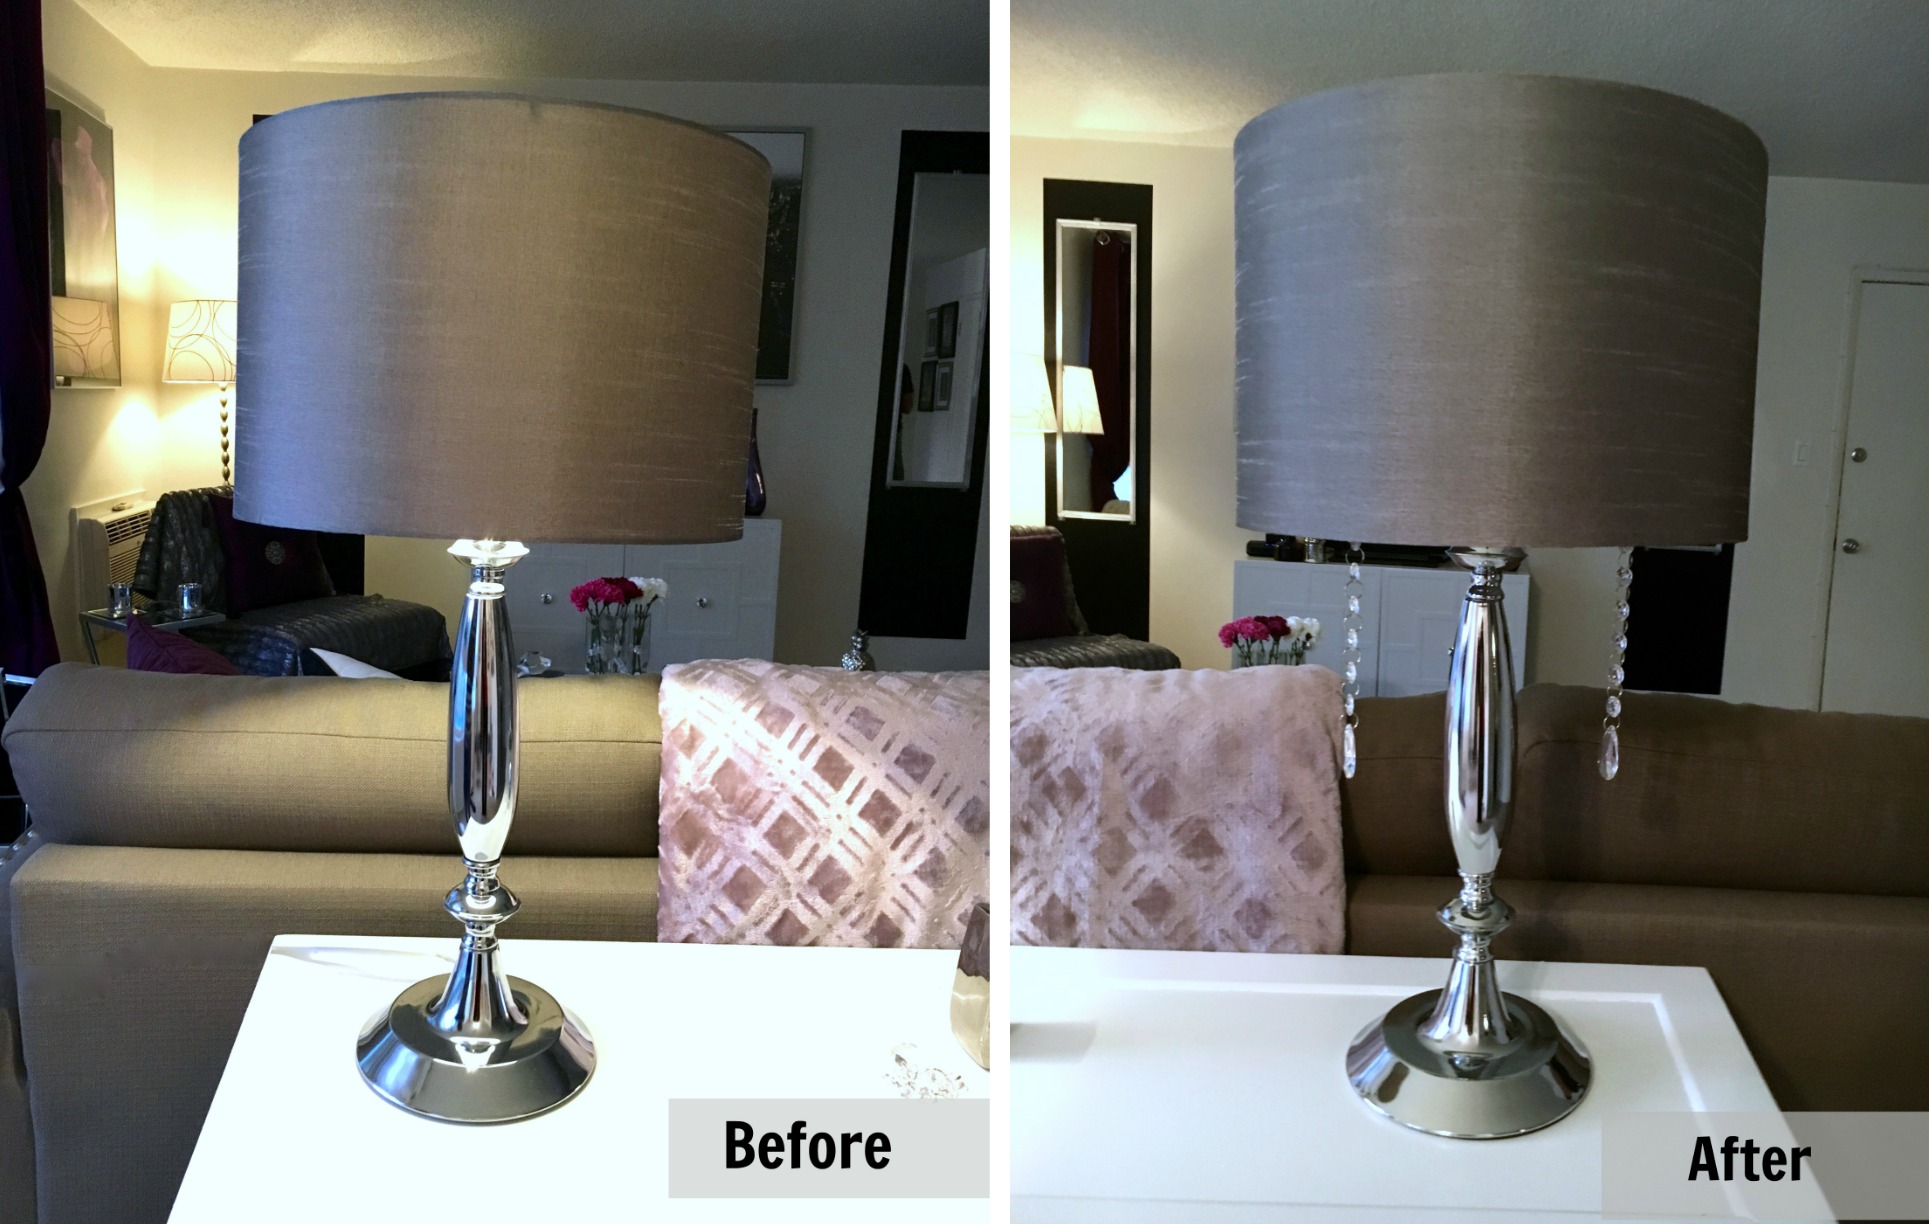
 Step 1: I purchased simple/inexpensive lamps that complimented our design style.
Step 2: I ordered the Acrylic Hanging Crystal Beads from Amazon.
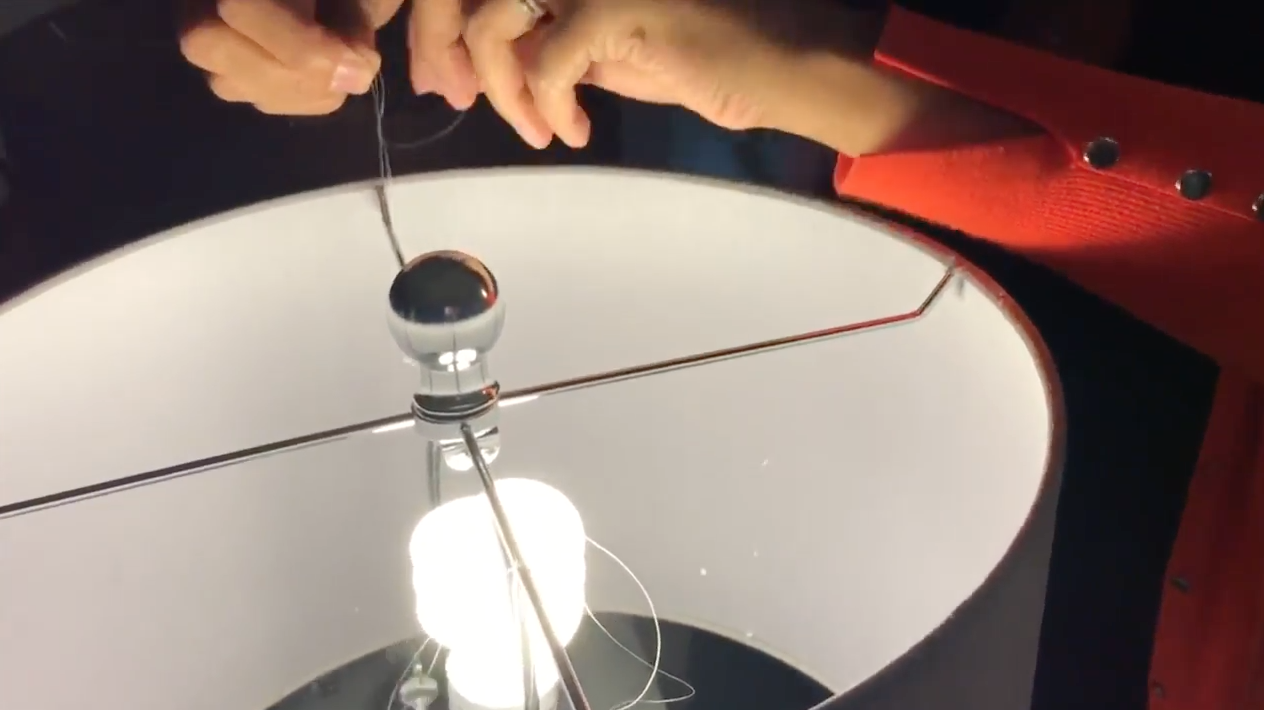
Step 3: I added two strands of the beads to each lamp by running fishing wire to the top loops of each strand of beads.
Step 4: I secured the strands to the top of each lamp by wrapping the fish wire around the medal frame and tying several knots.
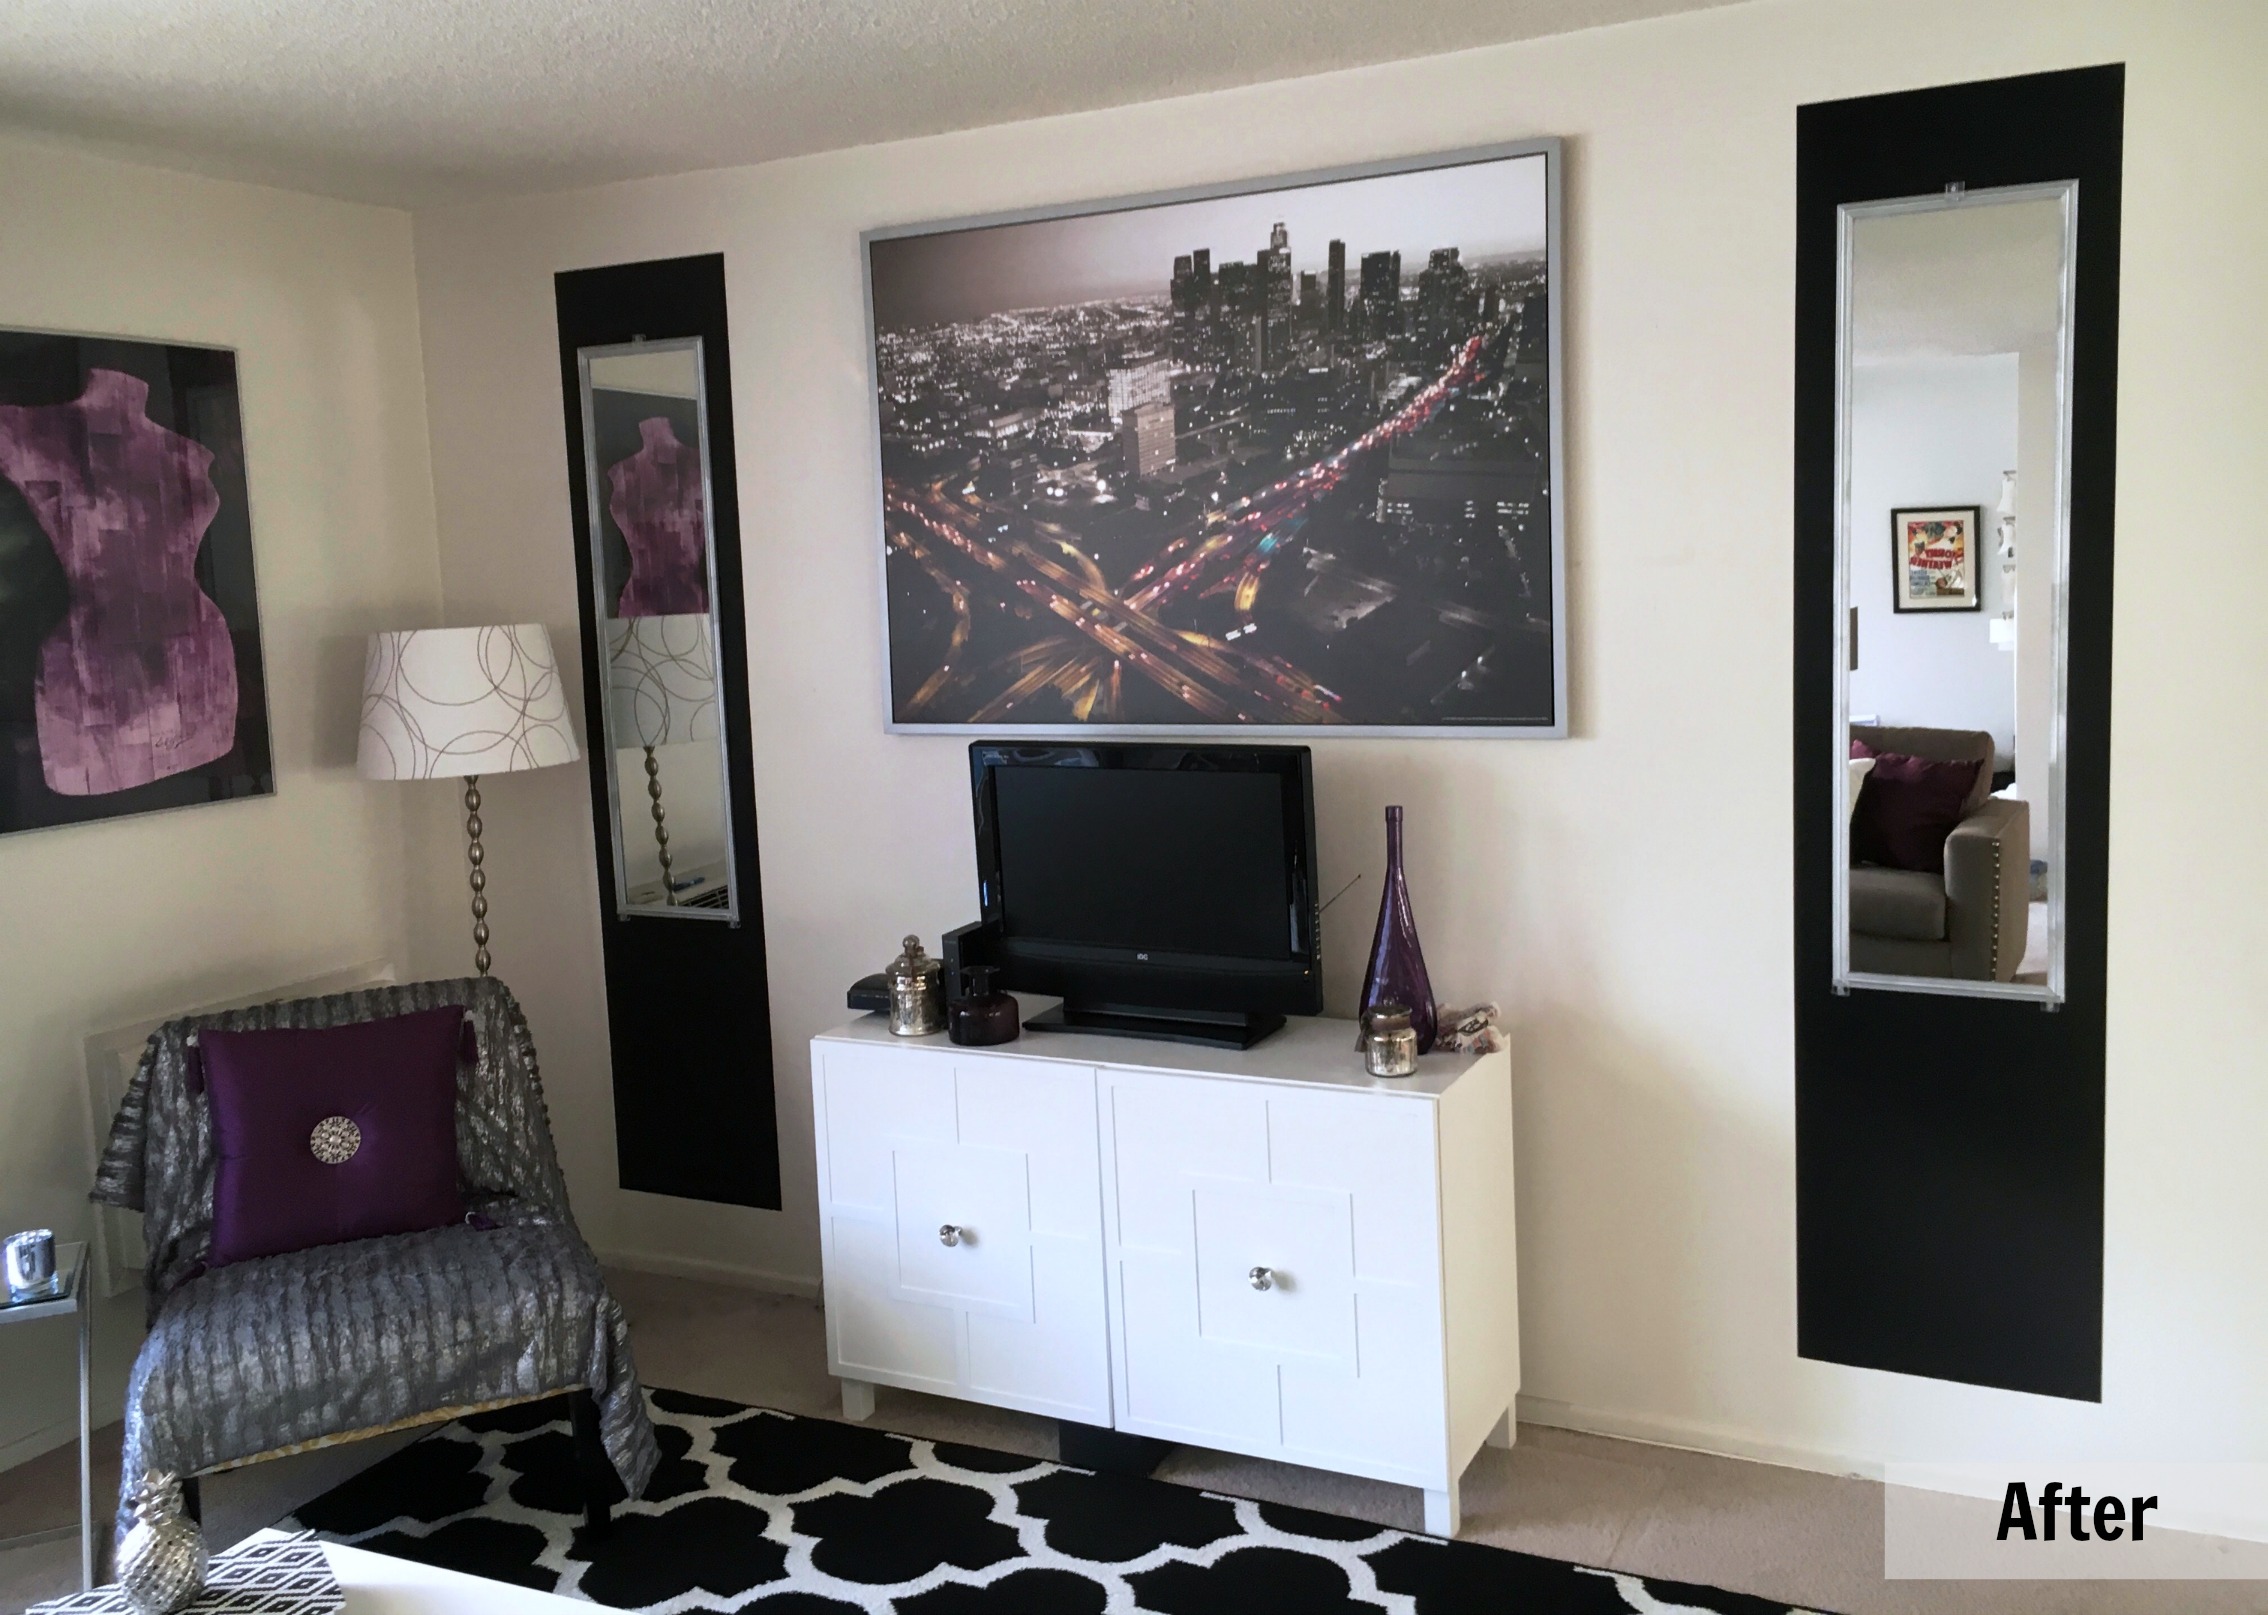
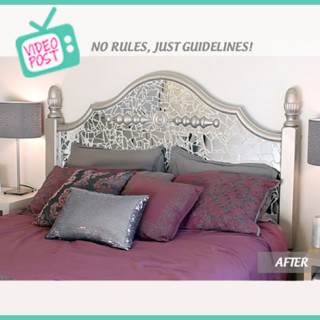
DIY PROJECT #4: CREATING AN ACCENT WALL WITHOUT PAINT
I created wall panels to add color & balance out Trish’s main accent wall since she lives in a rental and didn’t want to paint.
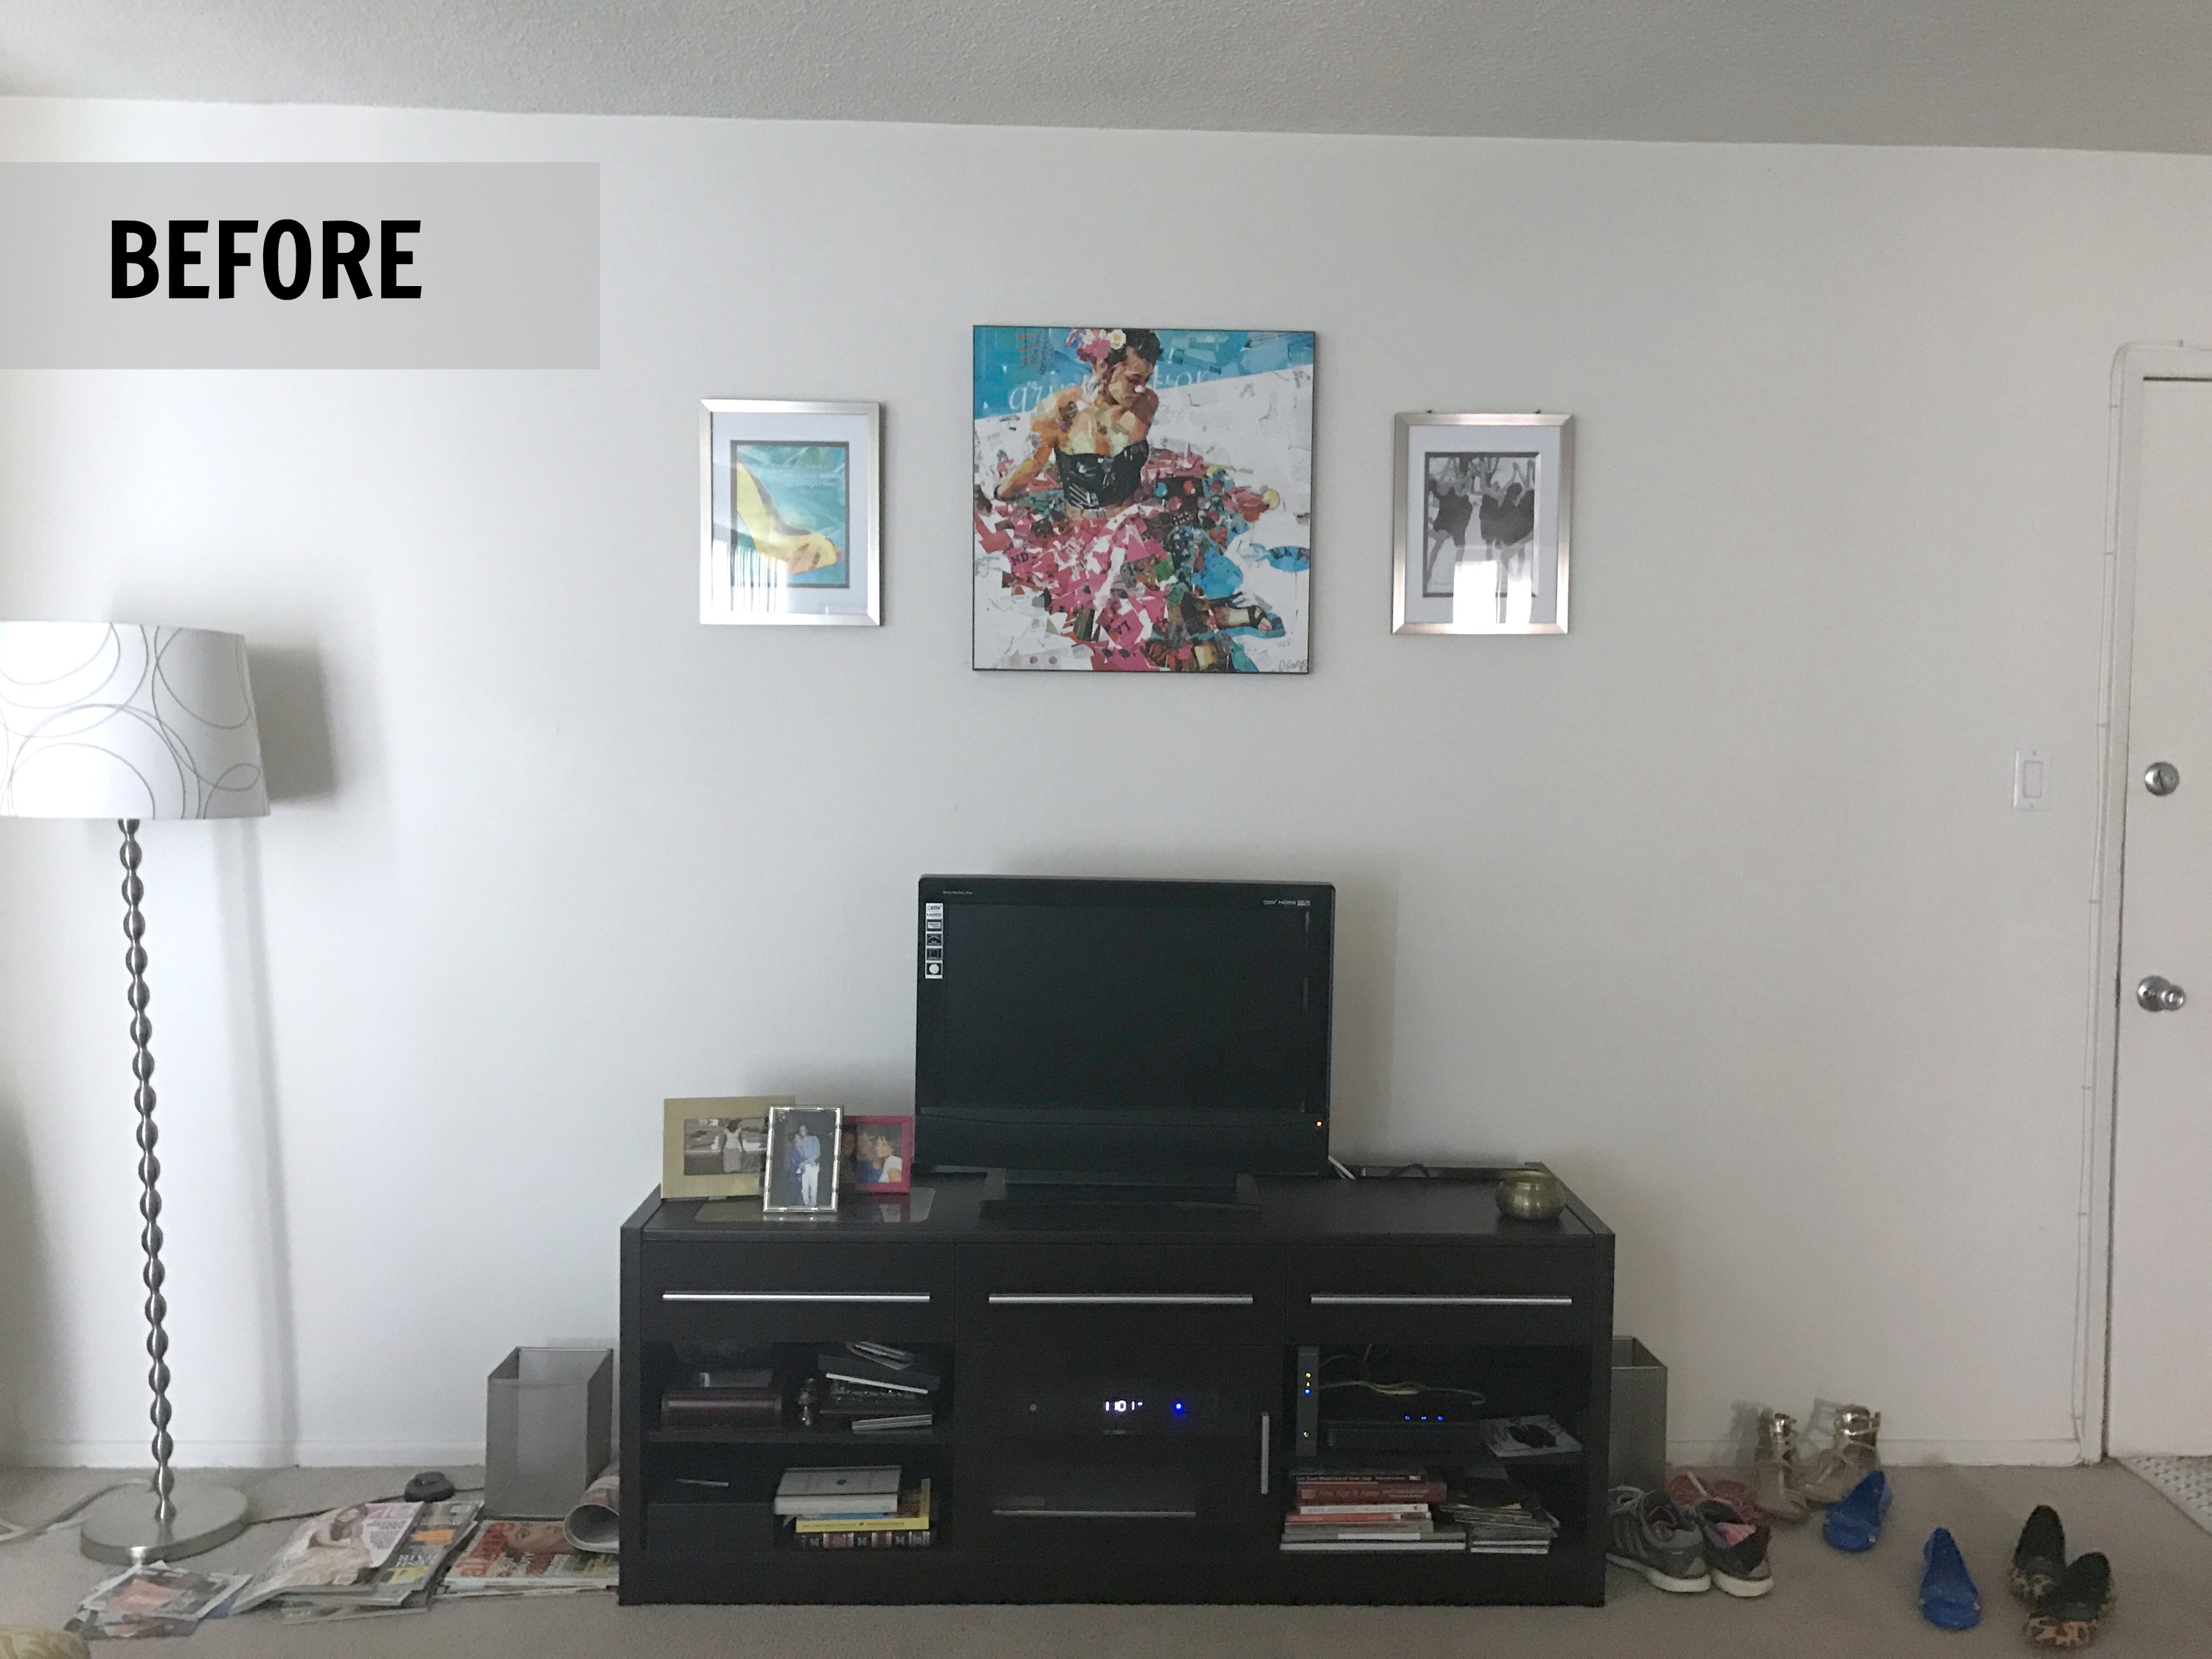
SUPPLIES: Faux Black Leather Contact paper $8, (2) Over the door mirrors $11, Can of Silver Spray paint $4, (2) Packs of Mirror clips $4, Framed Wall Art (Ikea) $50 – Total $77
 Step 1: To achieve this look, we first had to spray paint the frames of 2 $5 over the door mirrors. We protected the mirrors by taping bubble wrap to them, then took them outside to spray paint the frames silver, which I chose so they would match the frame of the LA City Scape poster that would accompany them on the accent wall. The mirrors were dry within an hour!
STEP 2: We hung the framed wall art from Ikea in the center of the accent wall.
Step 3: To create the wall panels, I used faux black leather contact paper which would be applied to the wall. The width was perfect so we just rolled out the paper and cut two pieces 84 in long.
STEP 4: We applied one panel on both sides of the LA City Scape wall art by peeling off the wax paper on the back of the contact paper and sticking each panel to the wall.
STEP 5: We added the mirrors to the center of each panel using mirror clips.
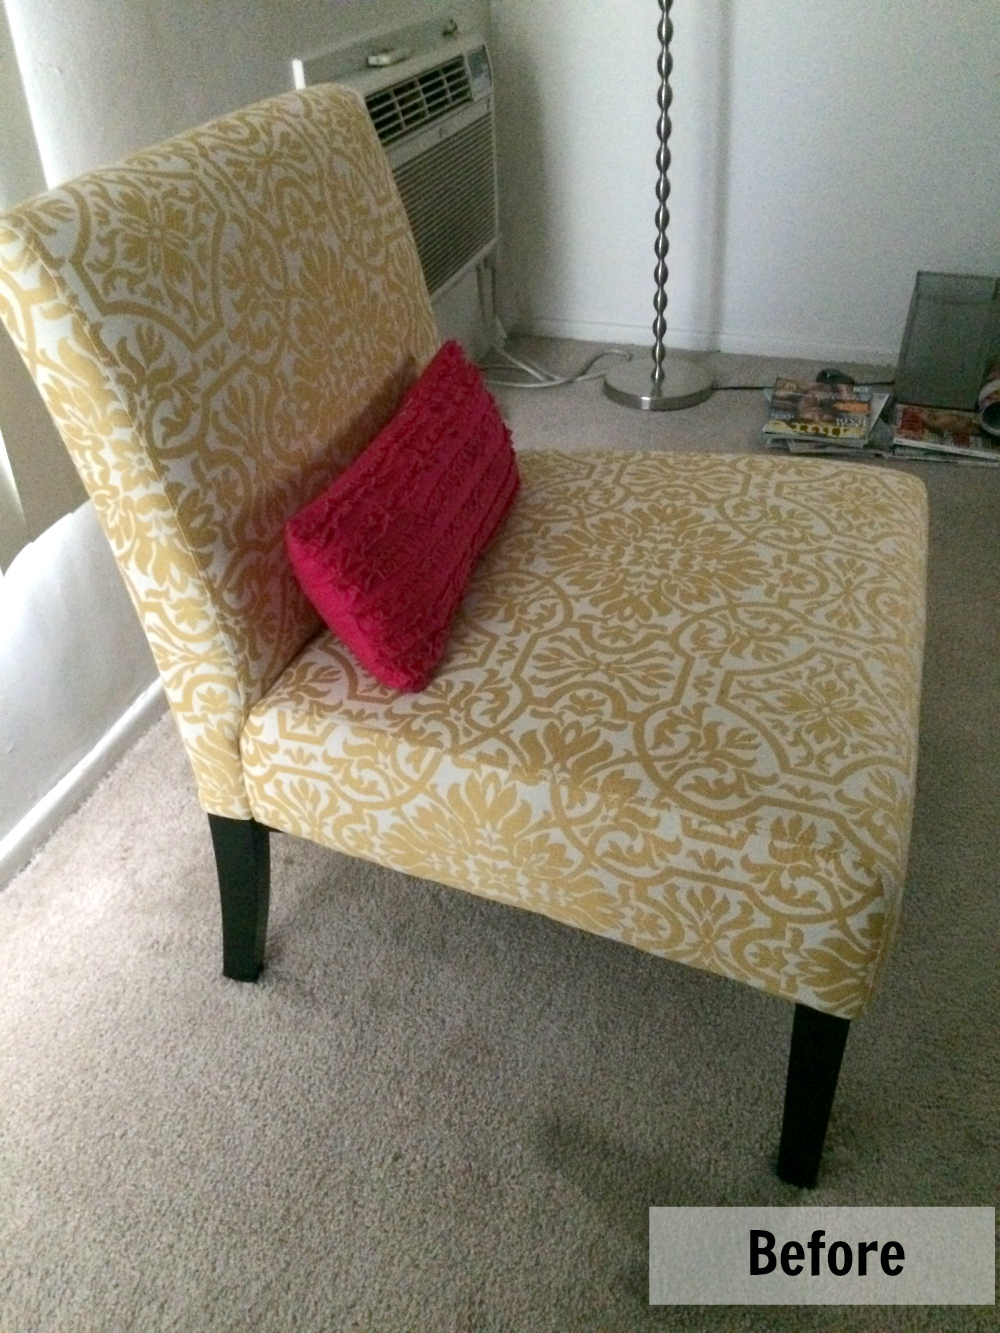
DIY PROJECT #5: ACCENT CHAIR REBOOT
To save money on seating, I covered Trish’s existing accent chair.
SUPPLIES: Faux Fur Silver throw – $13 (Marshalls Stores), Accent Pillow $6 (Ross Stores)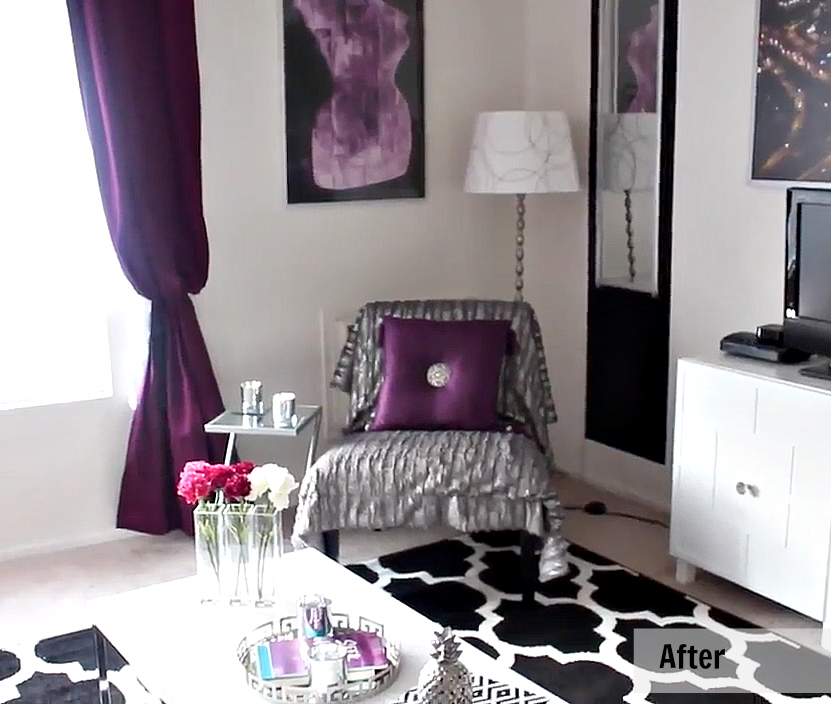
Step 1: I purchased an inexpensive faux fur silver throw blanket. I threw it on top of her existing chair and tucked it into the creases to make it look neat.
Step 2: I added a small accent pillow to top it off.
By slightly adjusting the location of the chair and adding a side table, Trish has a new reading area to enjoy and a place for guests to relax when she has company.
AFTER COMPLETING ALL THE DIY PROJECTS, YOU SHOULD REMOVE THE EXISTING FURNITURE AND DECOR THAT YOU’LL NO LONGER BE USING & BEGIN INSTALLING NEW DECOR/FURNITURE PIECES.
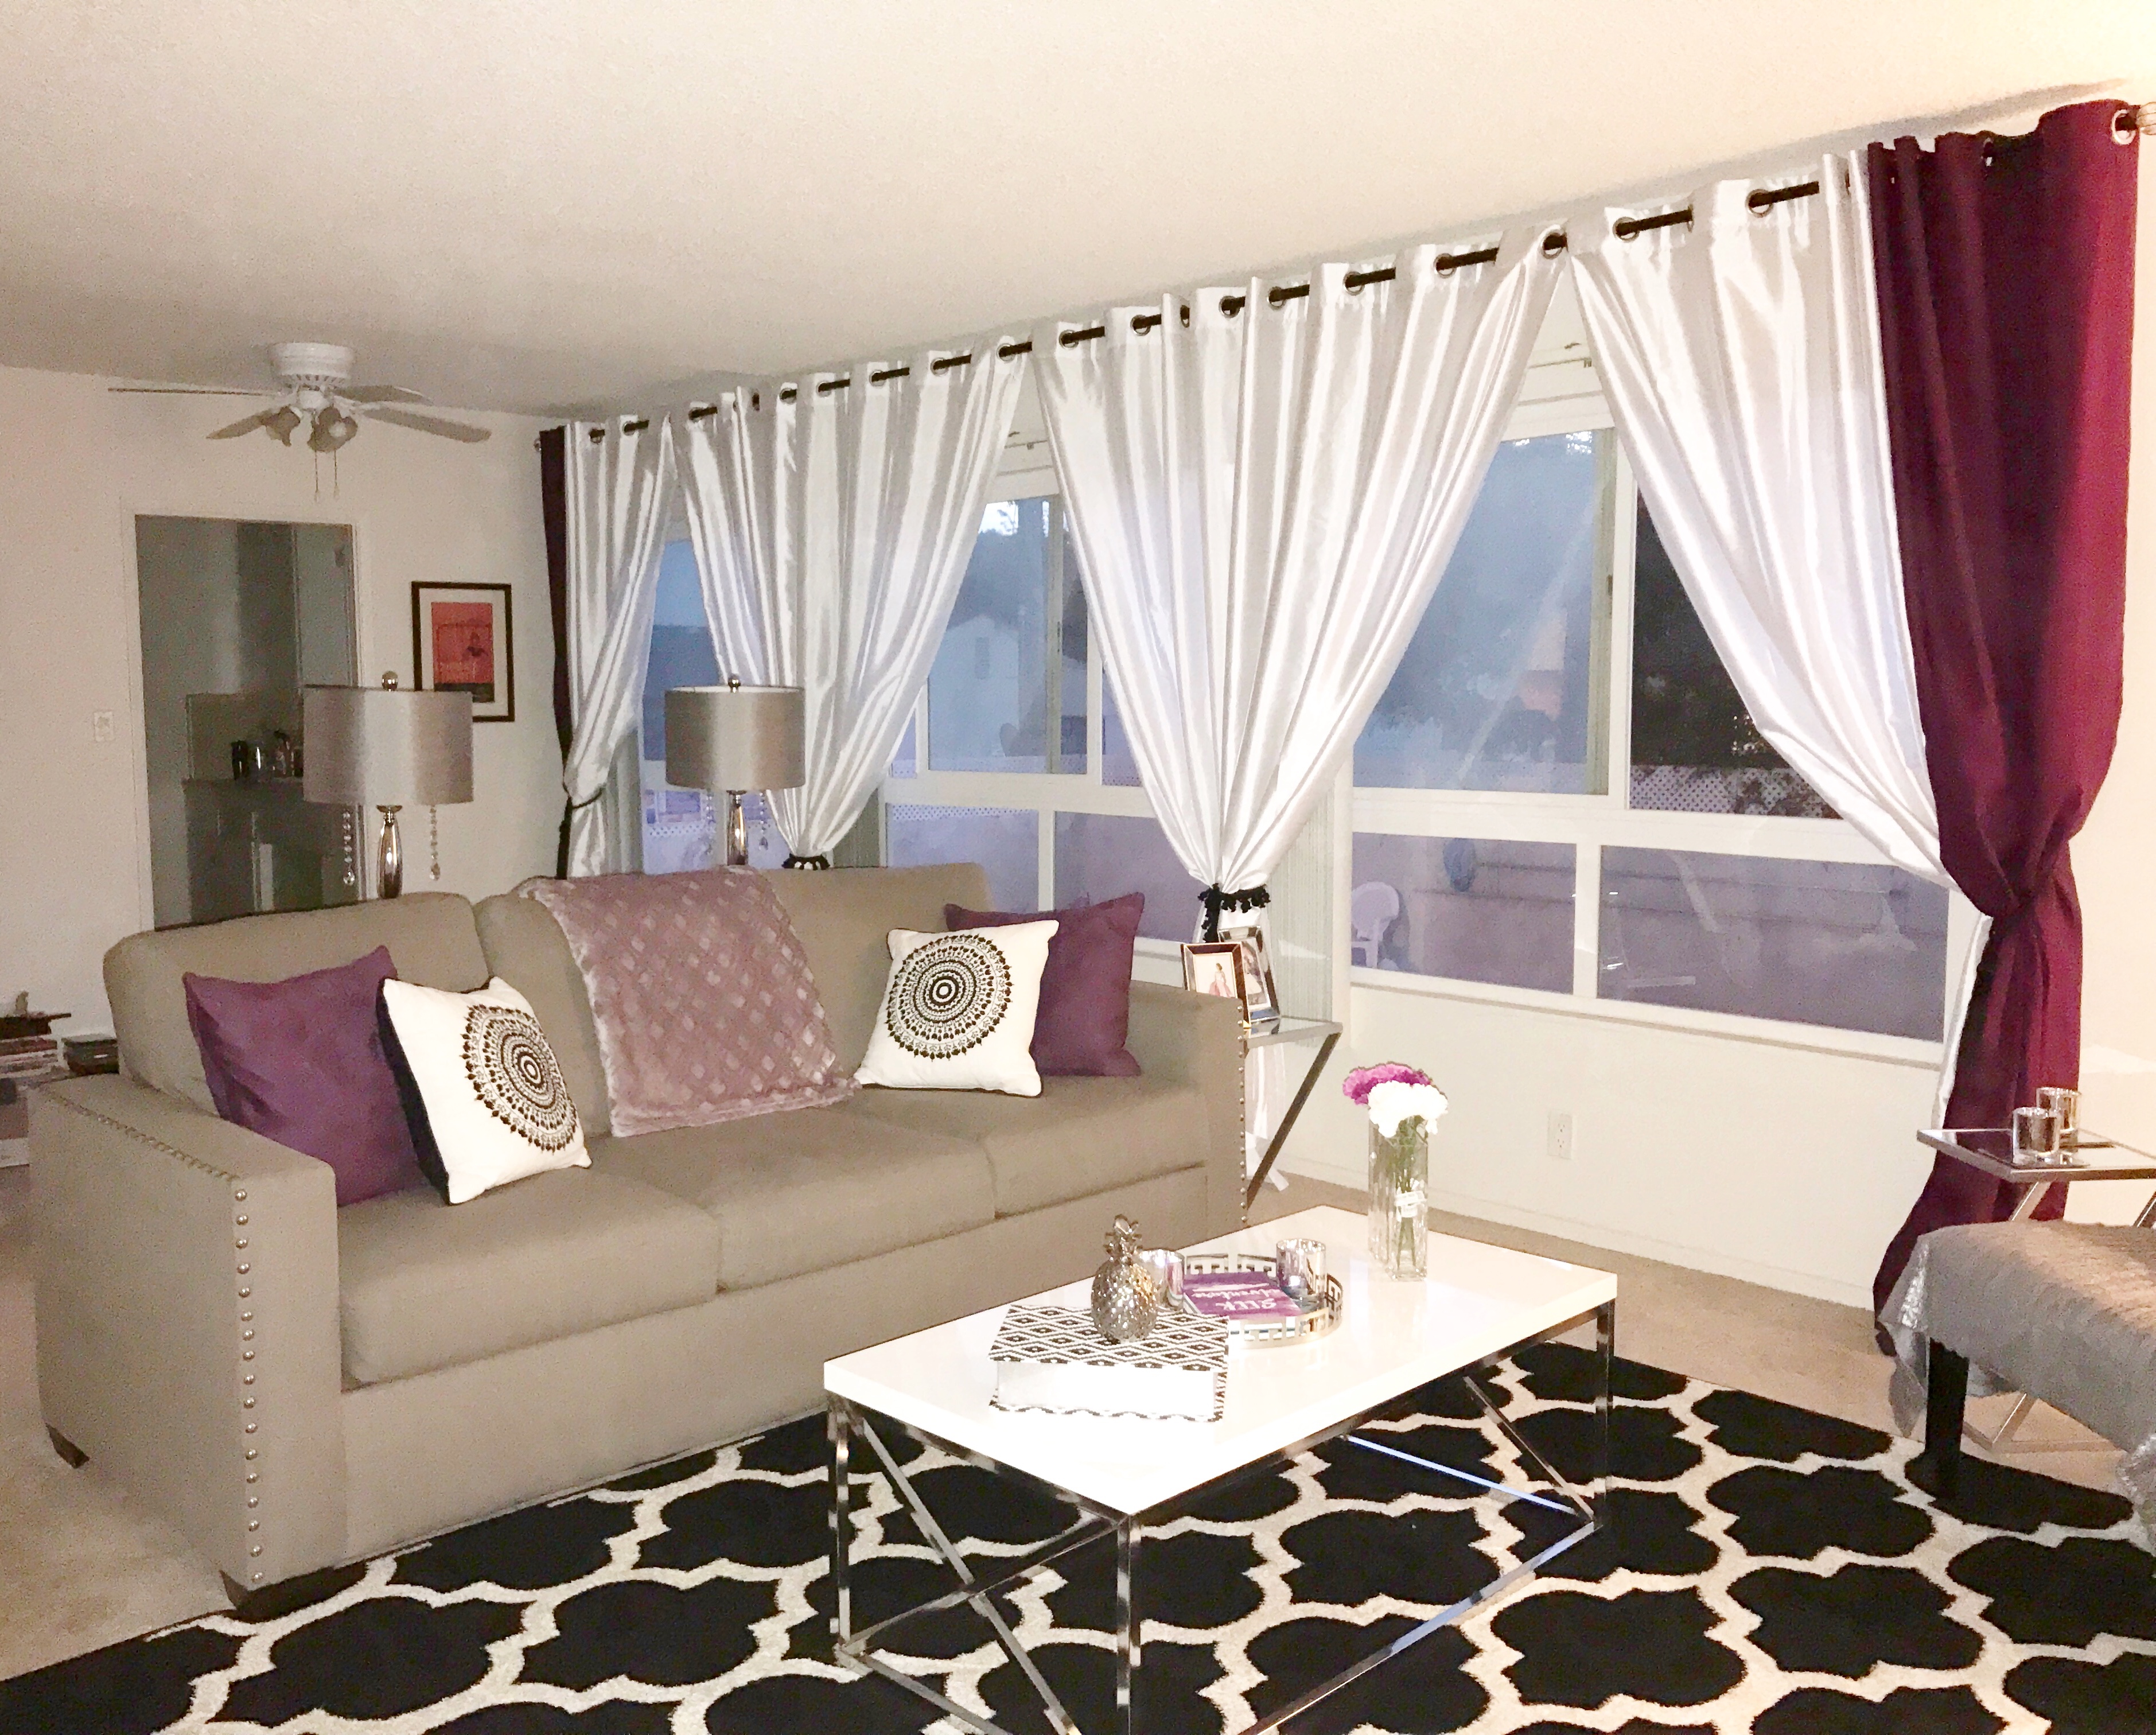
CURTAIN INSTALL
While our DIY projects dried, we installed a simple window treatment. The sateen style of the curtains with pom-pom tie backs really give the overall look a very upscale feel.
SUPPLIES: IKEA CURTAIN RODS $15, CURTAINS $45, TOTAL: $60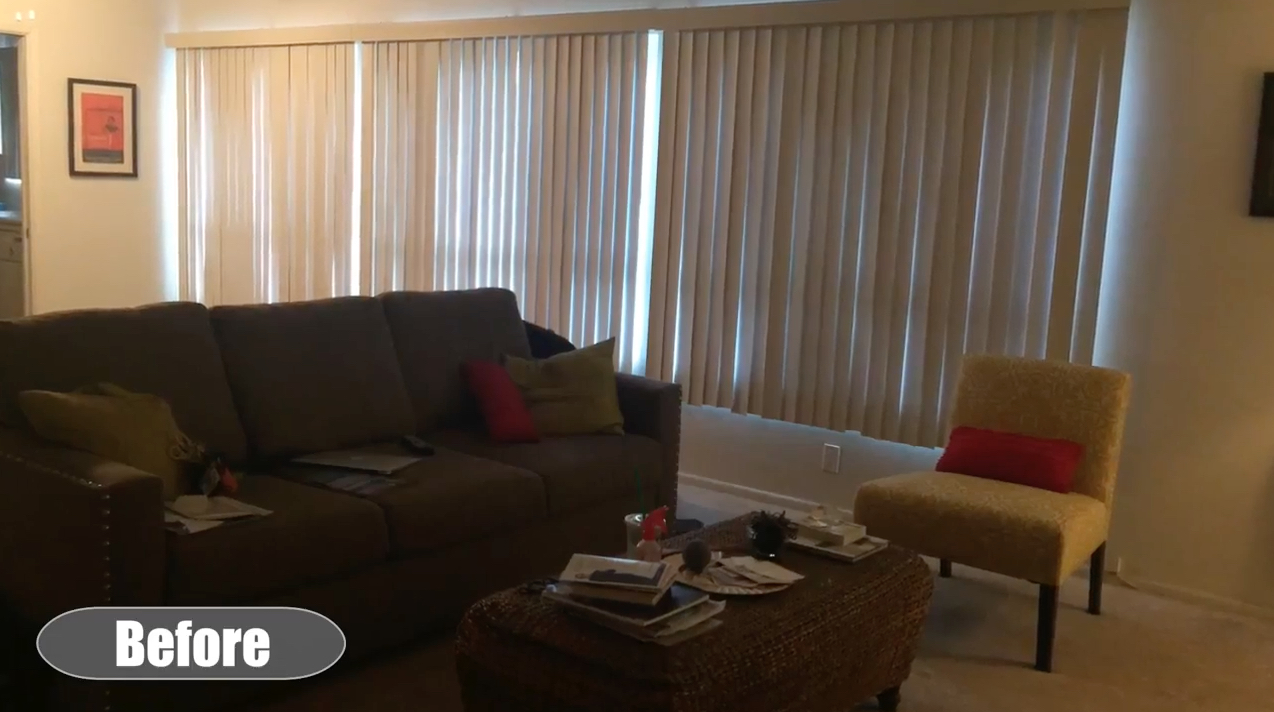
Step 1: We hung three curtain rods to span the entire length of Trish’s bay window.
Step 2: On the ends, we added one set of purple panels for a pop of color and three sets of White Sateen panels throughout the middle.
Step 3: For a sophisticated look, I gathered the panels in sections and secured them with black pom-pom curtain ties.
CARPET INSTALL
I added an 8×10 area rug to bring texture and a great geometric pattern to the space.
SOURCE: Living Spaces – $140
NEW FURNITURE
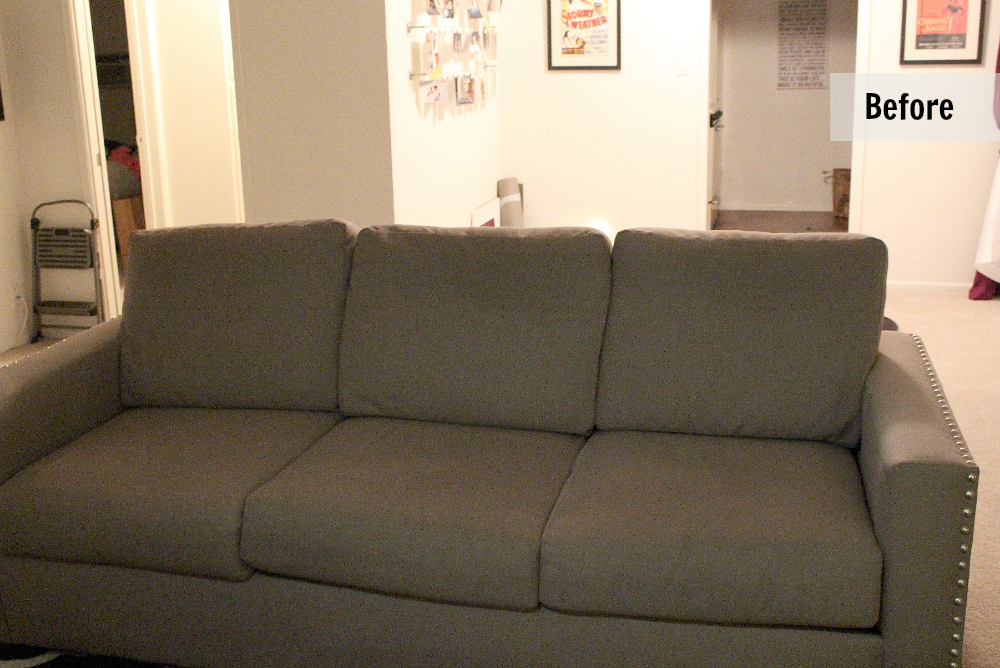
We upgraded the old wicker coffee table with a modern design.
Step 1: I sold Trish’s old, wicker coffee table in Offer Up for $20.
Step 2: I then purchased a modern coffee table with a white lacker top & chrome frame on Offer Up to replace the wicker table.
COUCH DECOR UPGRADE
I added new throw pillows with a soft velvet texture and pretty patterns.
SOURCE: Target – $30

PERSONAL STYLE DECOR
The most important part of decorating/refreshing your living space is to add your personal style! Include elements that you love, things that have meaning to you and your family. I incorporated Trish’s love of fashion by framing a large scale fashion focused poster in her favorite color.
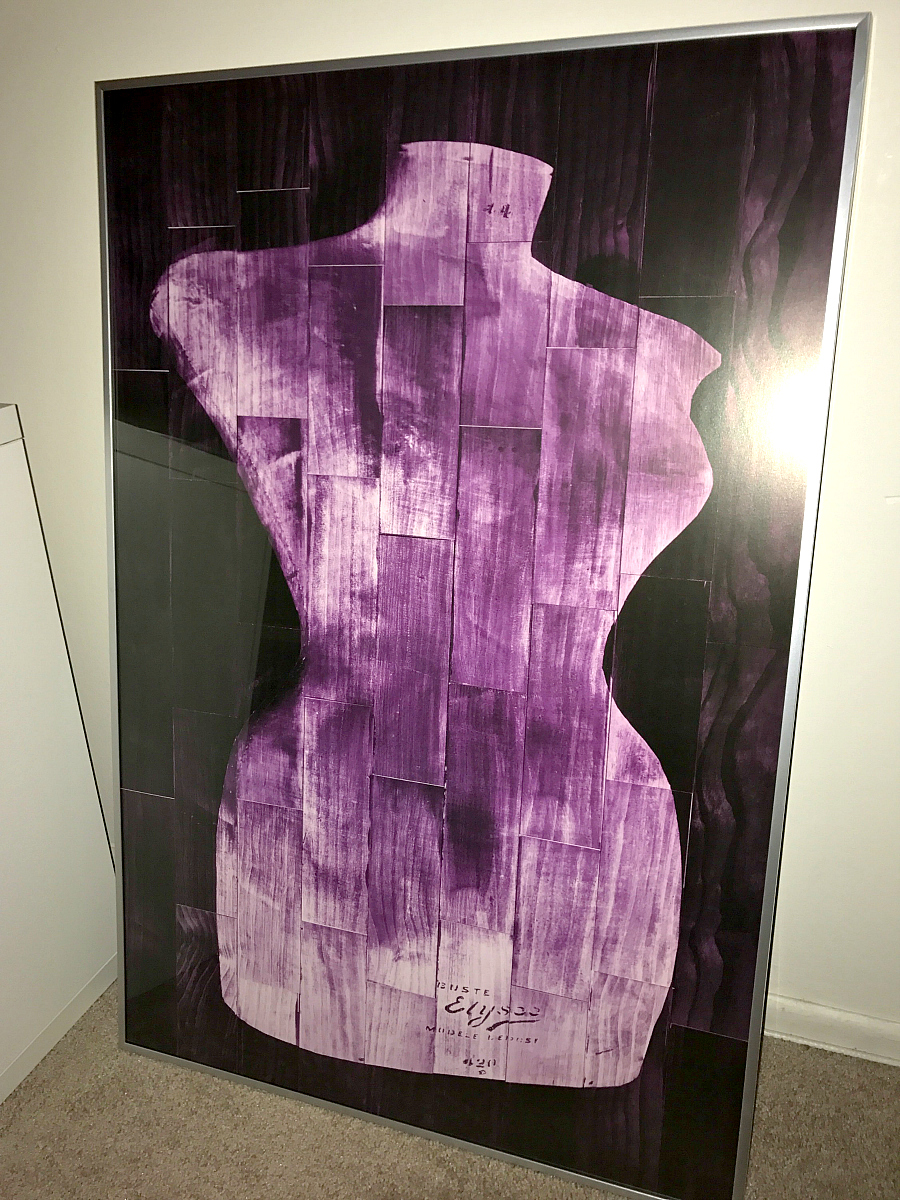 SUPPLIES: Poster $12 from Hobby Lobby, Frame $10 on clearance from IKEA “as is” section.
Step 1: Purchased the poster from Hobby Lobby.
Step 2: Purchased frame from Ikea in the discount section and inserted the poster to hang on wall.
ACCENT PIECES
Lastly, I added a few accessories throughout the living room. Trish is a minimalist so I didn’t want to clutter the space with too many accents.
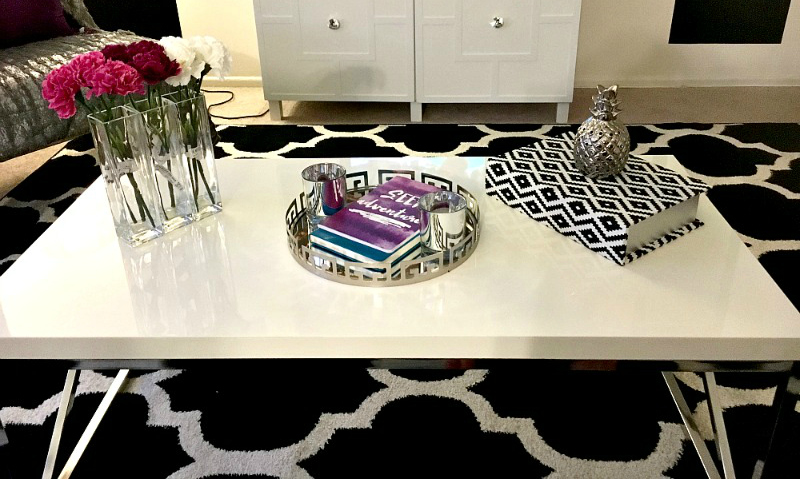 Step 1: I added a tray for her coffee table (Marshalls) to neatly place items she uses daily as well as a black and white storage box in the shape of a book to neatly store her remote controls (Ross Stores). Lastly I added three tall vases with a single flower for a little color.
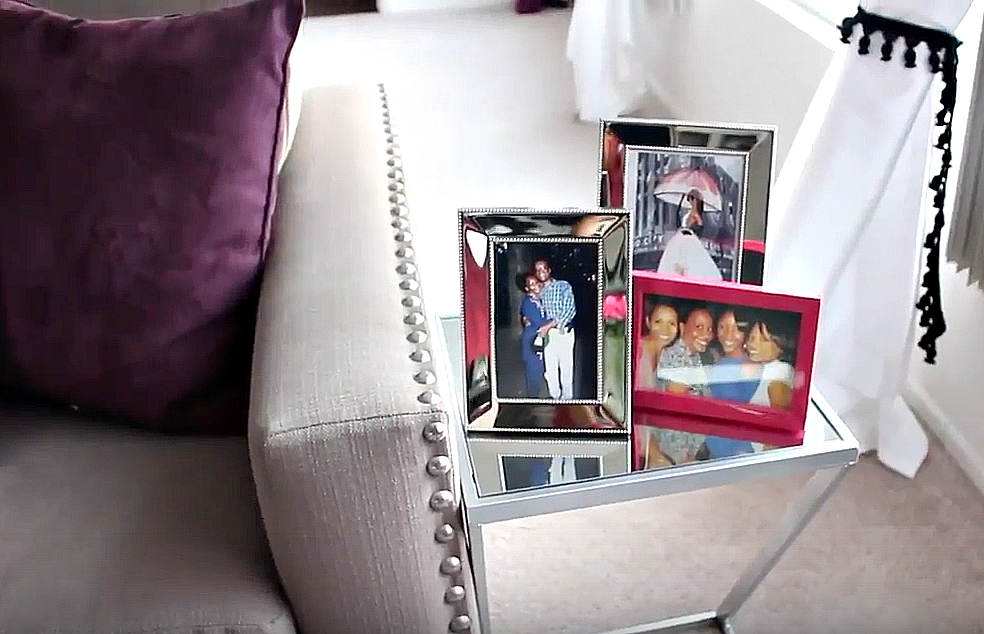 I included a few free standing picture frames (Ross Stores). I also regrouped a few of her existing accessory pieces that worked with the new design to save money.
Trish was very happy with her new space! She now has a modern and upscale space to enjoy and relax in that we achieved on a modest budget!
Try any of the tips & techniques above and I guarantee you too can have a Fresh, New living room that you will be able to enjoy for years to come! Please comment below and let me know what you’d like to see next!

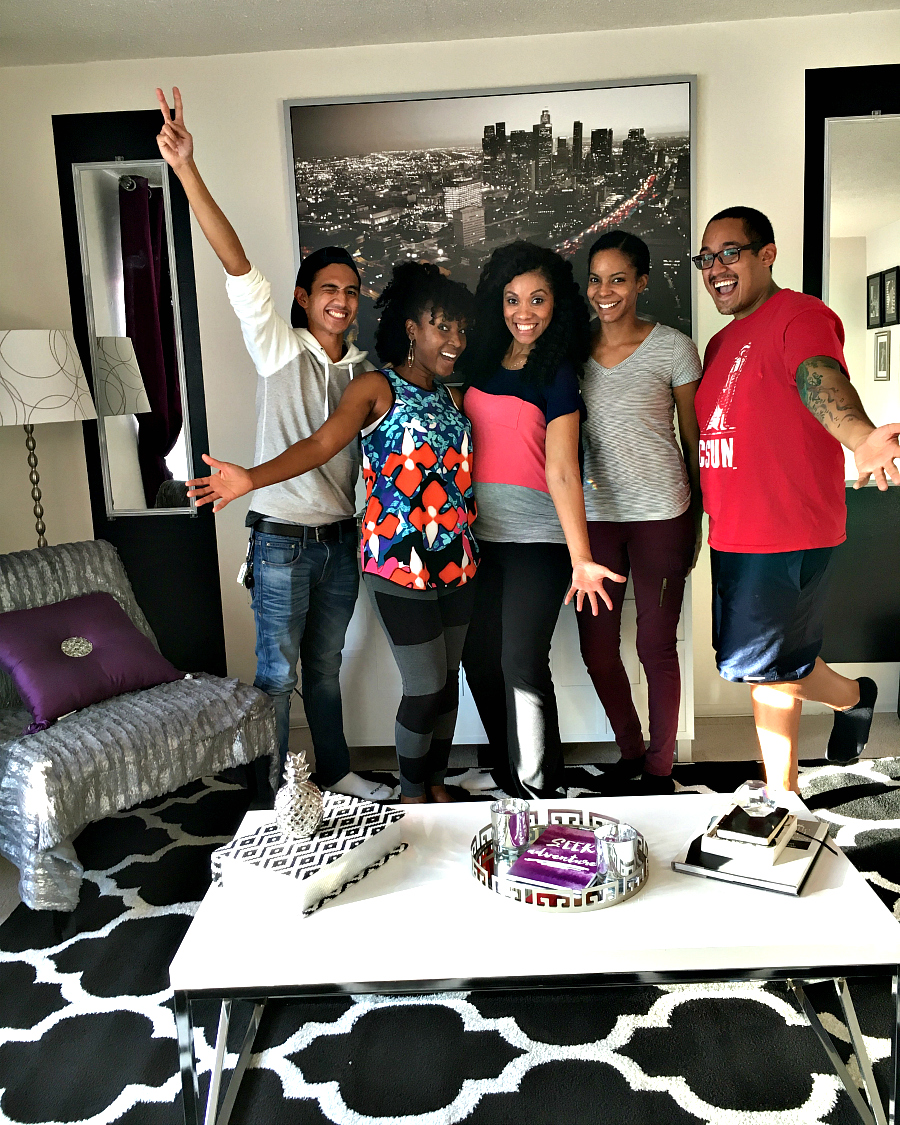
Special thanks to Gabe, Monique, Christian, KJ & of course Trish for all their help!

Amazon and the Amazon logo are trademarks of Amazon.com, Inc, or its affiliates.


Leave a Reply