As an Amazon Associate I earn from qualifying purchases.
When it comes to Pool Noodle Hacks, this Rainbow Wall Art is the perfect way to recycle Pool Noodles into fun home decor.
Rainbow Room Decor for Kids
Have you ever wondered how to turn pool noodles into home decor?
Honestly, it never crossed my mind either, but you’re definitely going to want to try this if you have kids! It’s just one of many Pool Noodle Hacks that are so fun.
Today I have a cool hack that will instantly brighten your kids room or nursery! I’m going to show you how to turn pool noodles into a huge rainbow for your home decor! When it’s done, you can hang it up in your children’s bedroom or play room for that WOW factor its been missing.
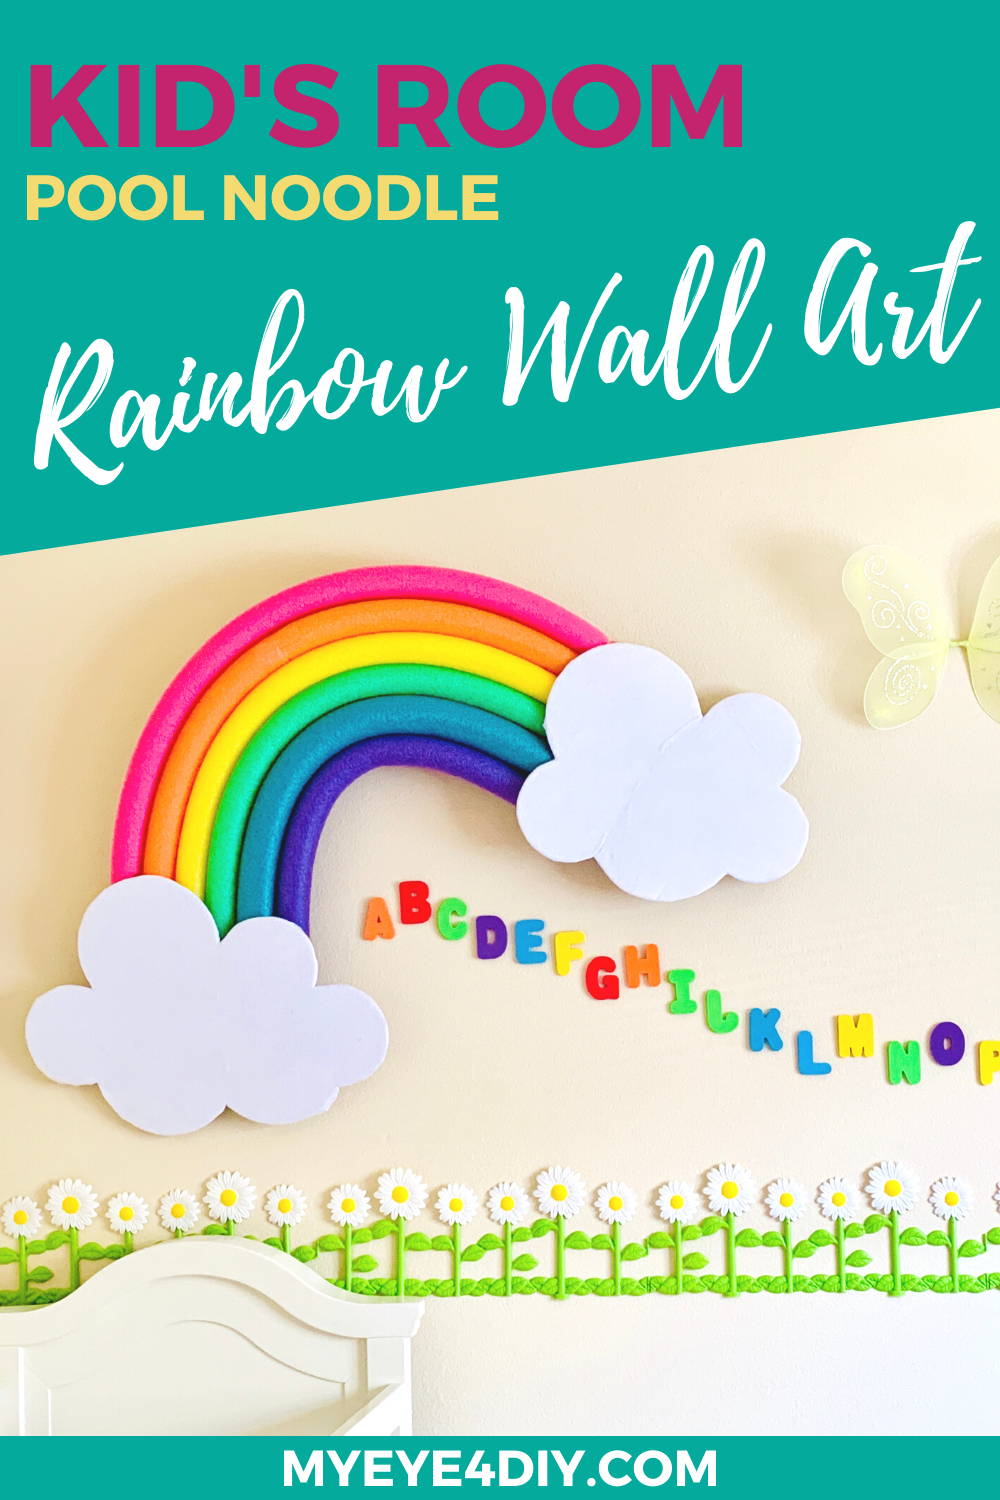
Be sure to check out the video for this project to see the step-by-step of how I created my Pool Noodle Rainbow.
You Will Need:
- 6 Rainbow colored pool noodles
- Simple White felt
- Glue gun with glue sticks
- Tape
- Multi-purpose plastic zip ties
- 2 White foam boards
- Wooden barbecue skewers
Here is a step-by-step process of making a beautiful home décor rainbow for your kid’s room or nursery.
Create the Rainbow Using Pool Noodles
- Arrange the pool noodles in a rainbow-colored pattern on a flat surface like a table or the floor.
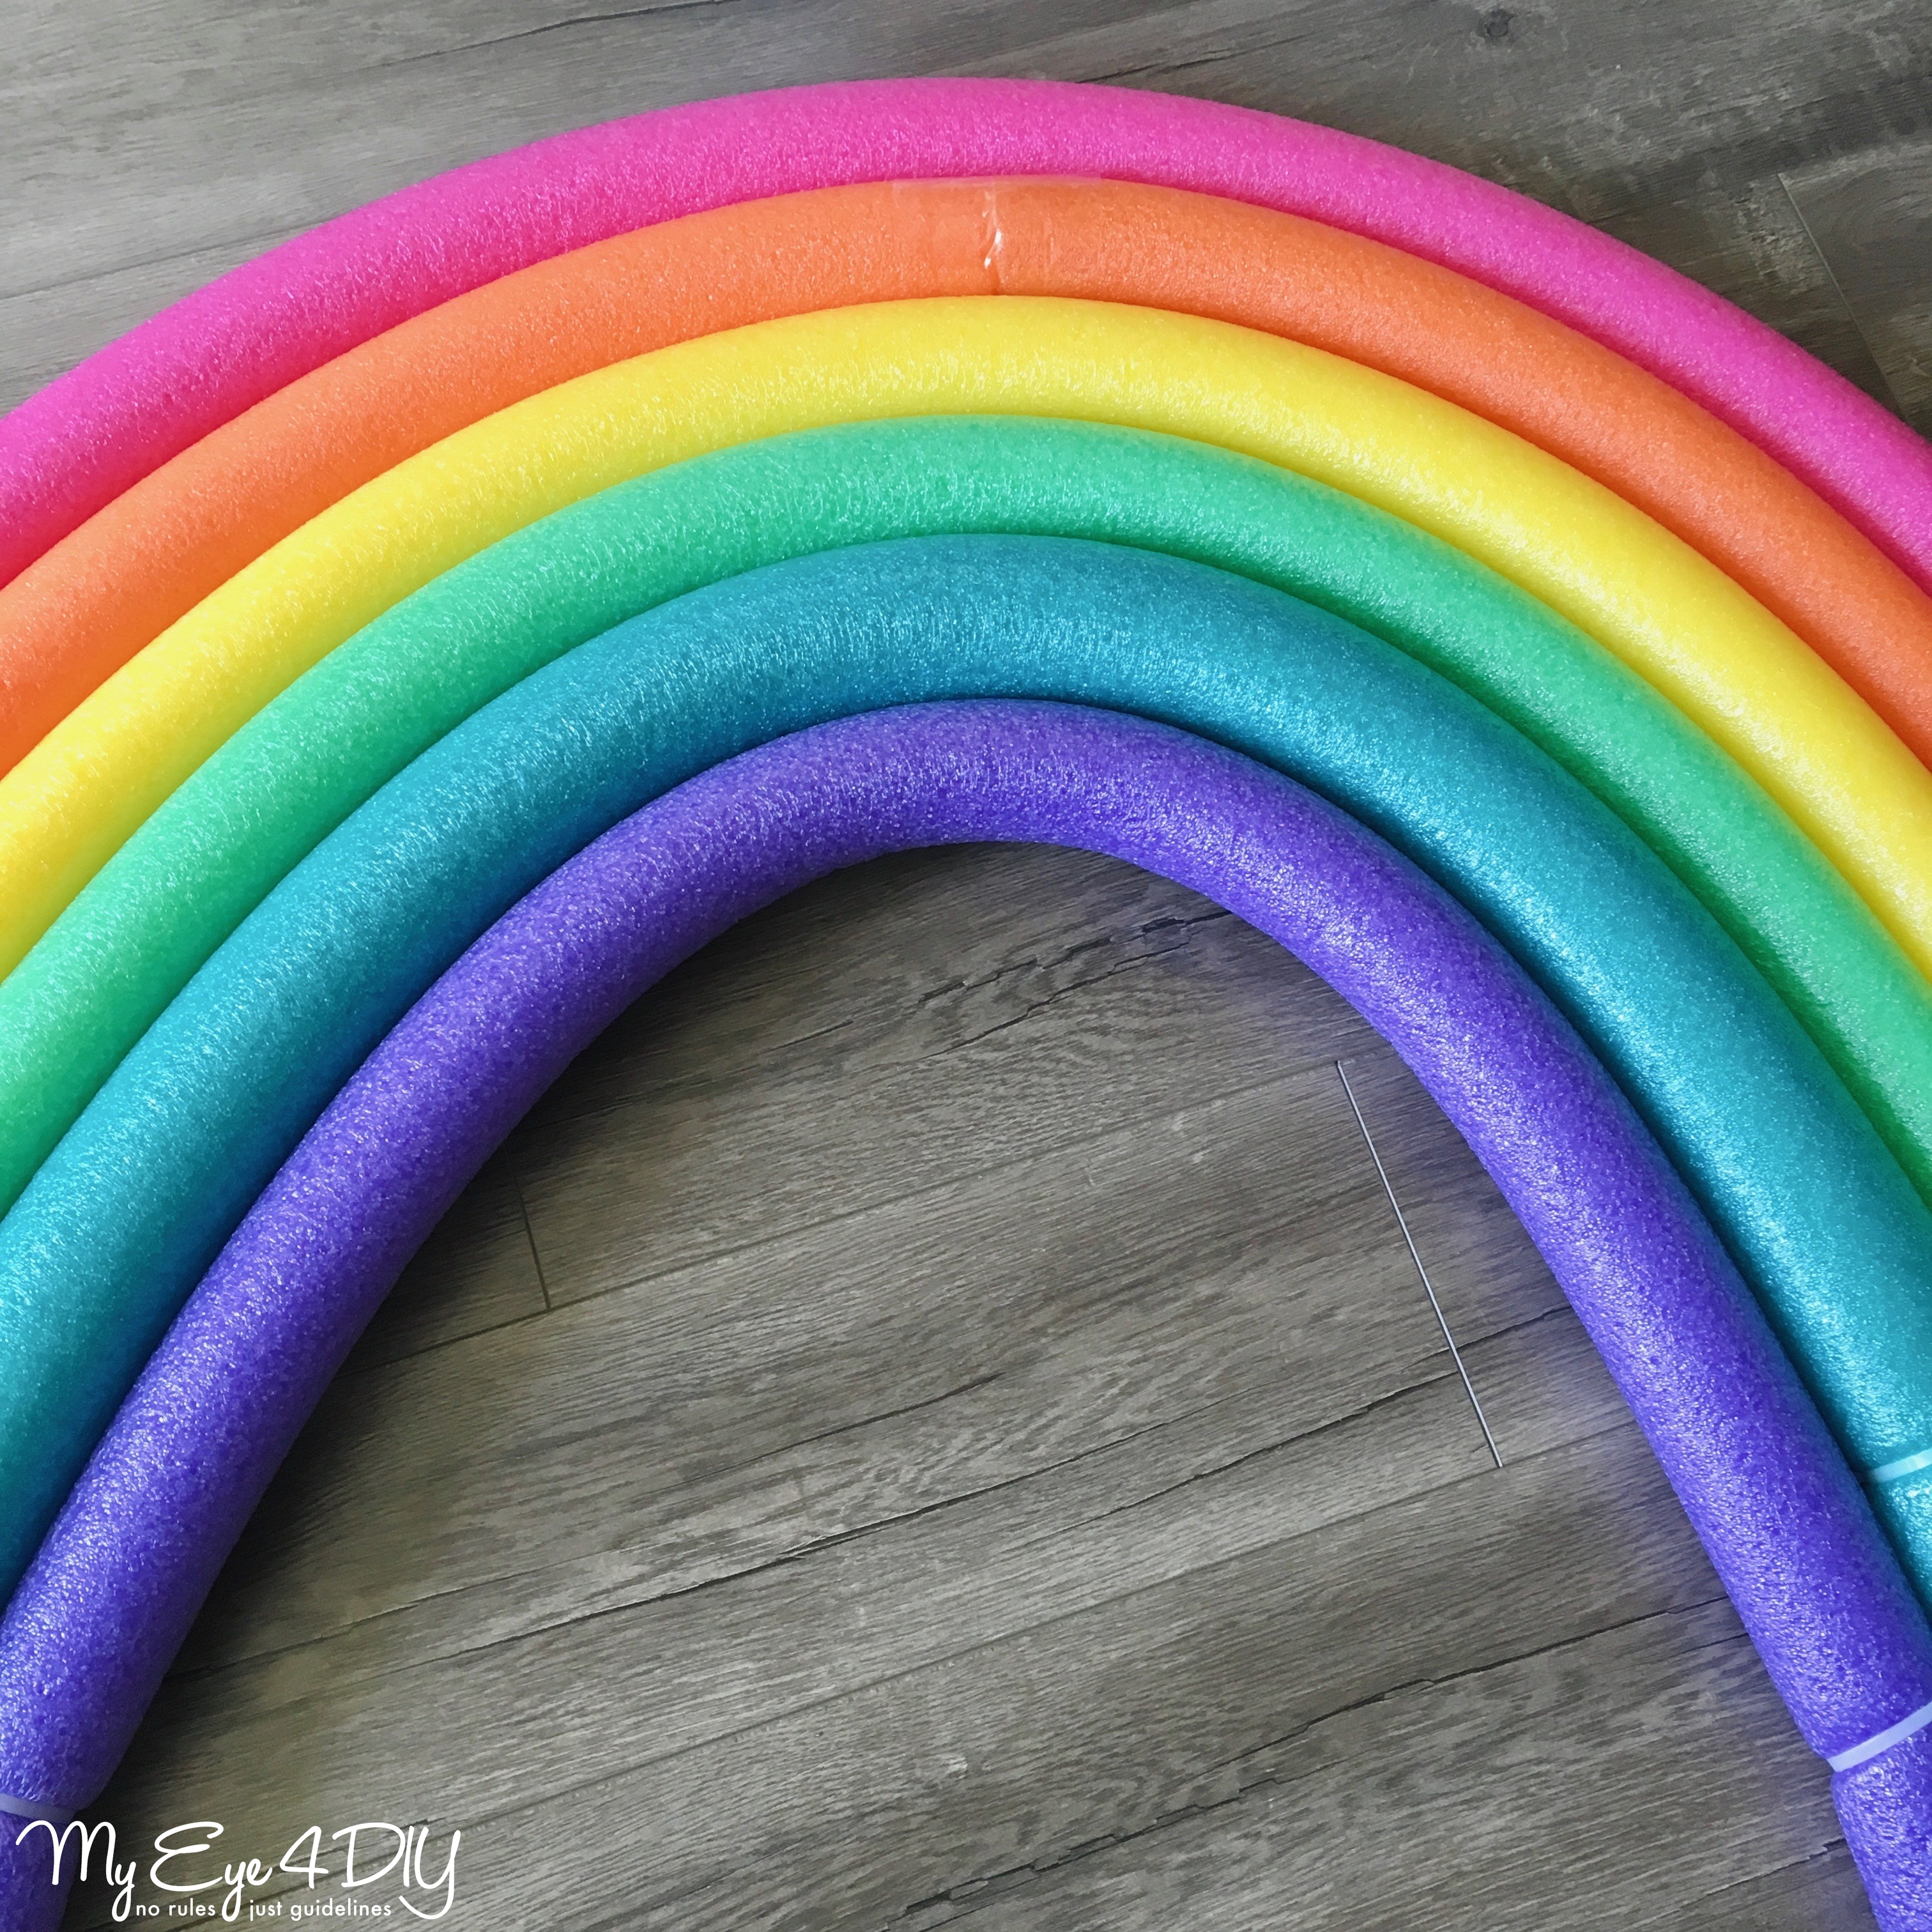
- Using the plastic zip ties at both ends, join the pool noodles together in such a way that an arch resembling that of a rainbow is created. Apply the zip ties one at a time, attaching one tube to the other until they are all connected to one another on both ends. (The ends will be covered by the cloud, but try applying zip ties as close to the ends of the noodle as possible.)
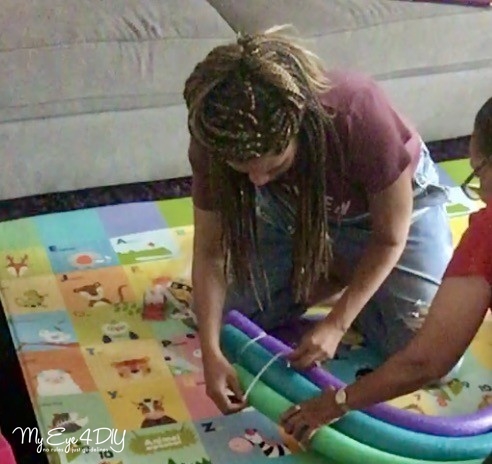
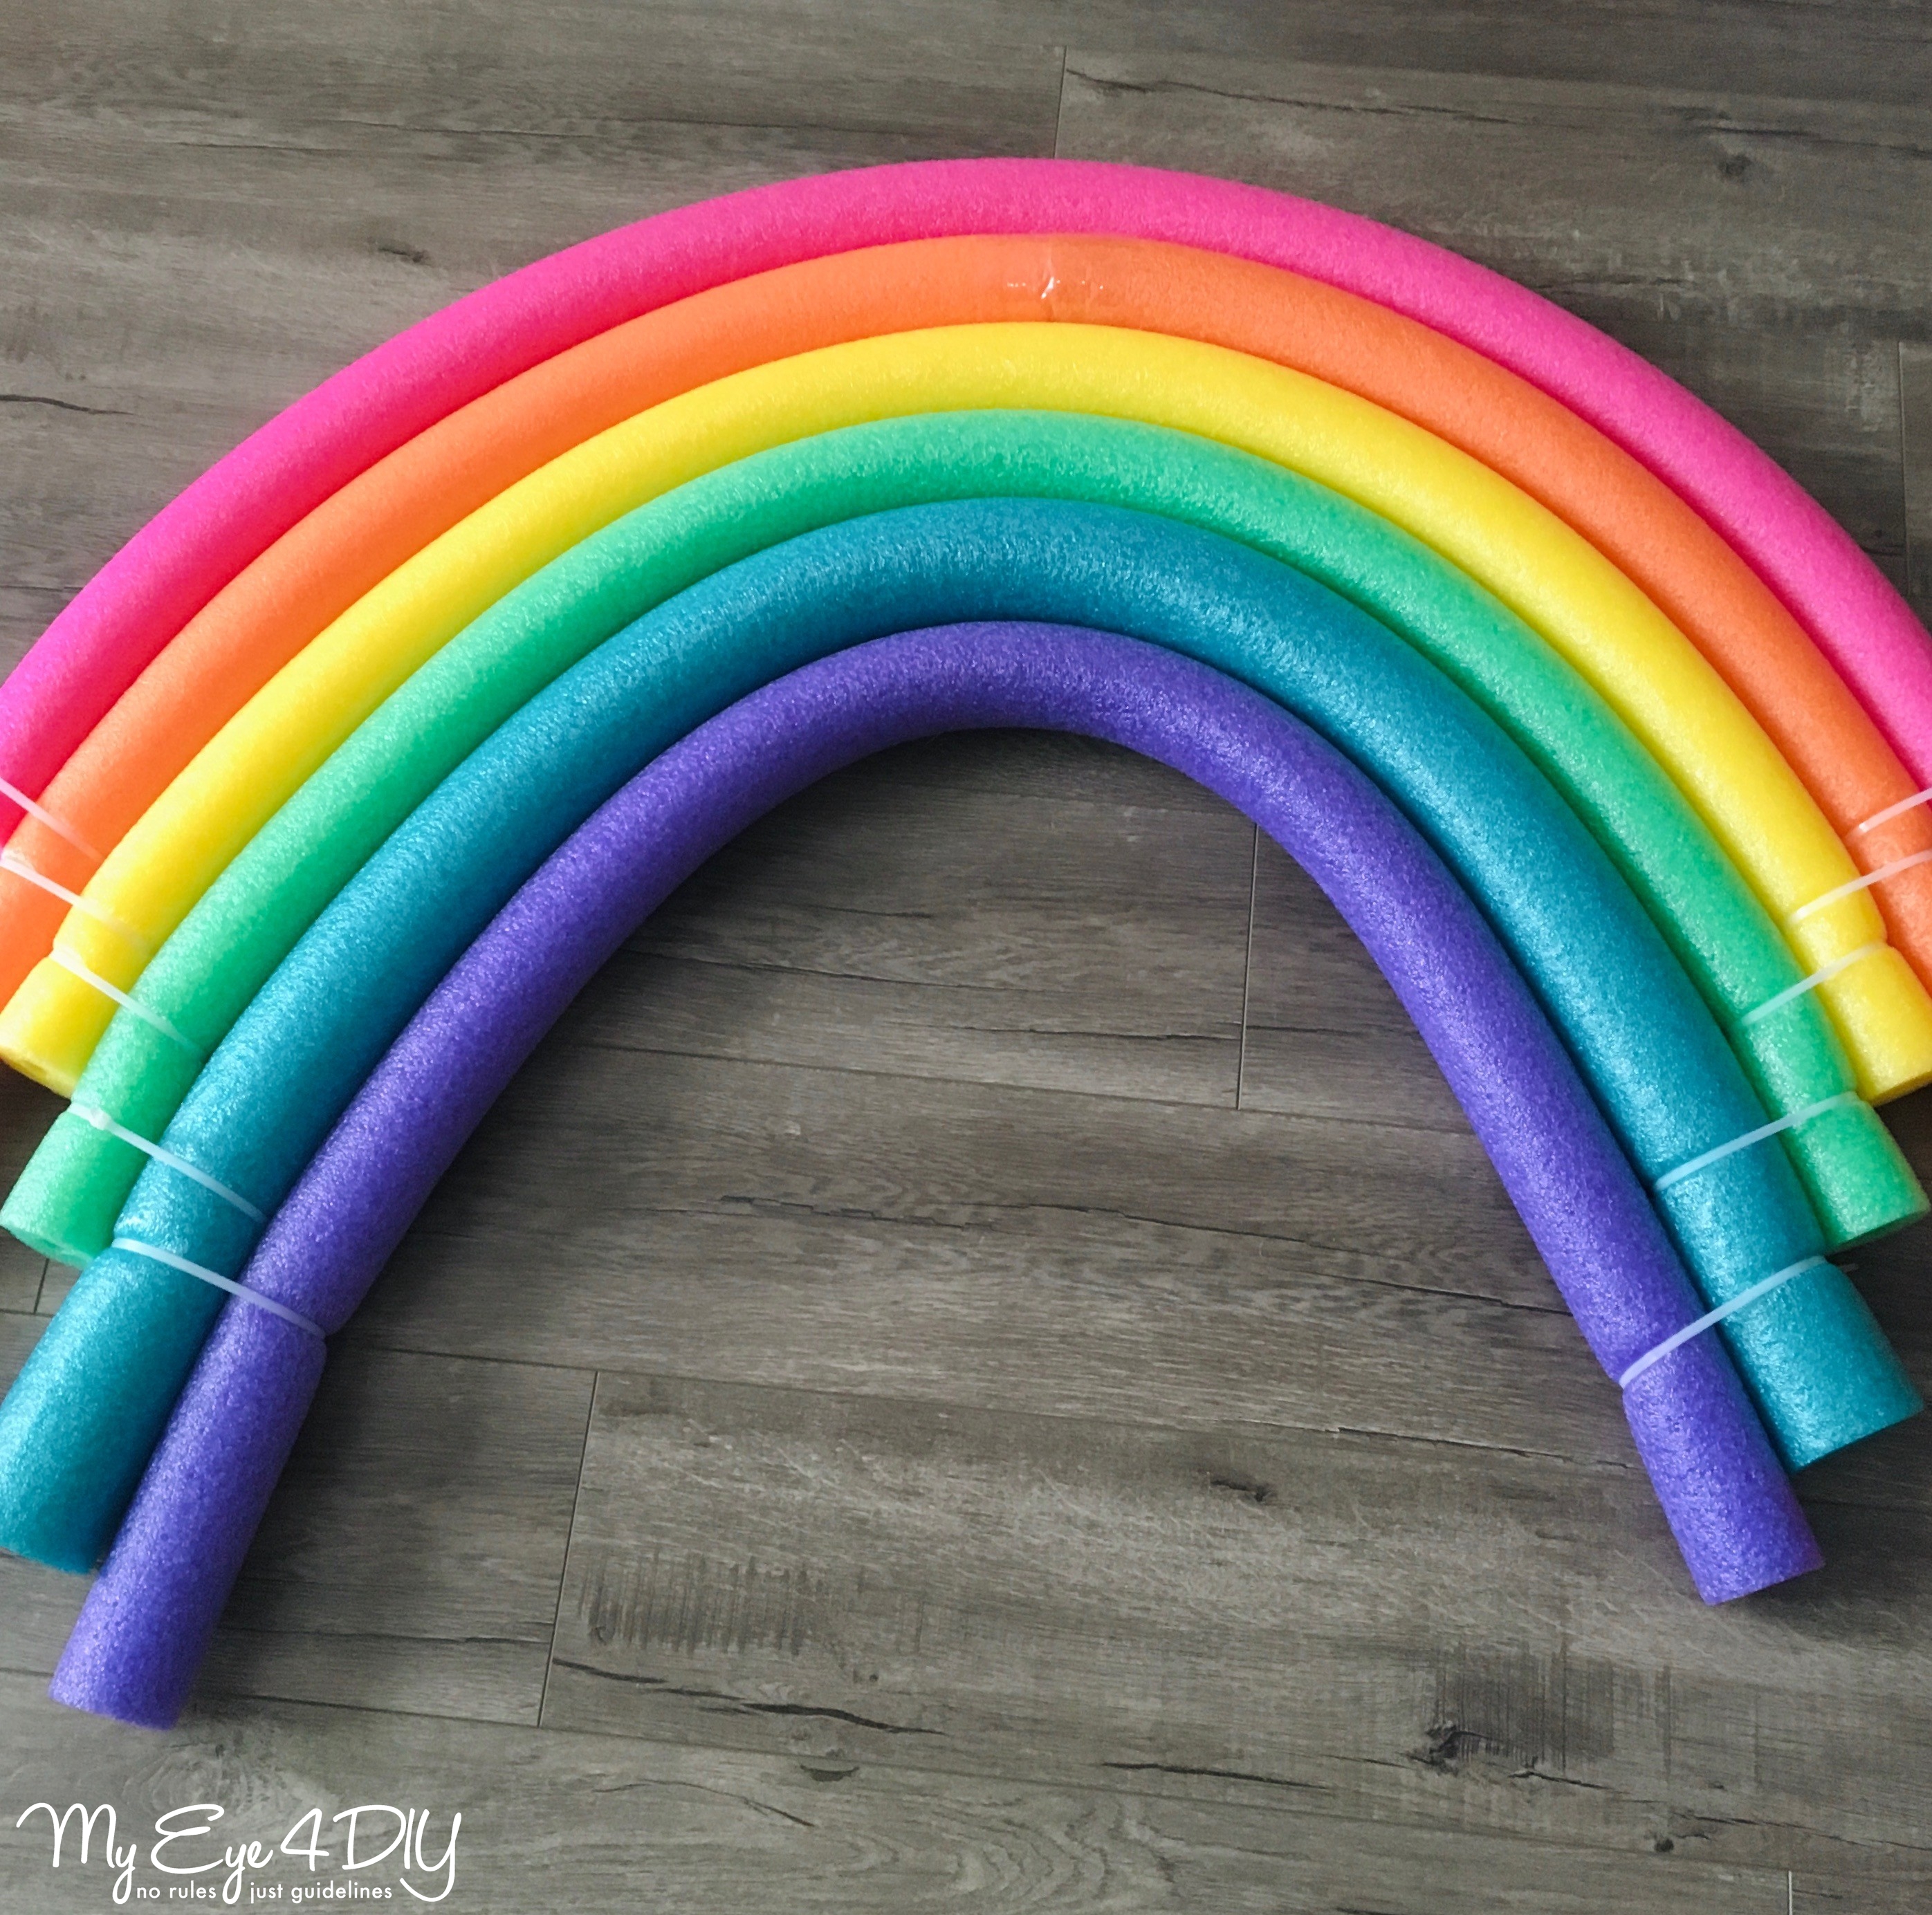
- To keep the pool noodles from slipping from their position in the arch you can use wooden skewers to keep them in place.
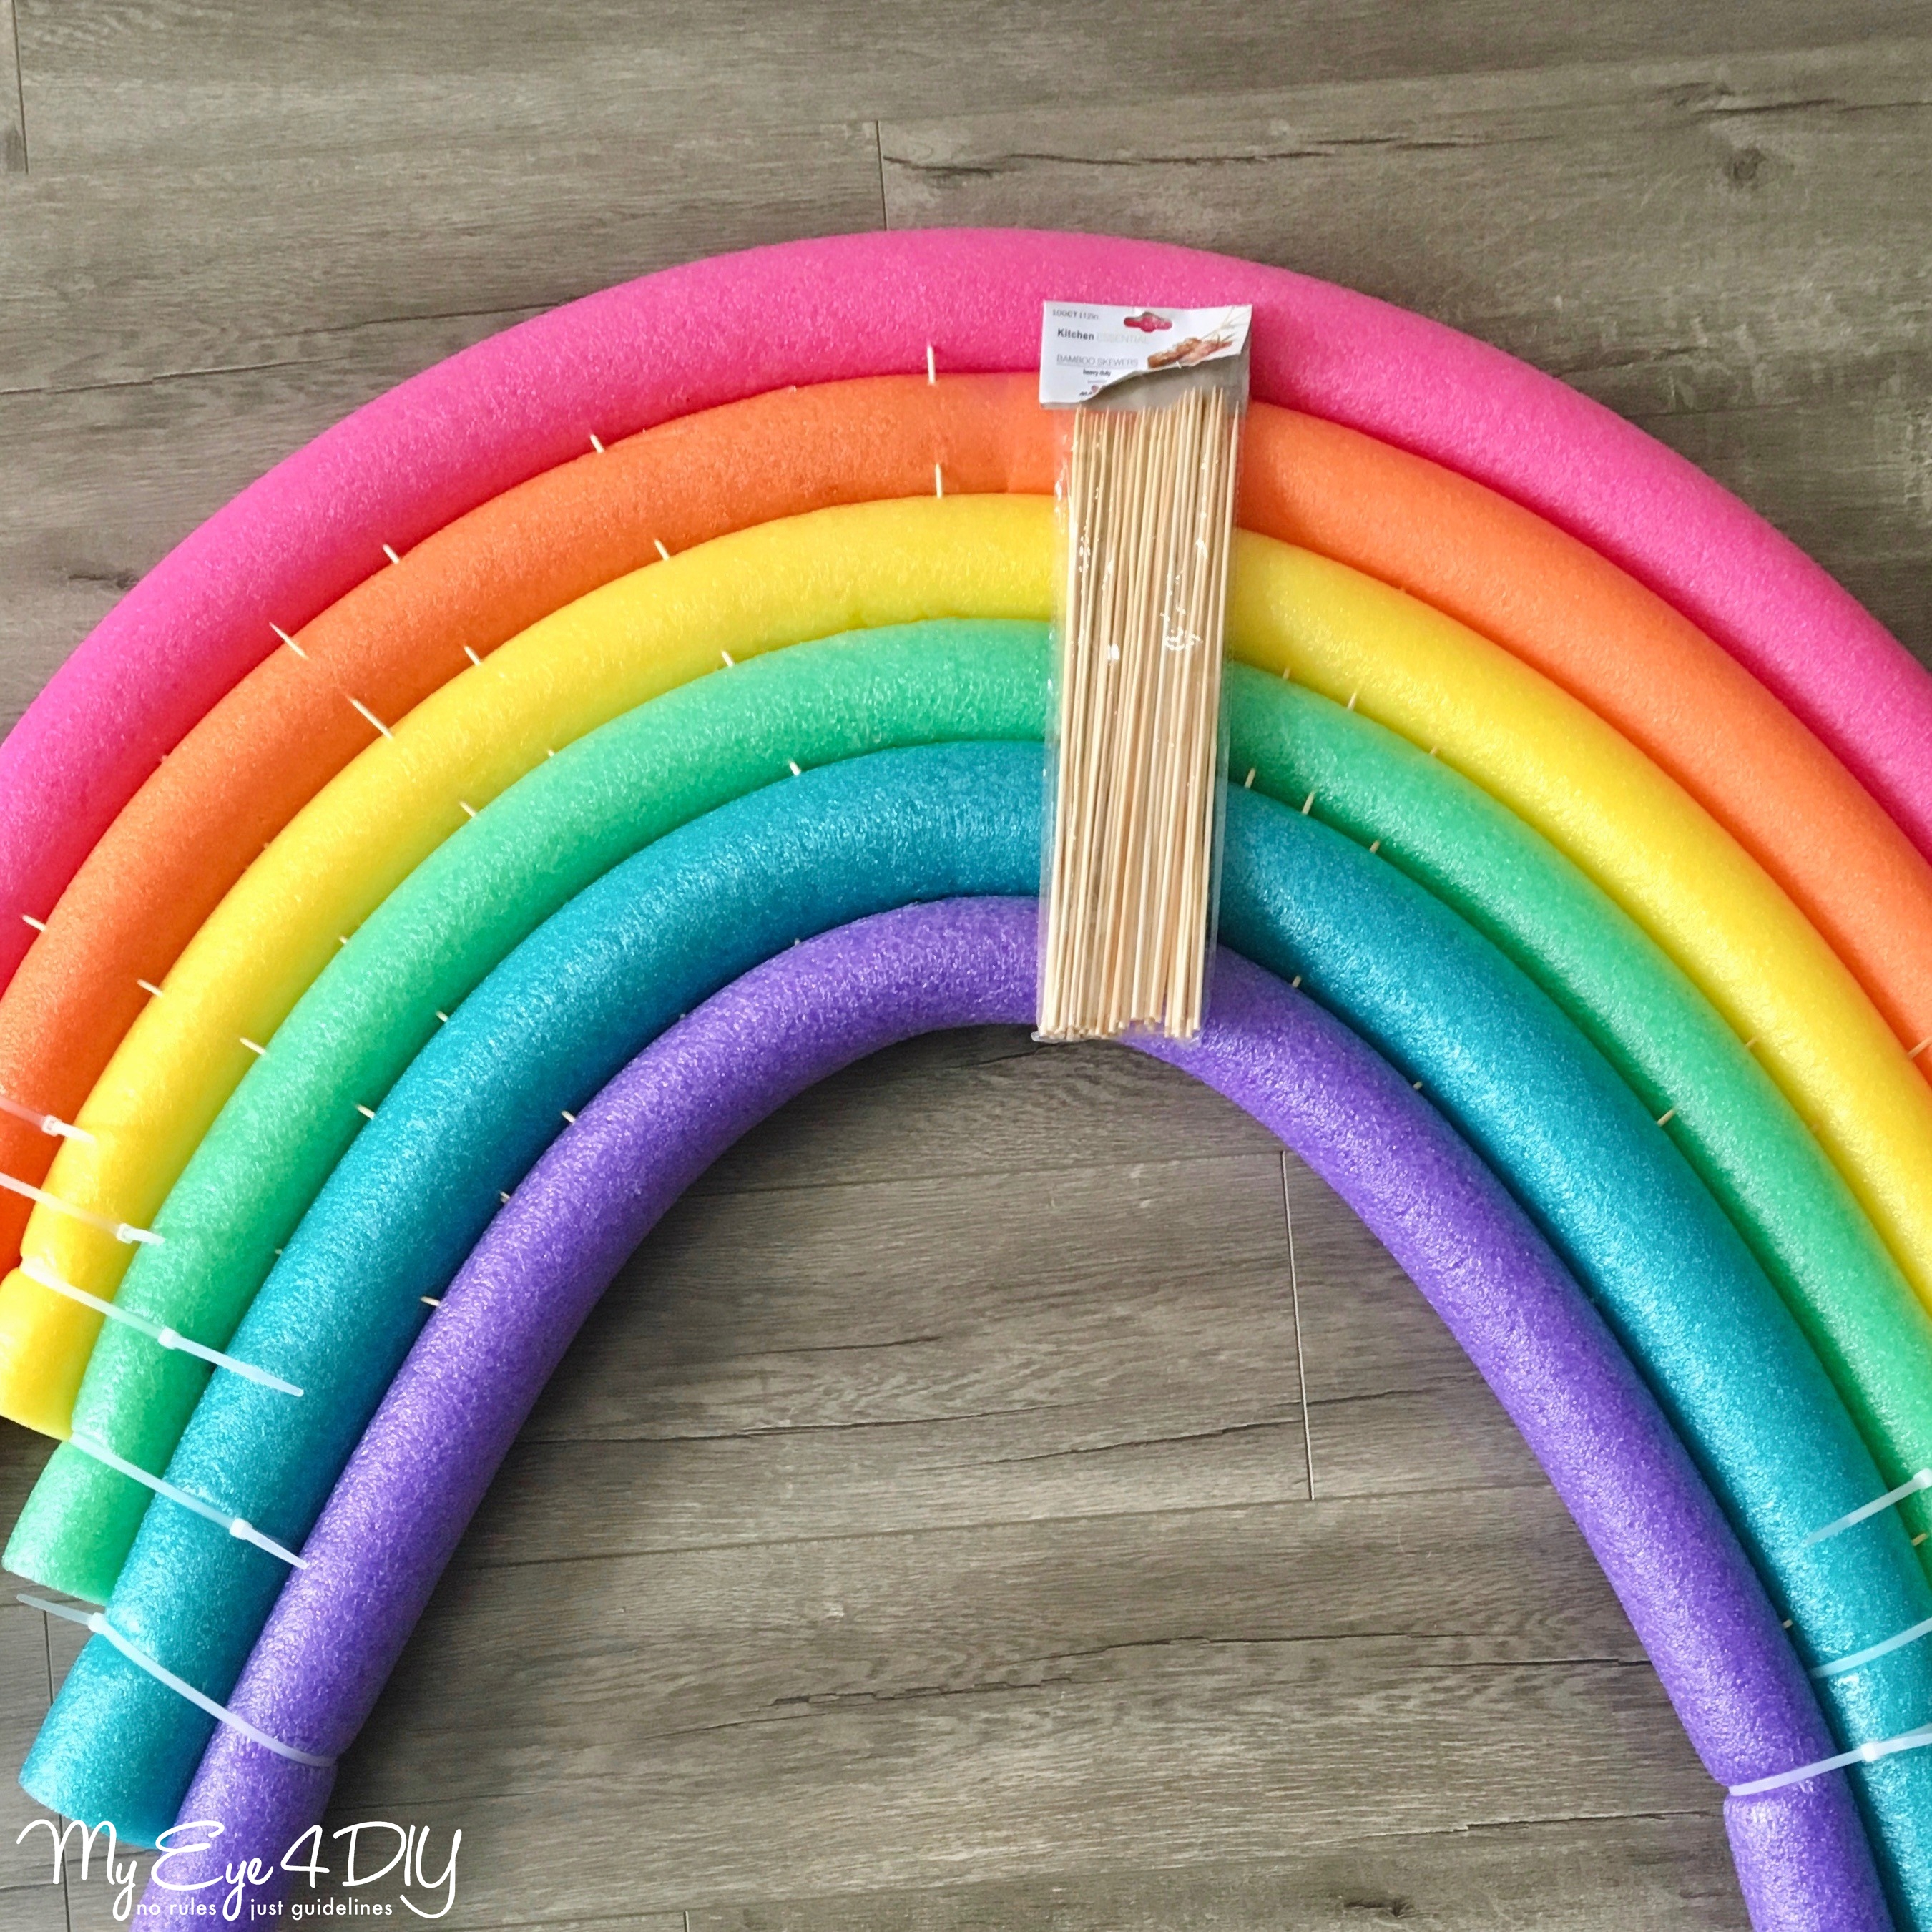 TIP: You may need another person to help keep the arch in place as you work to secure the ends.
 - As you progressively join the noodles, you’ll require longer ones at the top. For this, you can join two pieces together with tape.
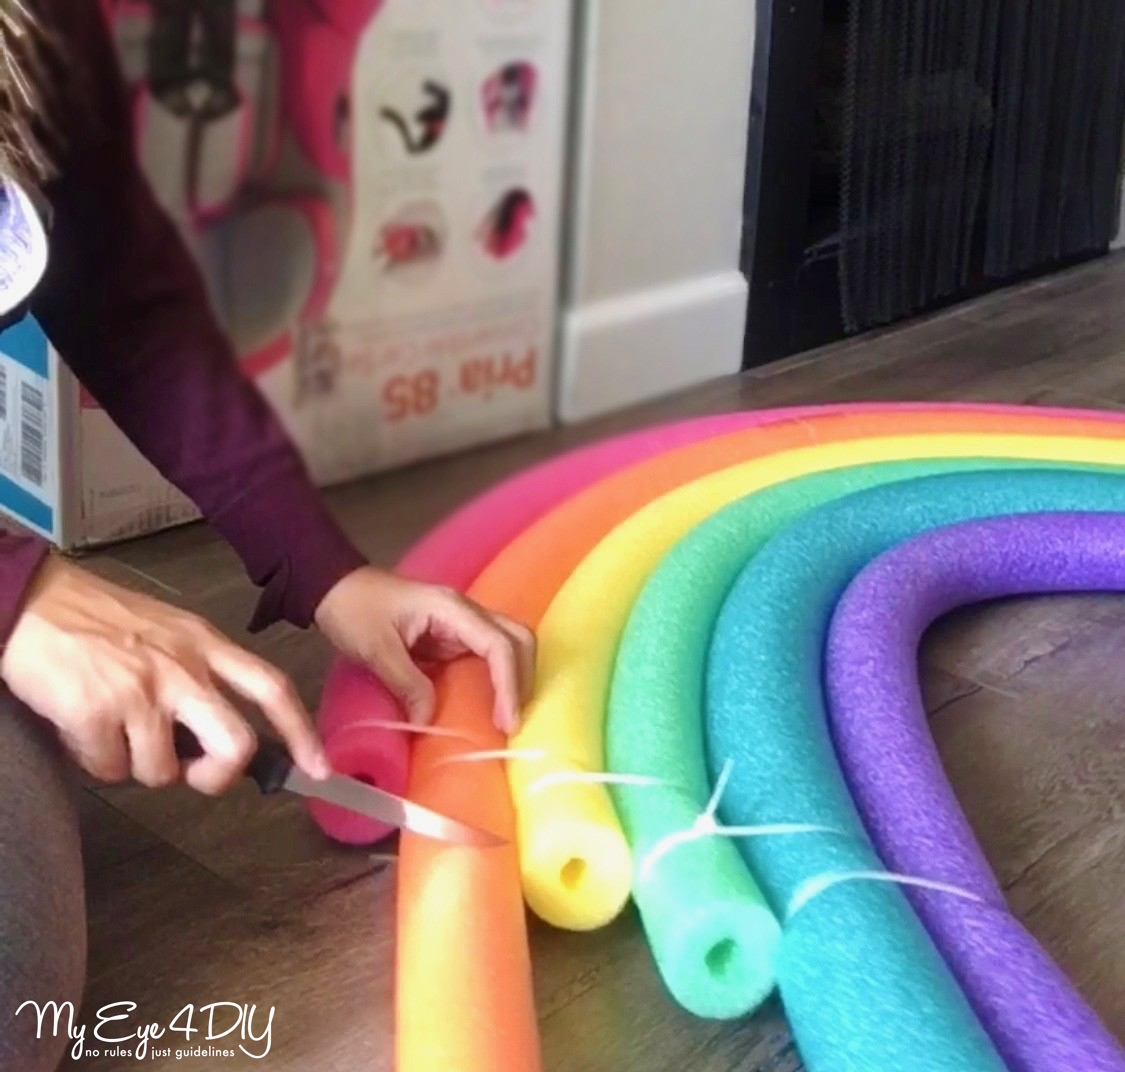
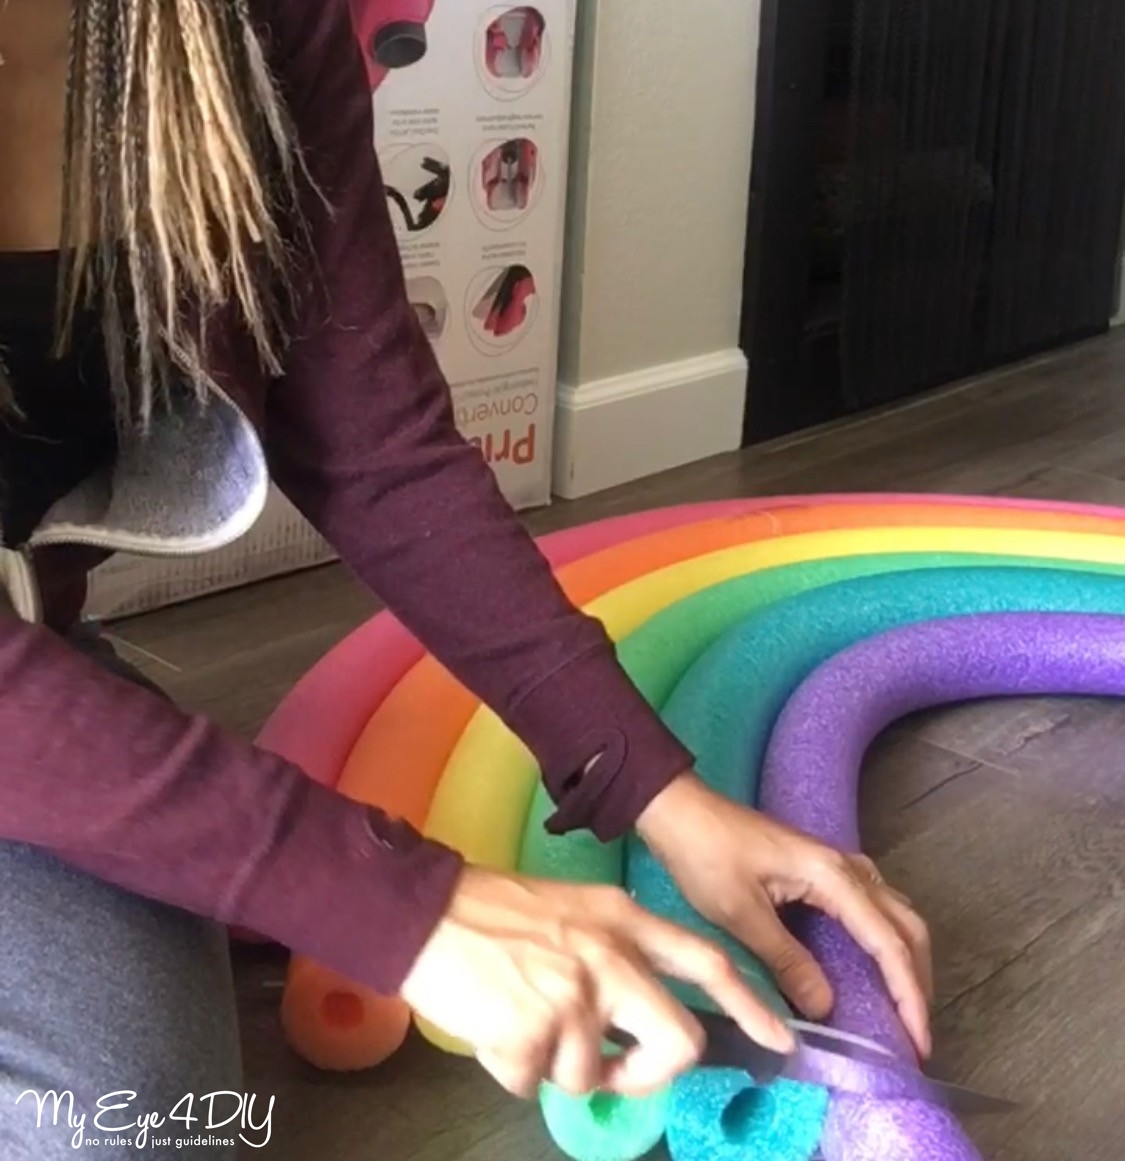
5. Cut the edges of all the pool noodles to balance the length of the sides.
Create the Clouds
- Draw two large clouds on the white foam boards.
If you’re good at drawing you can free-hand the cloud. If not, you can also create a cloud pattern by tracing two different size bowls and using their curves to draw the circular lines of the clouds.
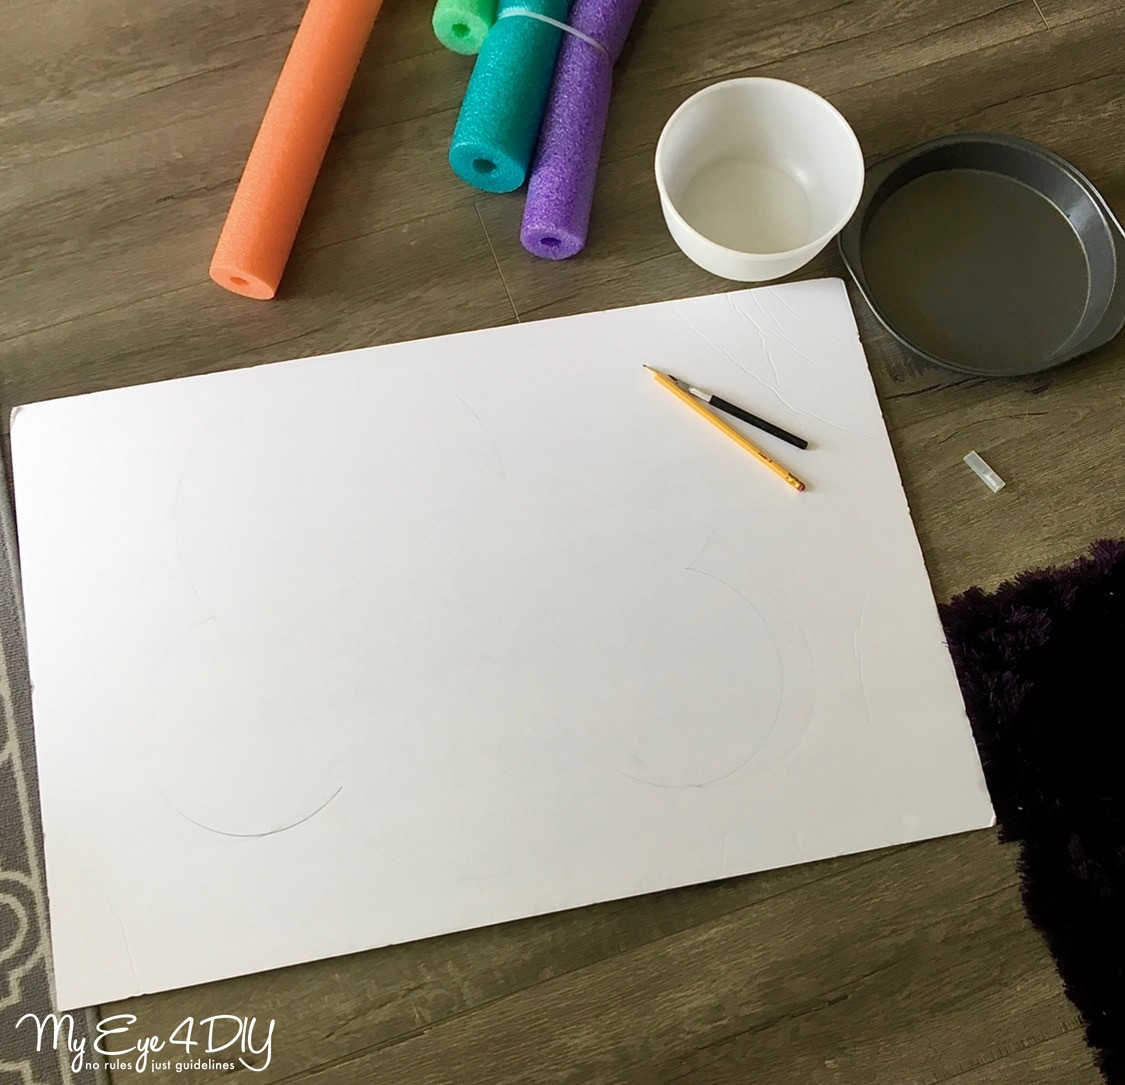
TIP: Cut out the first template you create and trace it onto the second foam board. - Cut out both clouds from the foam boards using an Exacto knife and cover with white felt using spray adhesive.
- Apply white felt to foam board to cover the jagged edges. To do this, trace the shape of the cloud onto felt, accounting for 1-2 inches of additional space to wrap around and cover the jagged curves of the cloud. Cut out the shape and apply it to the foam board with spray adhesive.
Completing the Rainbow Home Décor
Place the clouds on top of the pool noodle arch one on each ending and paste with the help of hot glue. Let it cool and voila!
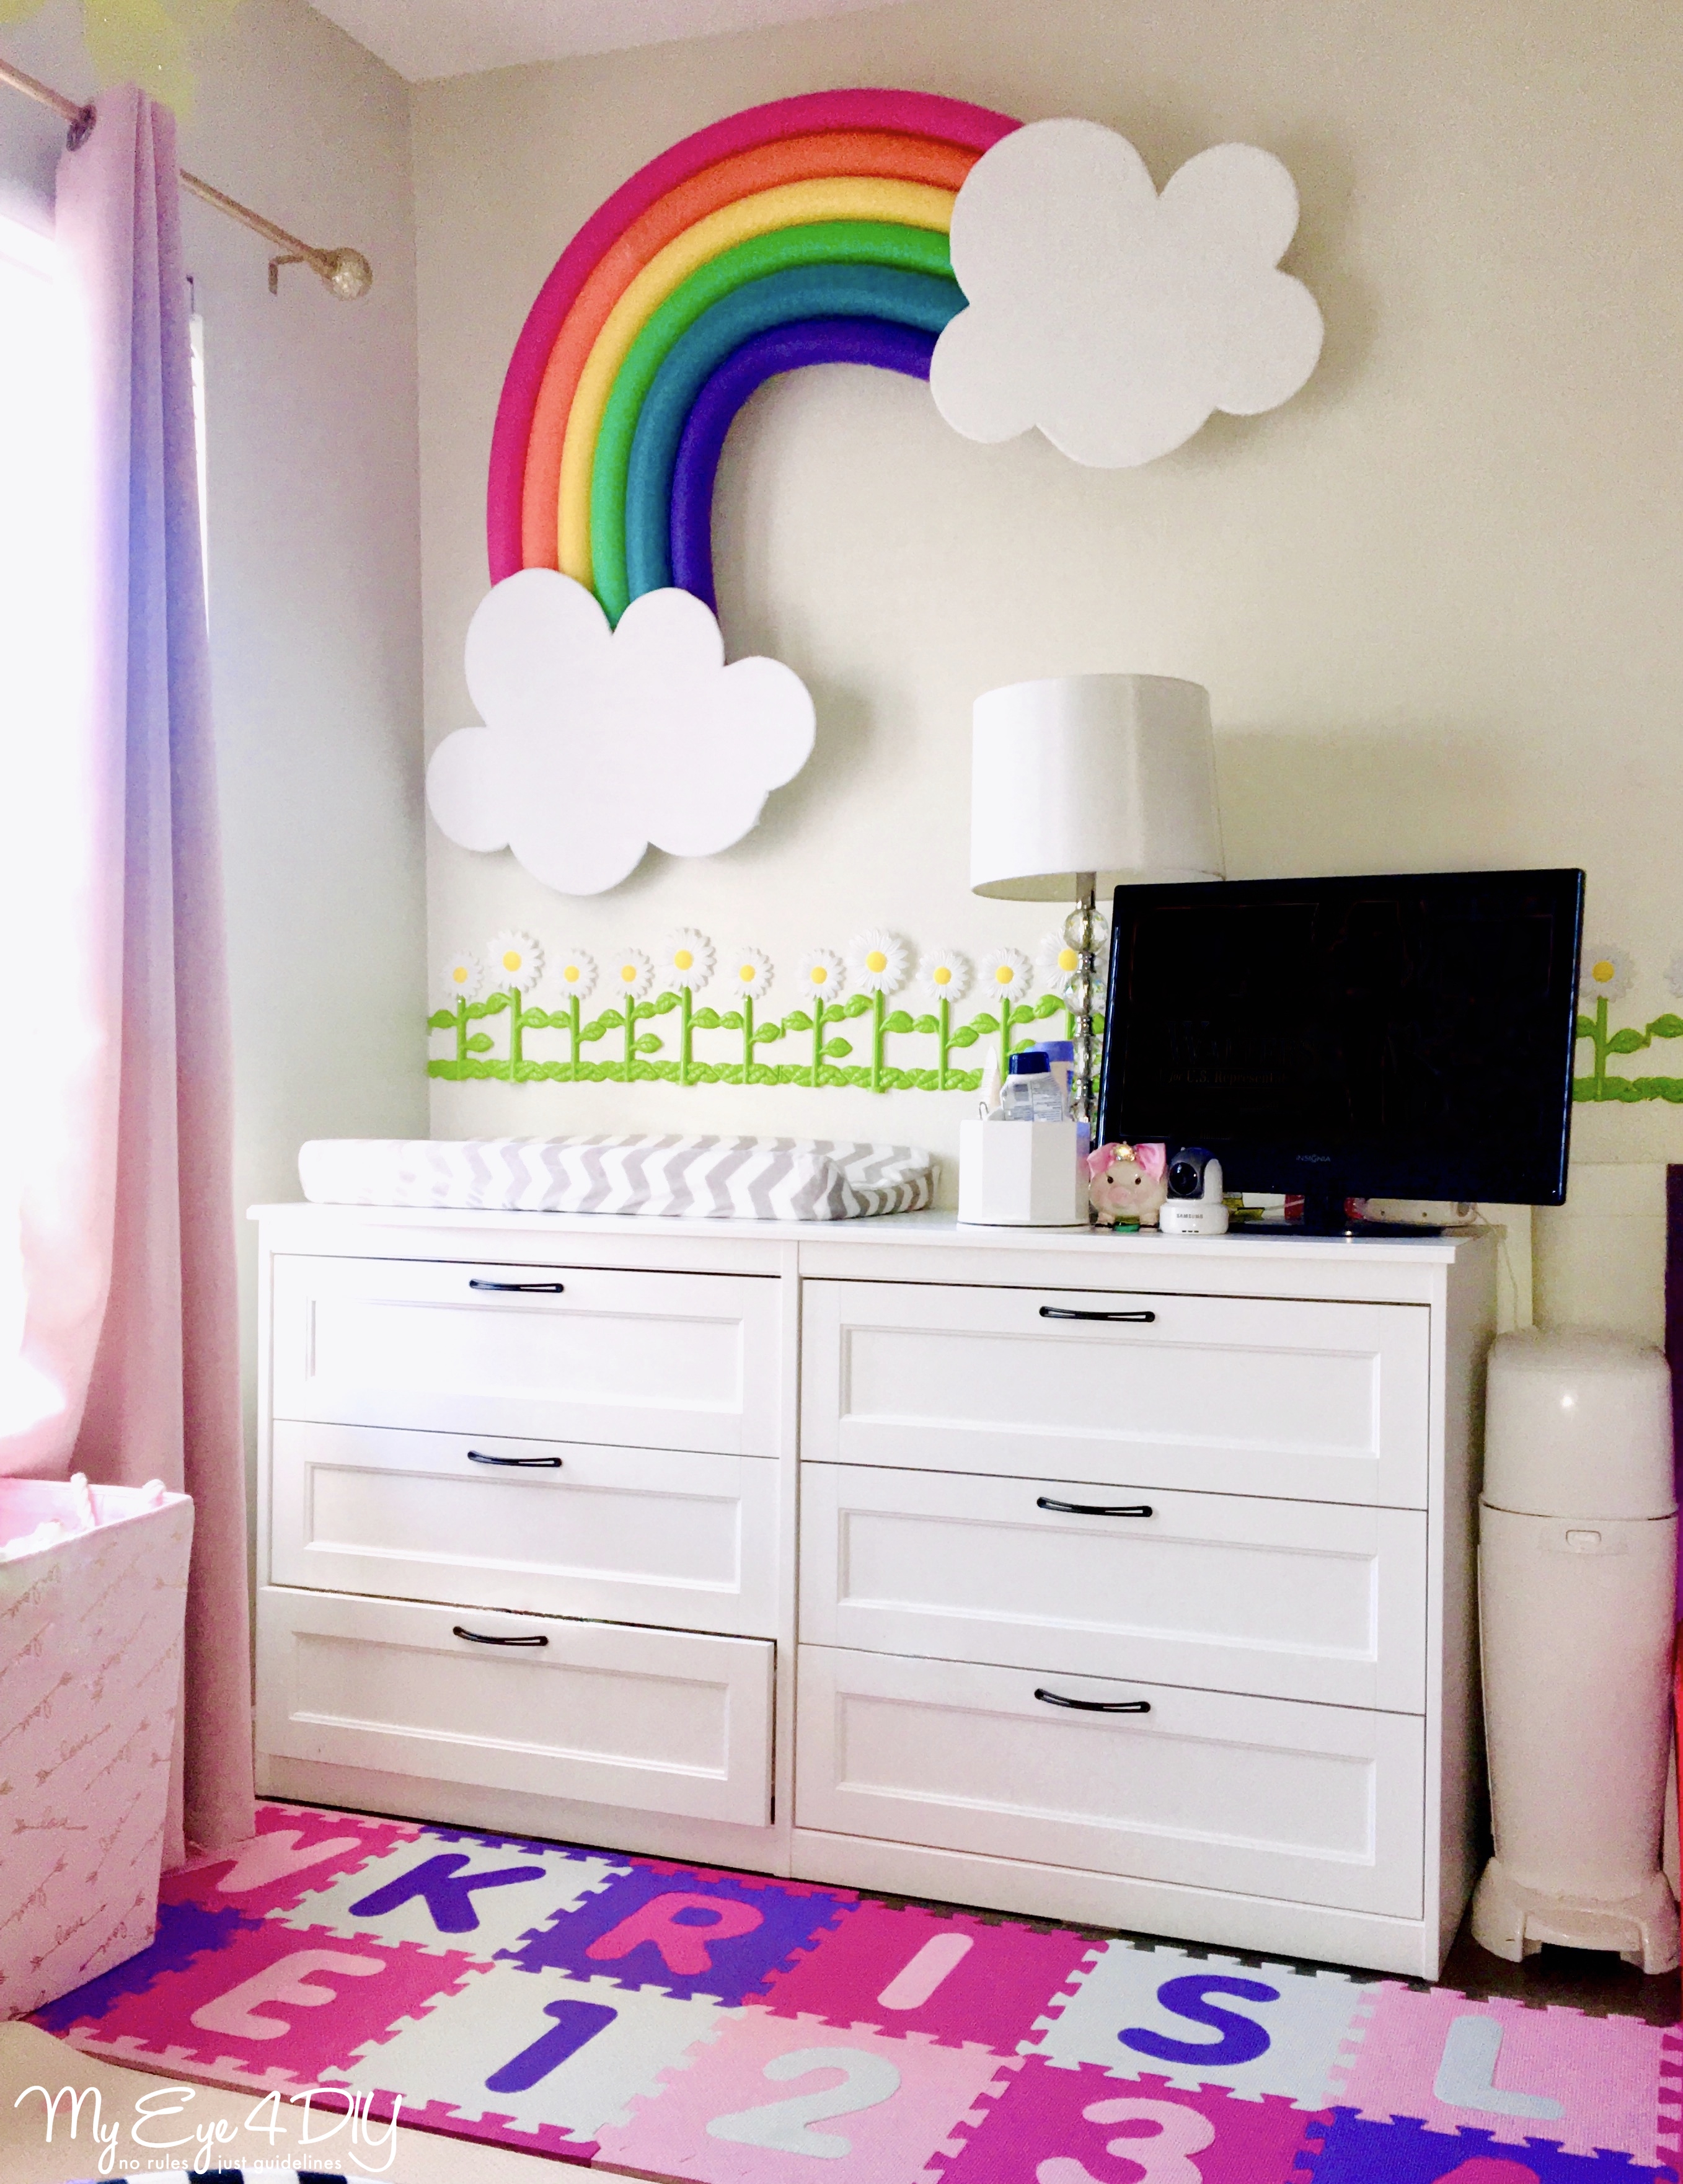
Be sure to PIN this project to reference these instructions when you are ready to compete your version!
The great part about this rainbow is it can be used as decoration, a prop for family photoshoots or even a costume. Play around with it and let me know in the comments how you would use it. What are some of your favorite Pool Noodle Hacks? What have you made?
I’ll be sharing more kid inspired home decor DIY’s with you from here on out. Many will come from necessity, inspired by our toddlers. But I’d also like to know what you’d like to see, so send me a note or comment below with any projects ideas you could use help bringing to life!
See you on the next project!

Amazon and the Amazon logo are trademarks of Amazon.com, Inc, or its affiliates.





Leave a Reply