As an Amazon Associate I earn from qualifying purchases.
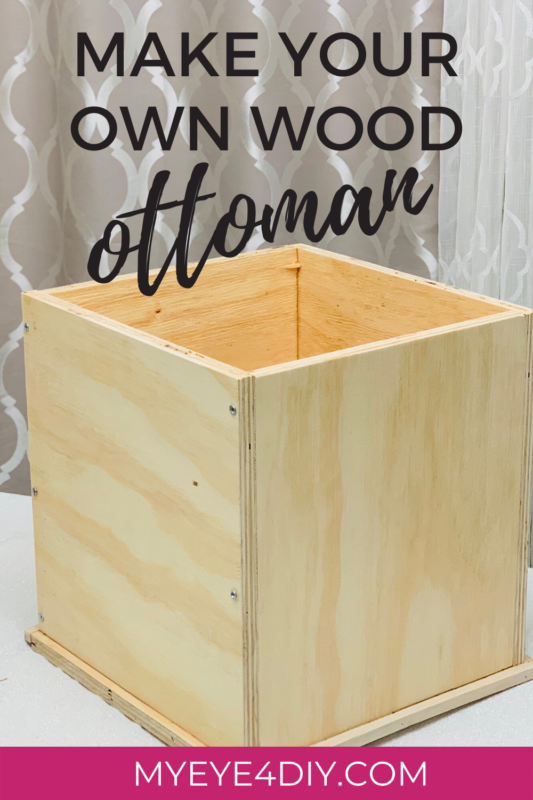
If you’ve wanted to make a simple furniture piece for your house, but weren’t sure where to start, a DIY Storage Ottoman is a great beginners project anyone can do.
Let’s pick up our power tools, get creative, and build something! Why not?
After years of using my power tools for simple tasks like hanging photos and drilling nails into things, I finally took the plunge into my first build project and I’m taking you along for the ride as I make a DIY Storage Ottoman out of wood! My husband suggested we get an ottoman, with a little nudge from my friend Timisha at Toolbox Divas, I decided to build one myself!
Woodworking is a craft that can be practiced by anyone from beginners to professionals to create useful and attractive items to use around the house. It’s a great hobby, and contrary to popular belief, it is not gender specific. Beautiful home accents and furniture are often the result of DIY projects. It’s just a matter of taking them from a thought to execution! A storage ottoman is a great beginner project that uses several tools you probably have at home. Take a look at the step-by-step guide & give it a try!
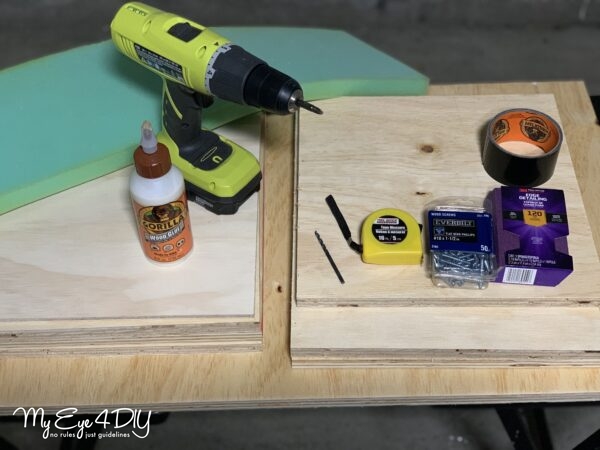
SUPPLIES
- Power Drill
- Drill bits
- Sanding block/Sandpaper
- Wood Glue
- Hammer
- Tape measure
- Nail gun
- Handsaw or miter saw
CUT LIST
3/4 inch thick plywood
- (2) 15″x15″ (Sides)
- (2) 13″x15 ” (Sides)
- 14.5″x15″(Ottoman bottom)
- 12.5″x13 ” (Under the lid)
1/8 inch thick plywood
- 14.5″x15″ (Ottoman Seat Cover)
A Beginners Guide; Making A DIY Storage Ottoman
1) Determine Size of the Ottoman
If you are a beginner, don’t worry about having all the tools to cut your own wood. Make a cut list (the wood cuts you will need for your project) & have your local hardware store do it for you. Many of their machines will only be able to cut wood that is no greater than 3/4 inches in thickness.
For this ottoman, I used a 3/4 inch thick plywood for:
– (4) side panels
– ottoman bottom (base)
– under the seat fastener
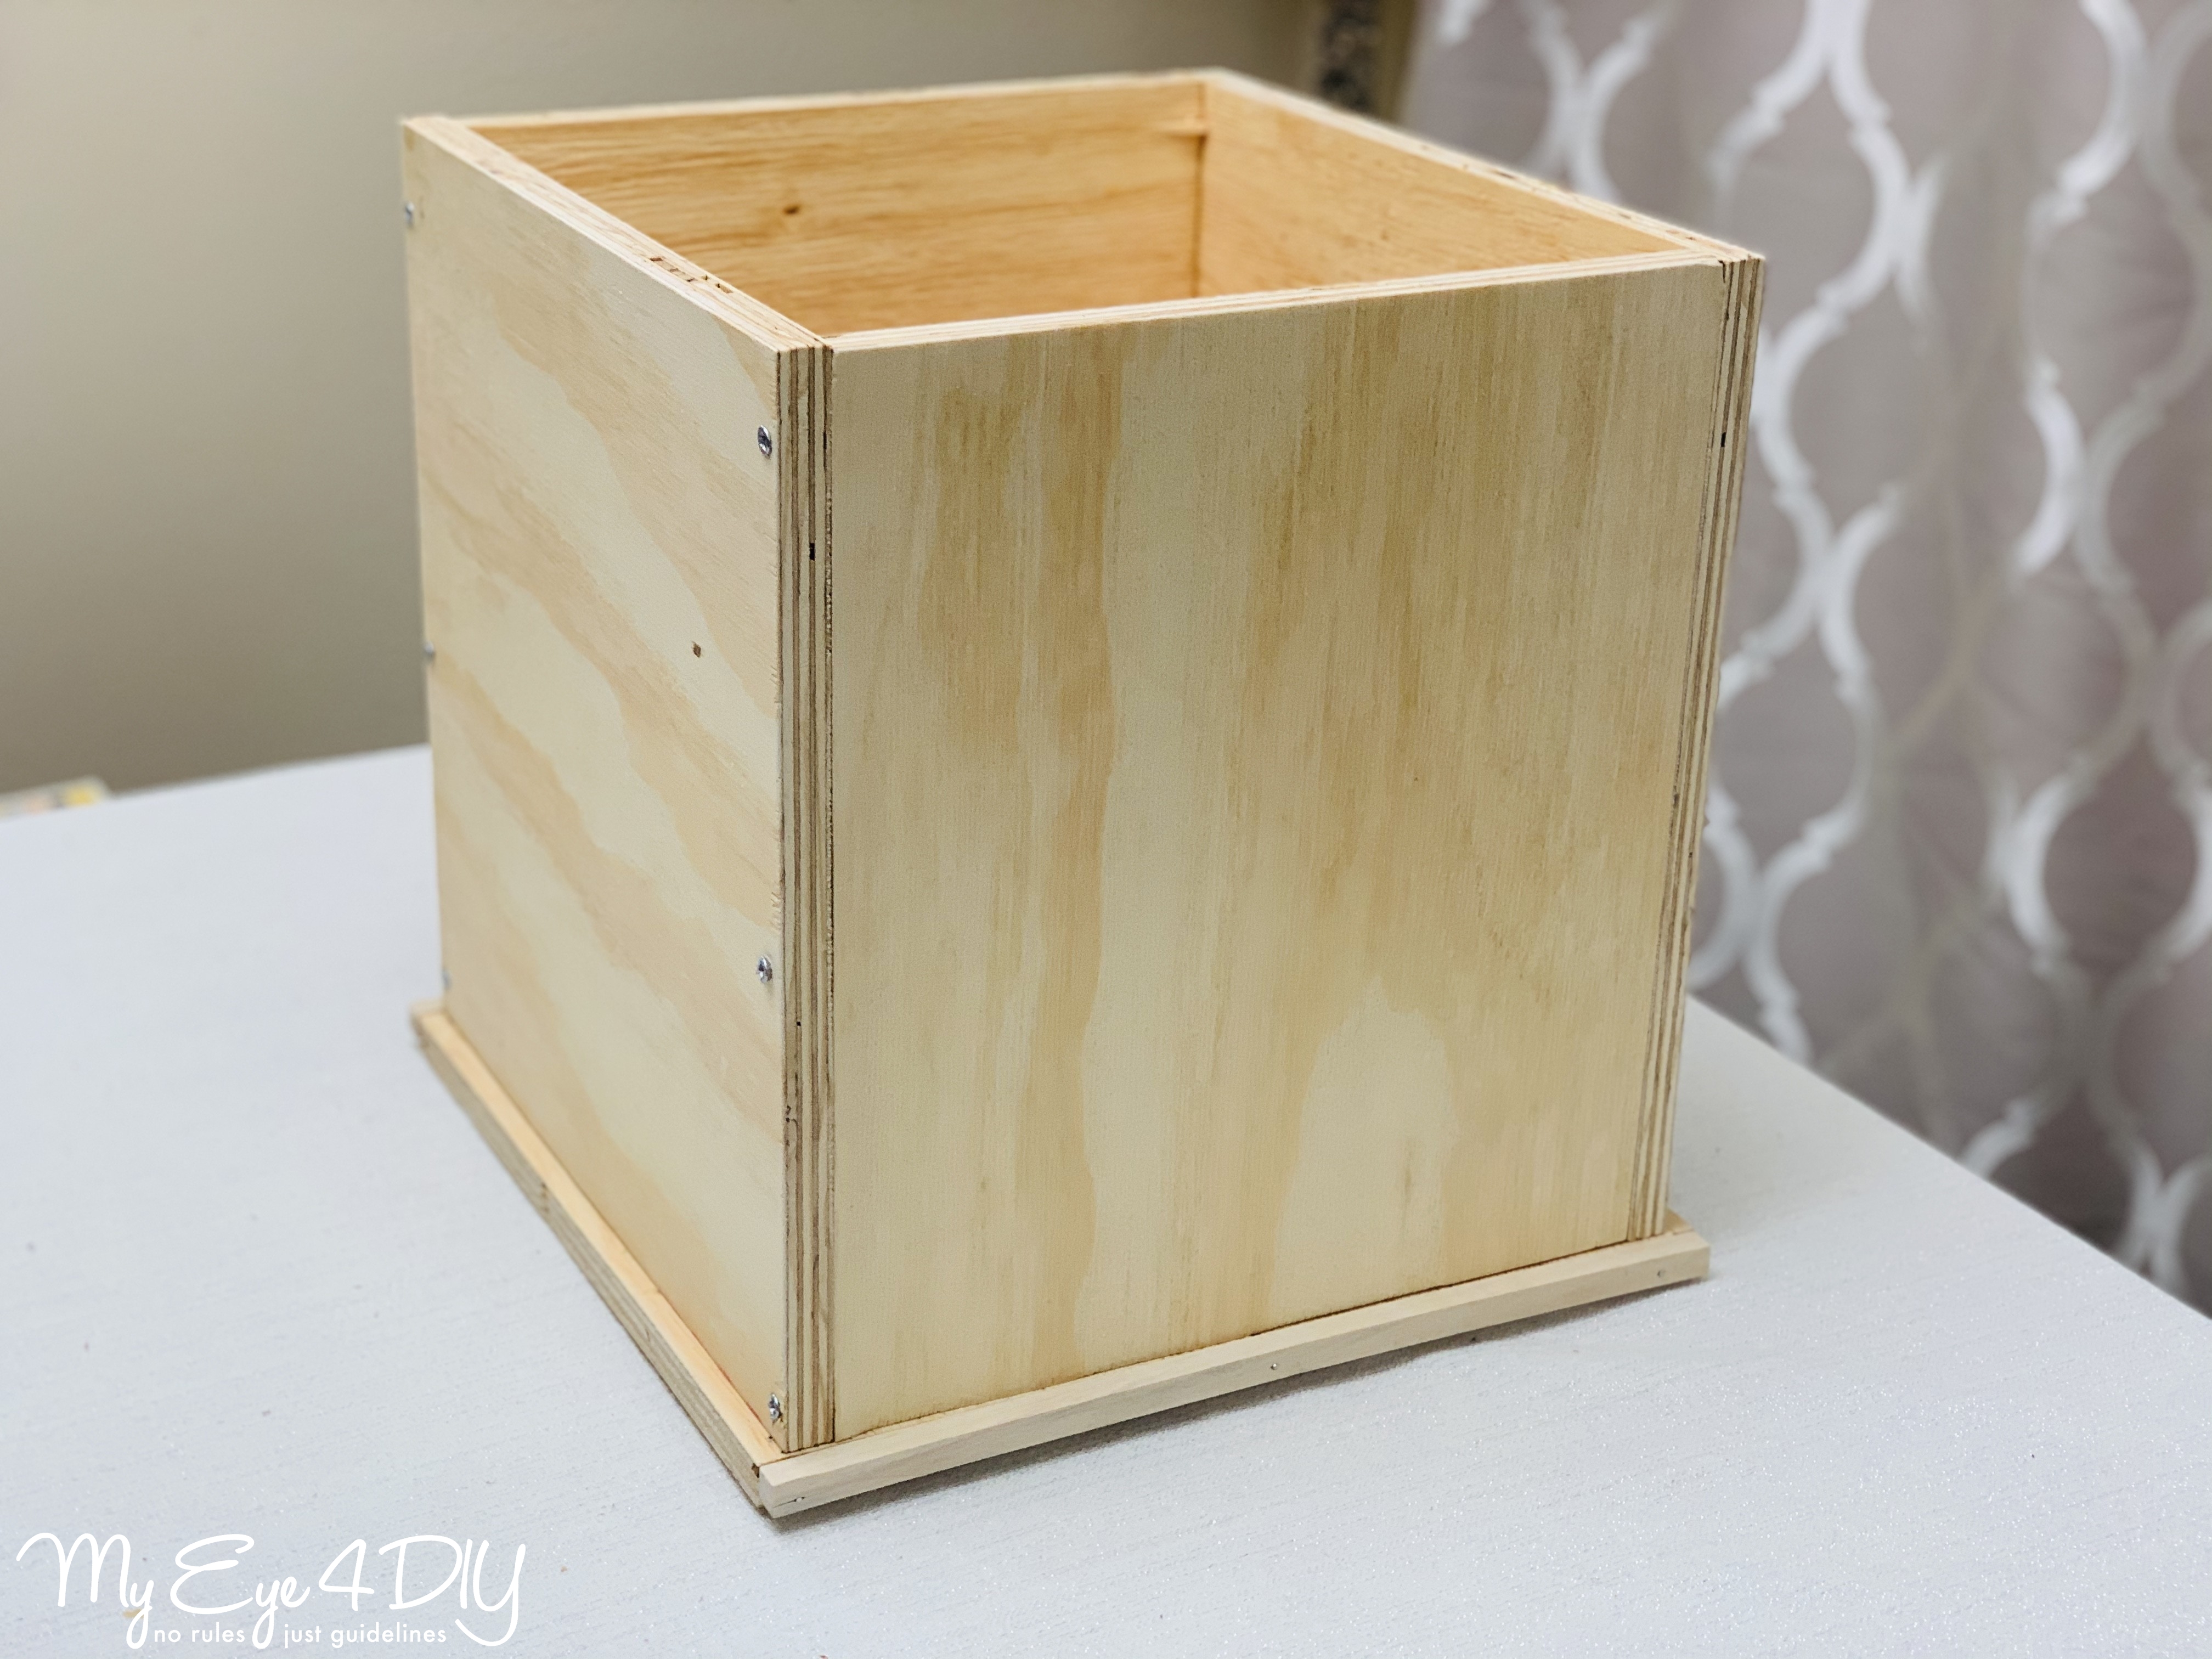
As indicated on the cut list, two side panels are 15″x15″ and the other two are 13″x15 “, while the base of the ottoman measures 14.5″x15″. I also had a 12.5″x13″ panel cut to apply under the seat of the ottoman. For the seat cover, I used a 1/4 inch thick plywood measuring 14.5″x15”.
* It should be noted that building an ottoman higher than 17″ in height can make your legs rest at an elevated position, which may be uncomfortable for many.
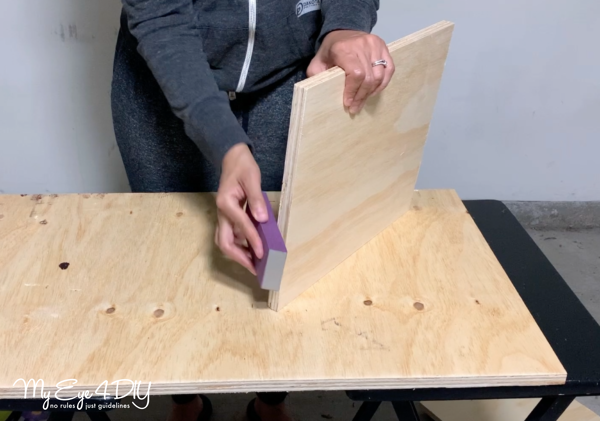
2) Sand Plywood
Sanding the edges of all the pieces should follow in order to smooth surfaces and get rid of all the splintered pieces the machine makes. Use a fine grit sand paper or electric sander if you have one.
Assembling the DIY Storage Ottoman
3) Assemble Ottoman
(Through trial and error, I learned that the fastest and easiest way to assemble an ottoman is with the use of a nail gun. No need for additional measurements & pre-drilled holes.)
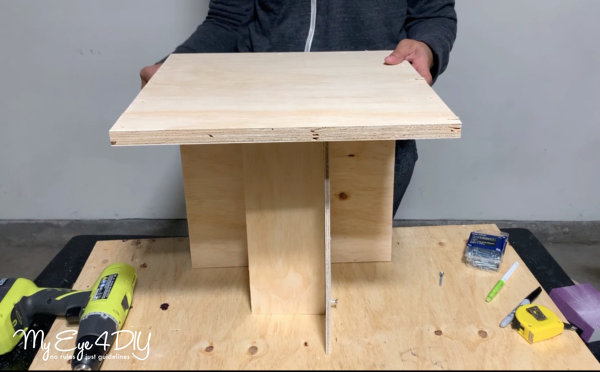
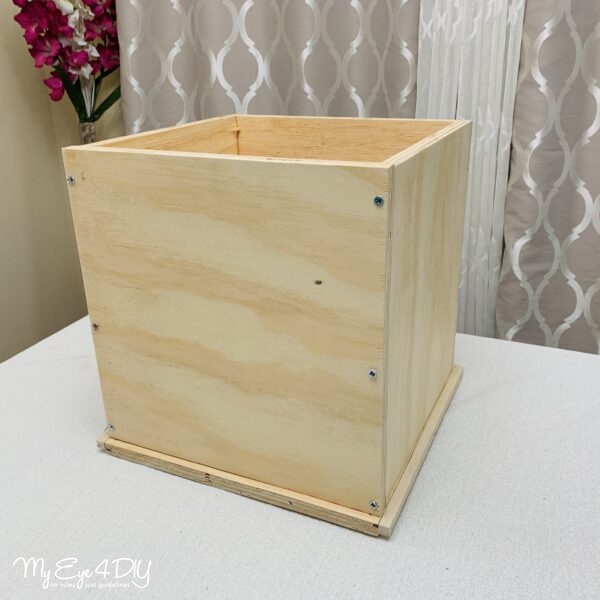
As a beginner without many tools or directions, I used wood screws and a drill to assemble my ottoman. I started by drilling holes through the top and bottom of the base as well as the side panels using a drill bit.

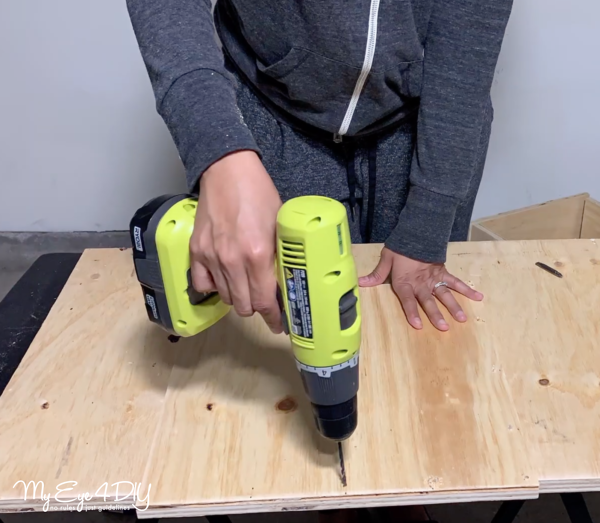
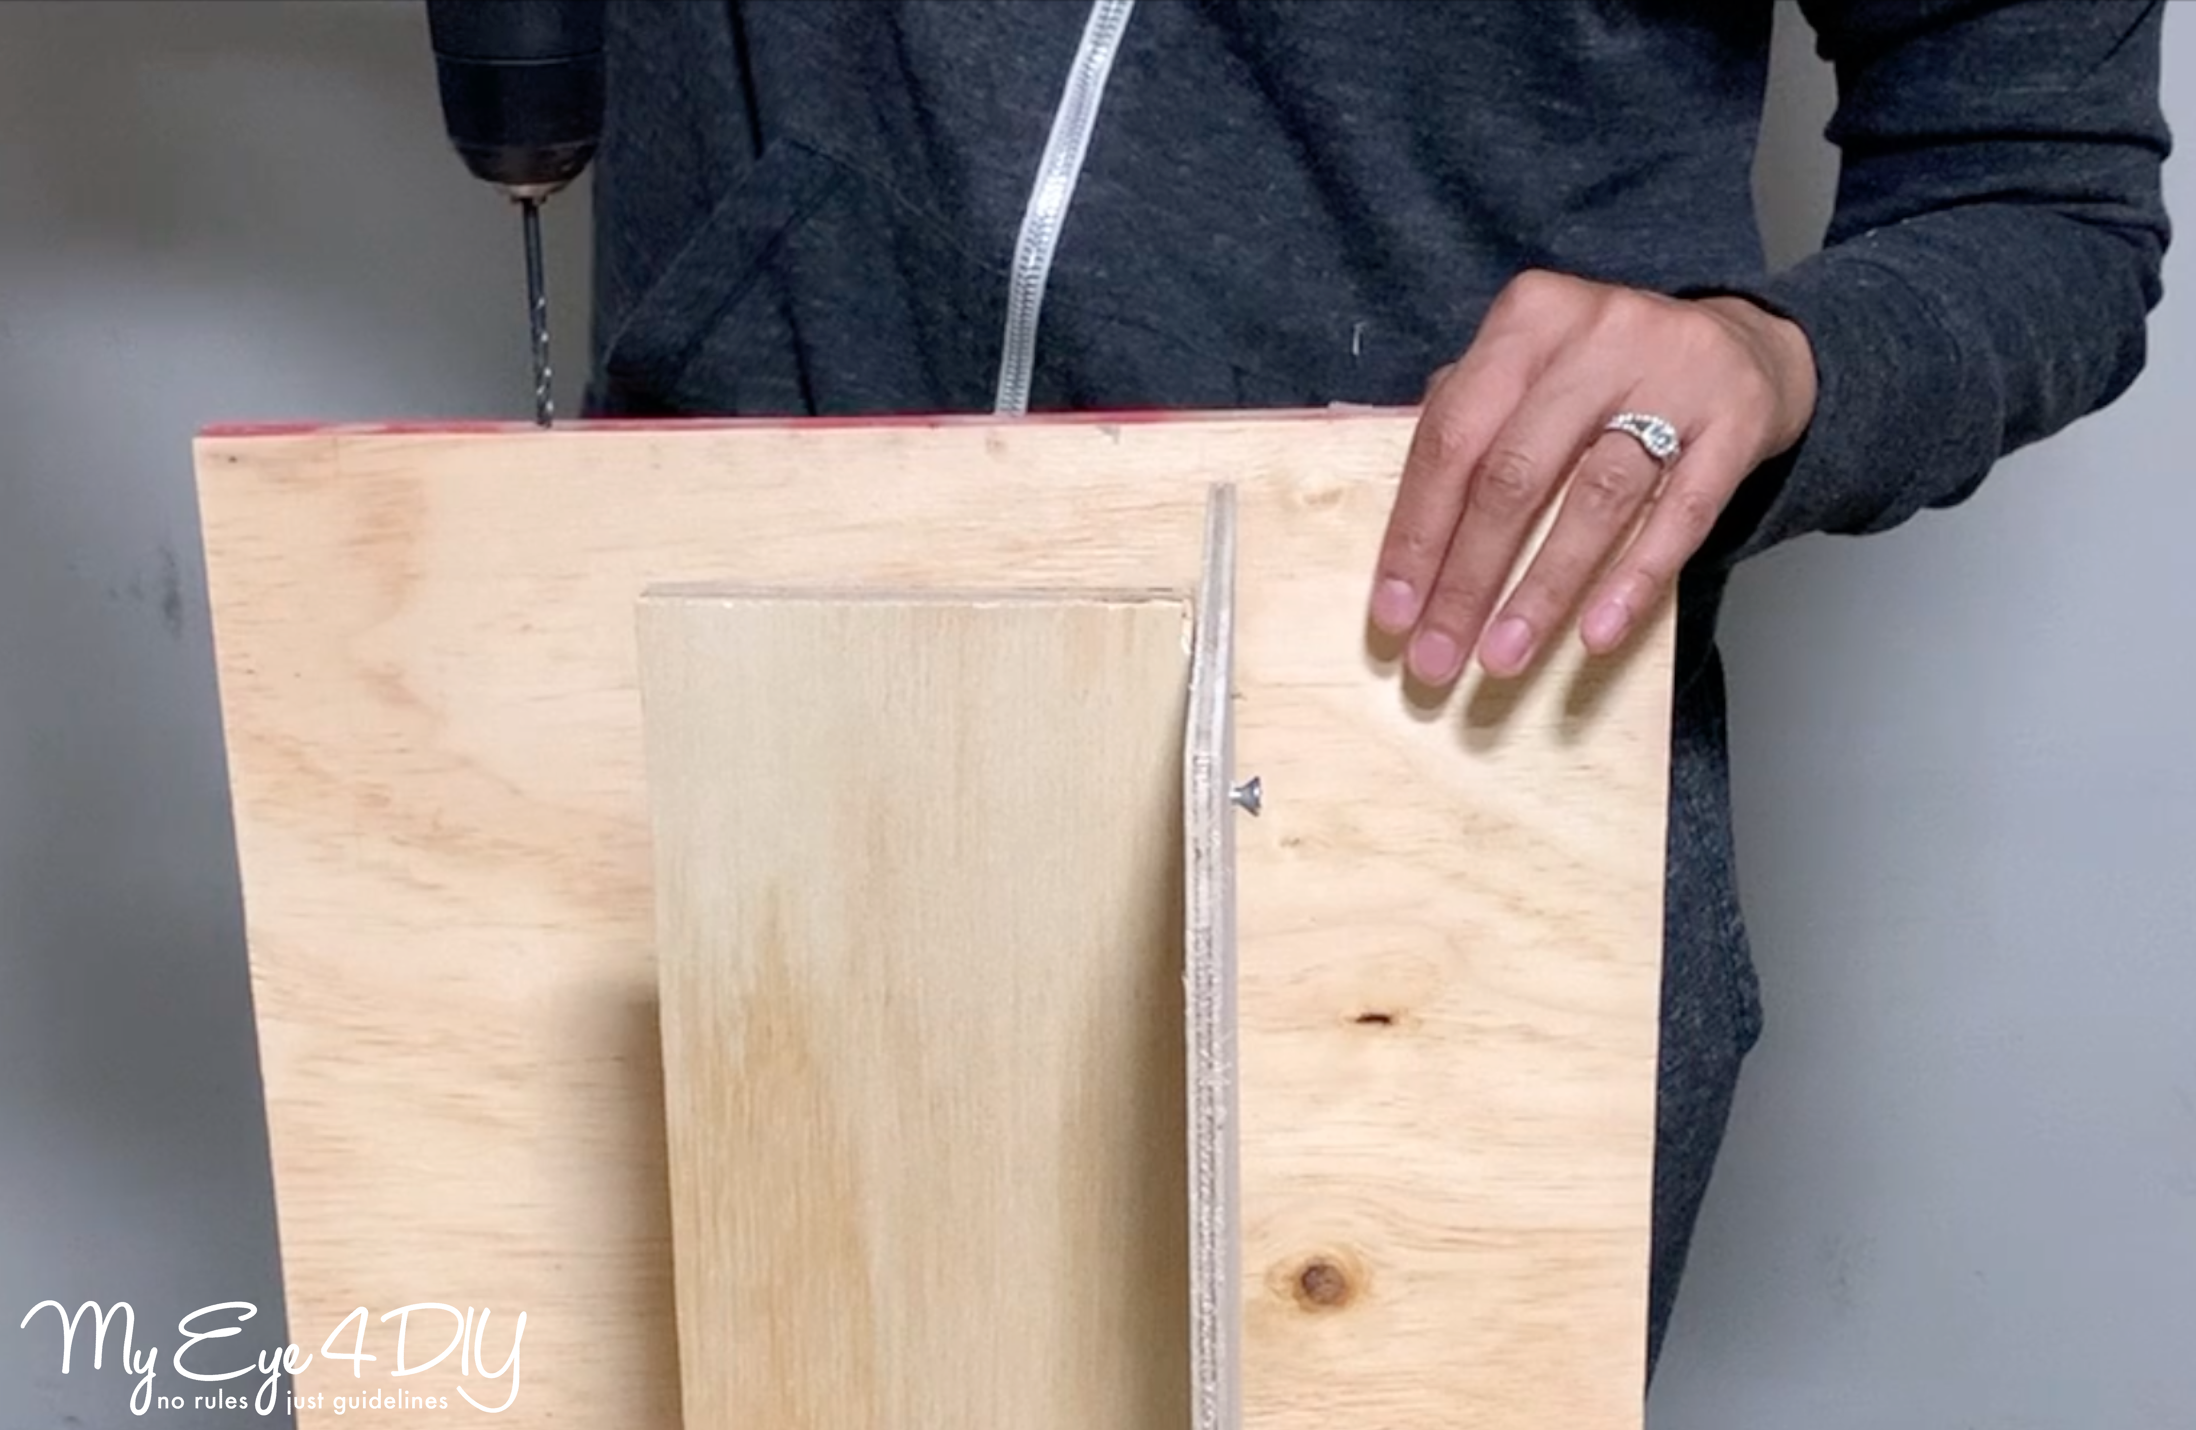
(If you are more advanced, you can use a counterbore to countersink screw heads to avoid ruining the upholstery.) I then proceeded to attach the side panels to the base of the ottoman. When attaching the side panels edge to edge, wood glue should be applied to each section.
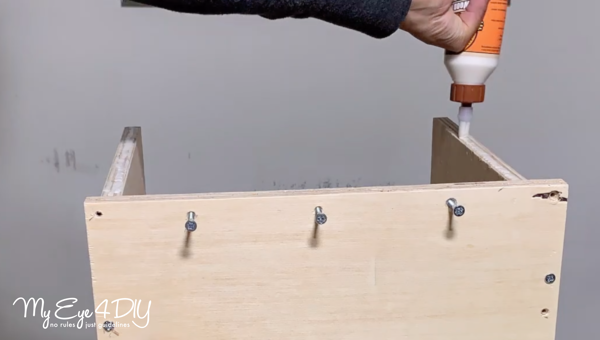
Wipe away excess glue right away to give the end product a clean look, especially if you plan to use a wood stain on the ottoman. Wood glue will prevent any stain from setting in that section. Next, drill wood screws into all predrilled holes (I made 3 holes 4 inches apart on each panel). The combination of the wood glue and screws will make the ottoman very sturdy.

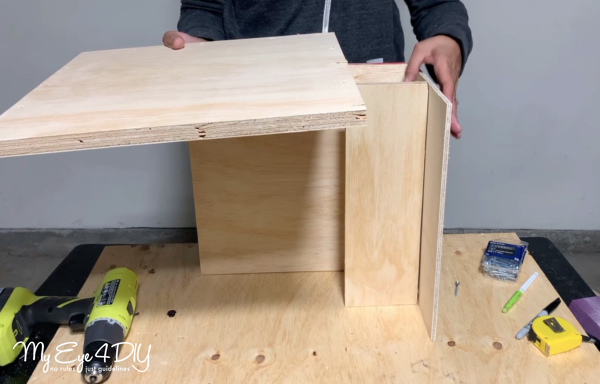
Note: With spare piece of wood, it is recommendable to make a T, which is used for balancing the wood pieces during assembly.
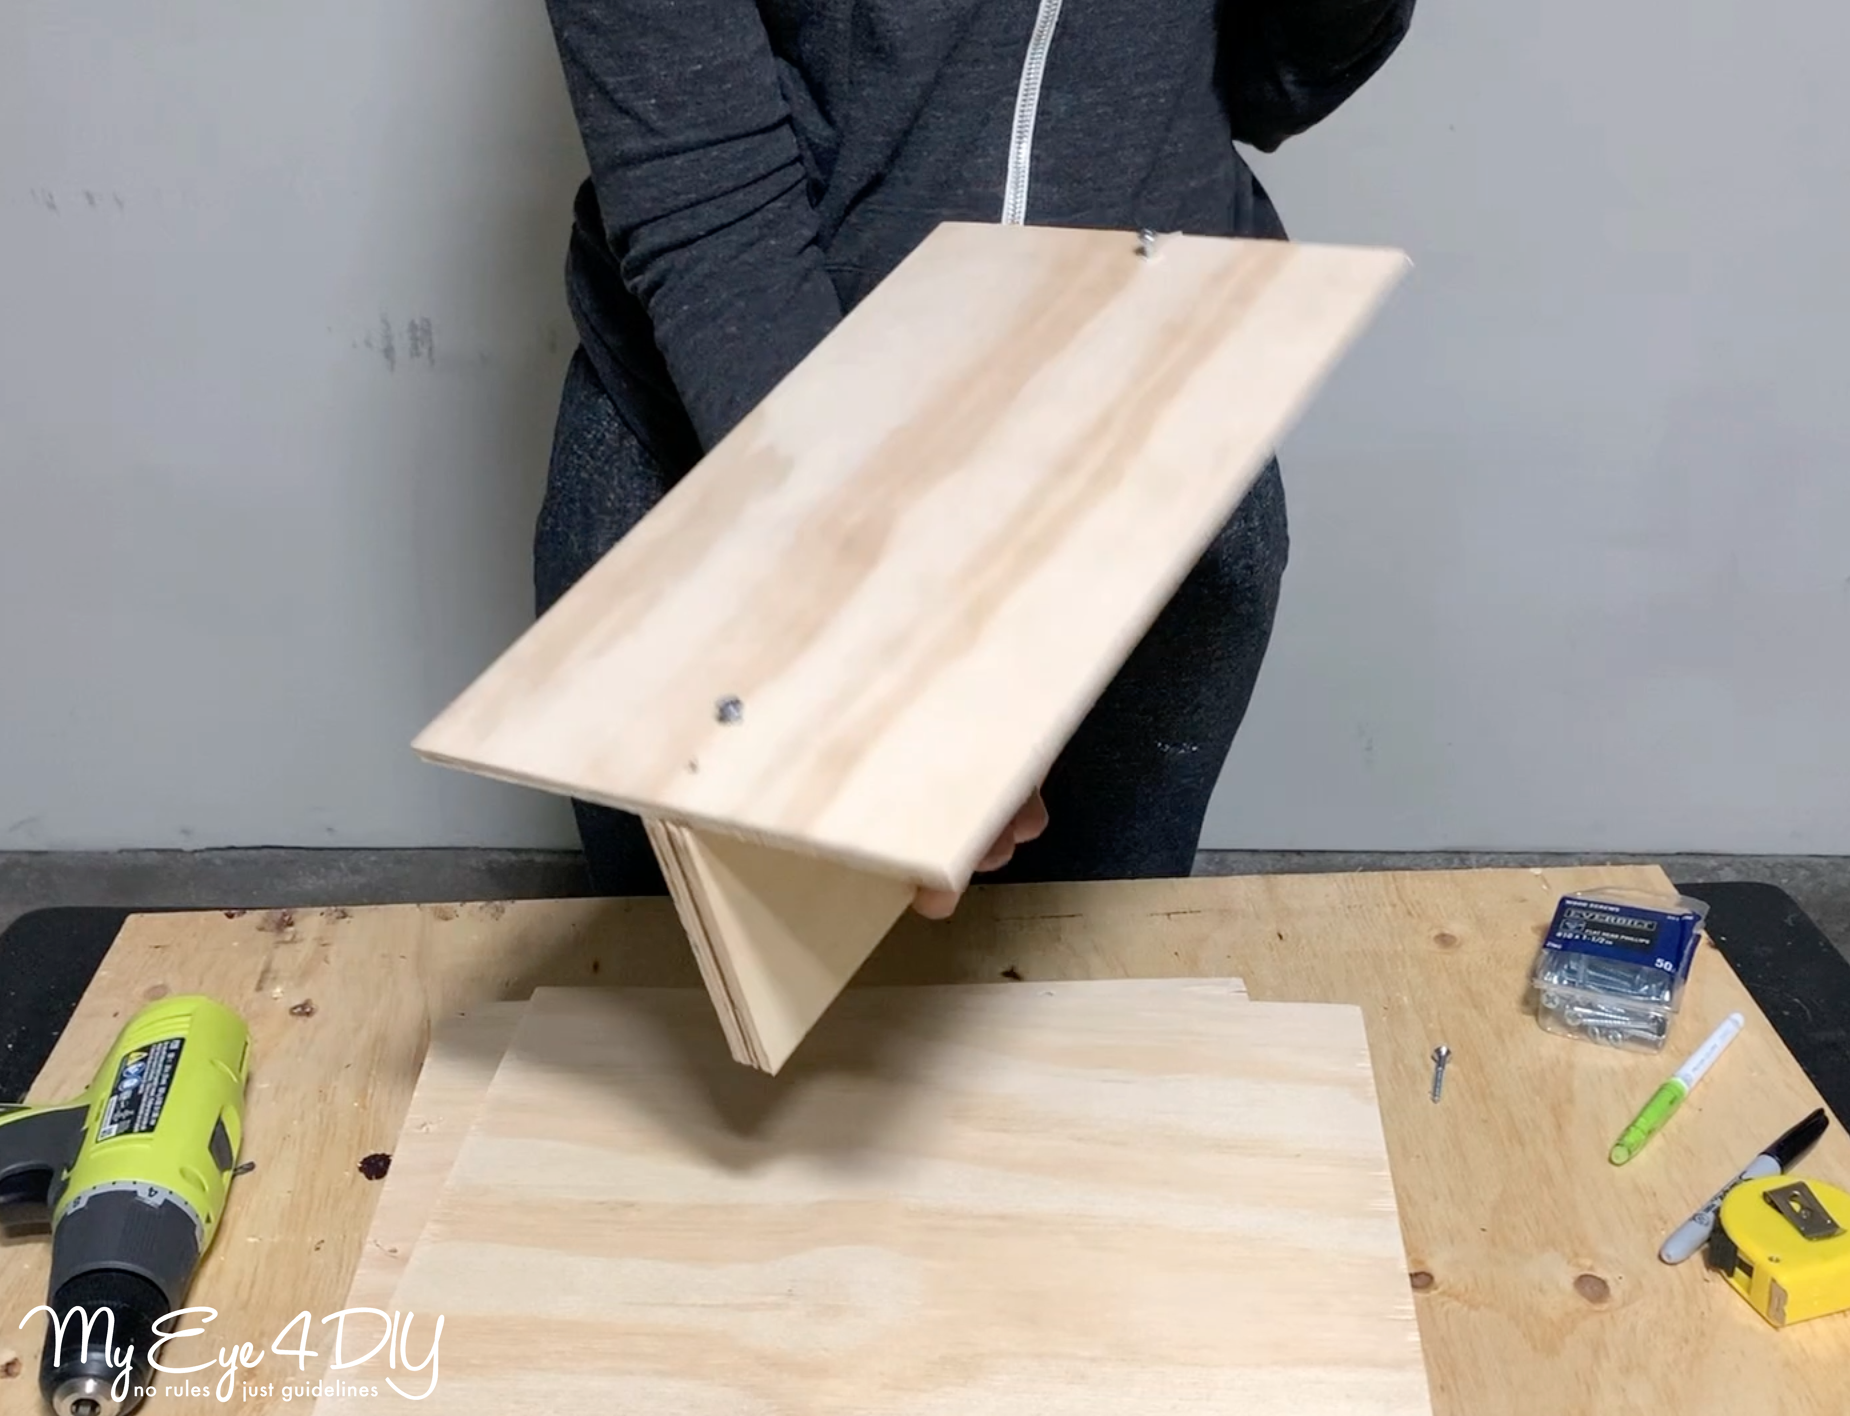
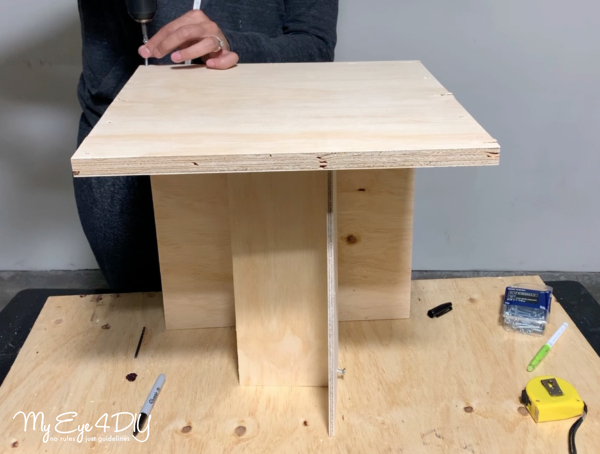
If using a nail gun: Start by laying down the wood pieces on a flat surface and assembling the base. The sideboards will be attached using a nail gun and wood glue. Each of the pieces should be placed in a corner. The process should be repeated until there are layers of the sideboard around the base.
Assembling the Rest of the Ottoman
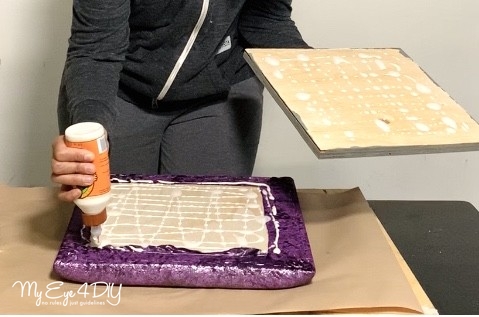
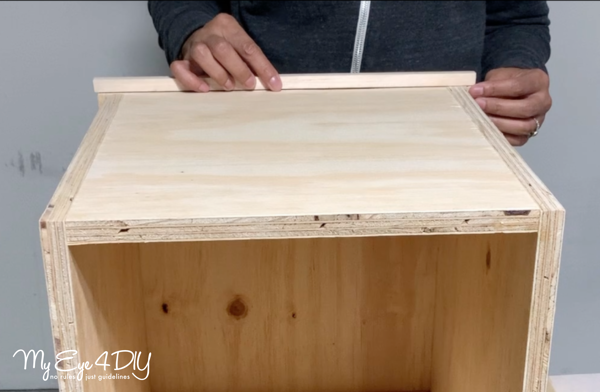
4) Assemble Seat Cover
For the top of the ottoman, cut a thin piece of plywood using the same dimensions as the top of the ottoman. Have an additional piece cut 1.5″-2″ smaller which is useful to place under the seat lid so that it fits perfectly without shaking or shifting.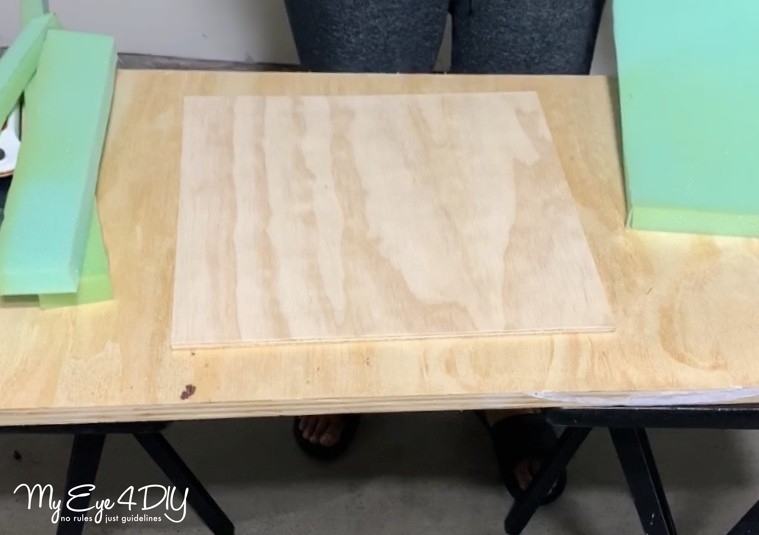
I attached the 14.5″x15″ seat cover to the 12.5″x13 ” under the lid cut using wood glue and allowed to dry overnight. I recommend upholstering the seat cover before adhering these pieces together. It will be easier to upholster and the smaller wood block will help cover any excess staples/fabric on the backside once upholstery is complete. To see how I achieved this step see part two of this post “Make a DIY Upholstered Storage Ottoman.”
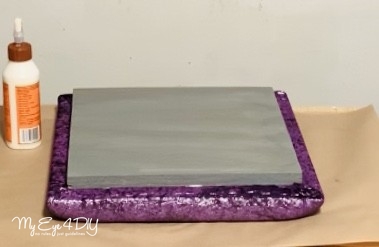
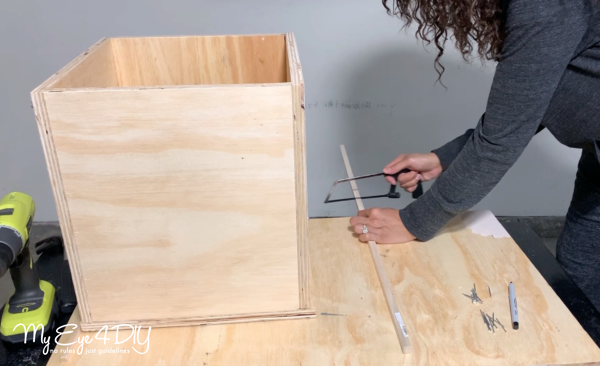
5) Add Molding Around Bottom
To add a modern flare, I nailed pine molding on all four sides of the base. It was super easy to do; I purchased the molding at my local hardware store along with all the other wood. Before leaving, I cut the molding to size with the miter box and saw they have stationed in the wood aisle. Just utilizing my FREE resources until I have all my own tools!
* BLOOPER ALERT! Watch full video tutorial to see how my dollar store saw broke into pieces when I ran into a snag with my measurements!
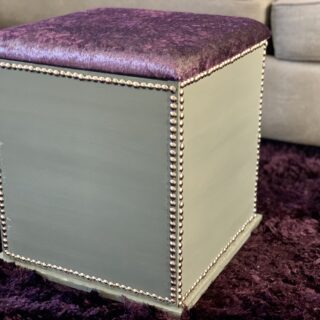
The last step is to paint/stain/upholster and style your diy storage ottoman. This part was just as much fun as the building process! You get to pick colors and fabric that match your space. At the end of the day, it’s all a matter of personal preference so get creative! To see how I styled my ottoman click here.
Making a DIY Storage Ottoman is a great way to save on funds as well as create something satisfying and multifunctional that will add to the aesthetic of a room. Not to mention, learning to use your power tools is empowering!
LESSONS LEARNED ON THIS DIY STORAGE OTTOMAN:
- Better informed about measurements and scale. I definitely made several mistakes in that area.
- Some tools from the dollar store should be left at THE DOLLAR STORE! Invest in your hobby, you can’t be cheap about everything!
- The art of adjusting in the moment; a good life skill to have.
- More informed about tools that would have been helpful that I did not have. My next power tool investment will be a nail gun!

Taking on this project built my confidence and I certainly hope it gives you the motivation to try your first build and continue on with many more! You will learn a lot along the way and be able to bring those skills into your future projects. I can’t wait for my next DIY!
If you have tips on tools or techniques that would improve the diy storage ottoman project, please comment below so we can all improve on our skills!
*It’s important to be careful when making an ottoman just like in any other woodworking project. Ensure all the safety gear is in place and caution is adhered to when using power tools.
If you love woodworking, I’d check out Anika’s DIY Life Woodworking projects. There are so many great project ideas to inspire your next project!

Amazon and the Amazon logo are trademarks of Amazon.com, Inc, or its affiliates.
![Make a DIY Upholstered Storage Ottoman [Watch]](http://myeye4diy.com/wp-content/uploads/2020/05/IMG_1060-2-150x150.jpg)


Leave a Reply