As an Amazon Associate I earn from qualifying purchases.
THE STORY: I Got Engaged!!!
 I knowwwwww, pretty exciting right?! I feel extremely blessed to have found such a wonderful man to spend my life with! Not only that, but now I get to share all our exciting DIY wedding ideas with you!! Our ‘Love Story’ will be highlighted throughout the day against a modern-glam backdrop! In the meantime, you can watch the entire creative process unfold RIGHT HERE on my blog in the ‘DIY Wedding Corner’ under Project Tutorials. See what it takes to get us to the big day! You can also follow our instagram page @LetsMeetThePhillips to see how it began!
One of our first big tasks was coming up with a fun Save the Date idea and getting them out inexpensively!!!! Take a look at what we came up with…
Step 1: Think about your personalities and try something fun that you probably wouldn’t do otherwise!
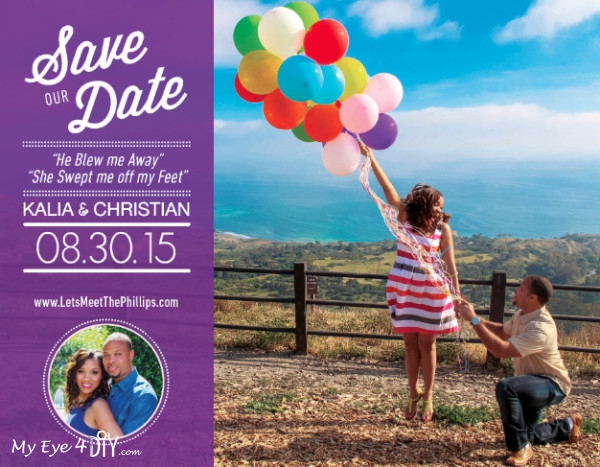
Step 2: If you or someone you know owns a camera, save the $200-$300 you’d usually spend on a photographer for an engagement session!
We enlisted the creative eye of my cousin, took my camera to a few locations and came up with some awesome results. (Check them out on our website at LetsMeetThePhillips.com)
Step 3: Go through your photos and select the best options.
Step 4: Choose vehicle you’ll use to announce to your loved ones…postcards, letters, etc.
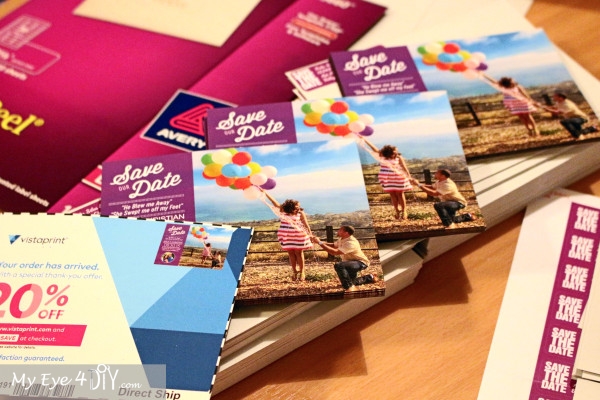
We chose magnets so the date would stay fresh on everyone’s mind & act as a little keepsake. My brother tells me that my niece loves bringing everyone to the fridge to see “Aunty Kalia & the balloons”! I Love it!
Step 5: Research the best manufacturer to meet your needs!
– There are a ton of places that offer free templates, all you have to do is plug in your photo and select the font. Wedding Paper Divas is a good site!
– Decide on the size of magnets you desire, each manufacturer usually offers 2-3 options.
– We had a friend design magnets and ultimately went with Vista Print because they were the most affordable with regard to magnets and offered free shipping plus a 40% site wide discount at the time! Our kind of deal!
– Look on the manufacturer websites for discount codes they may be offering or do a google search. There are always discounts offered that will keep a little extra cash in your pocket like the one below. Those deals could be the deciding factor in using one vendor over the other!

Step 6: Insert your select photo(s) into template and place order!
Wait a few days and soon enough you will see the fruits of your labor!
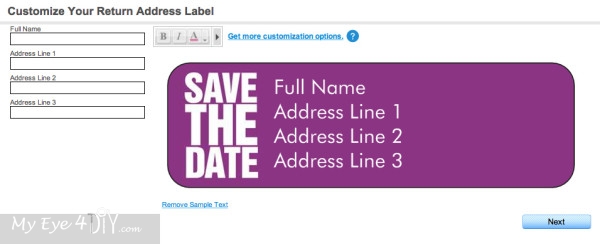
Step 7: Order personalized return address labels from Staples.
They provide same-day orders that you can create in-store or online. I like that they had wedding themes to choose from and you could adjust the colors or you could design your own.

Step 8: Purchase envelopes if they aren’t provided with your order of magnets.
Vistaprint does NOT include envelops with magnet orders, I purchased 250 gray envelopes on Amazon for $19 to go with my color scheme.
Step 9: Purchase/print address labels.
Avery offers clear labels (product #15660) that you can personalize on their website. I’ve input my wedding guest-list to our WeddingWire account. They offer the option of exporting the list into an excel spreadsheet which made for easy uploading onto the Avery.com label maker.
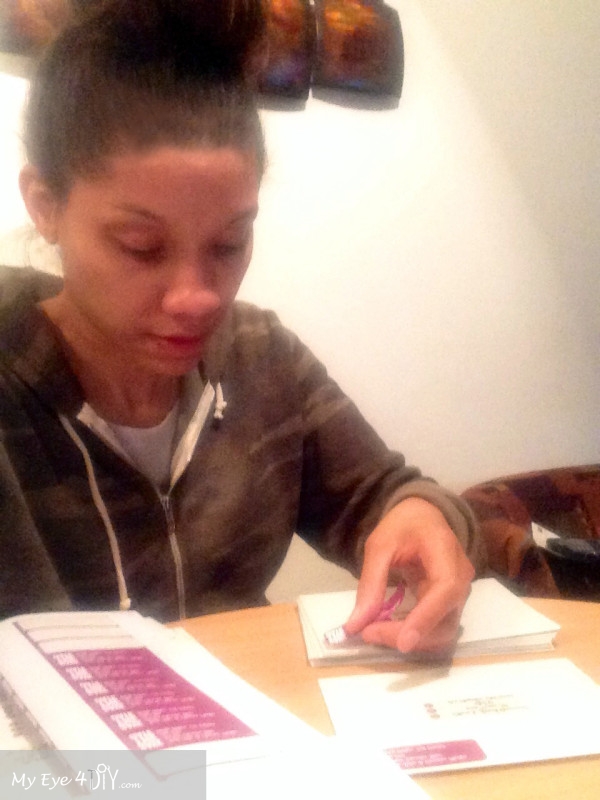
Step 10: Stuff, Stamp & Ship envelopes to all your guests!
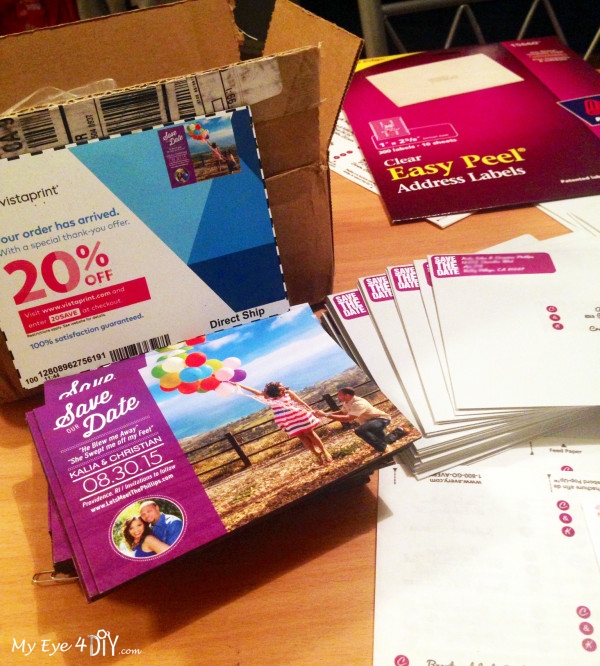
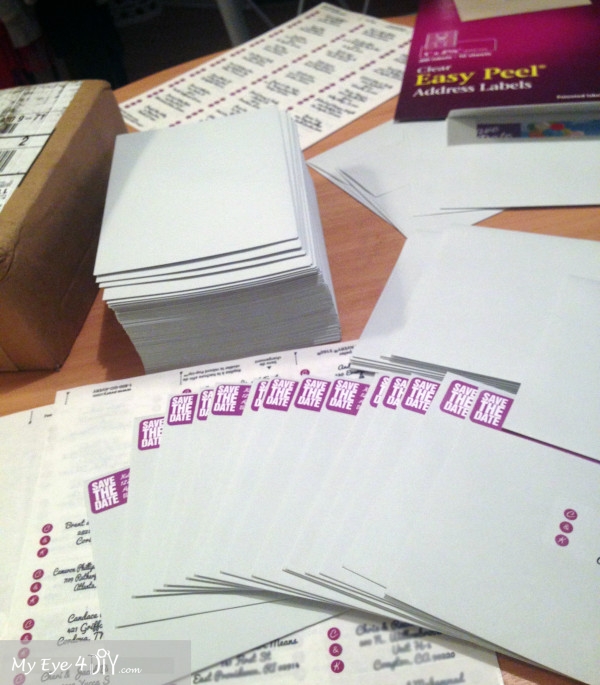
After all was said and done I spent about $160 on my save the dates!
– 140 Vistaprint magnets: $130 (My guest list is about 180 people, but I only had to order enough for each household.)
– Staples return address labels: $10 (If you already have some feel free to use them!)
– Avery clear address labels: $7
– 250 envelopes from Amazon: $19
TOTAL: $166

Amazon and the Amazon logo are trademarks of Amazon.com, Inc, or its affiliates.




Leave a Reply